
How to Create Gradients with Photoshop Elements
Today we’re talking about one of my favorite topics again, graphic design. Specifically using Photoshop Elements for graphic design. I love how easy Photoshop Elements is to use and today I’m going to teach you how to create gradients with Photoshop Elements.
Adding a gradient to your designs gives them a little more “oomph” and dimension. If you don’t know what a gradient is, here is an example. This is an invitation that is available in my Etsy shop.
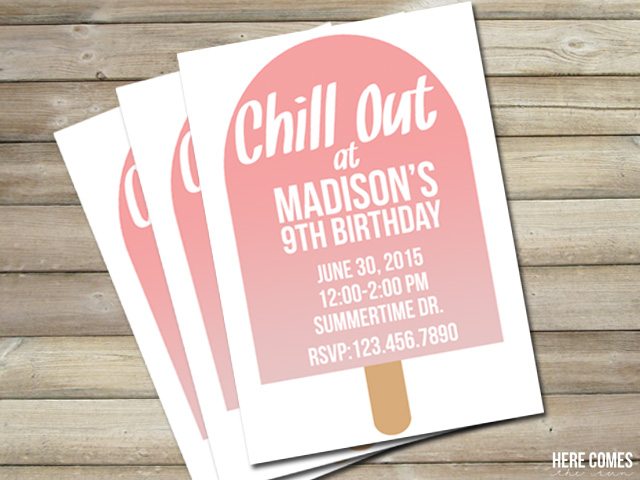
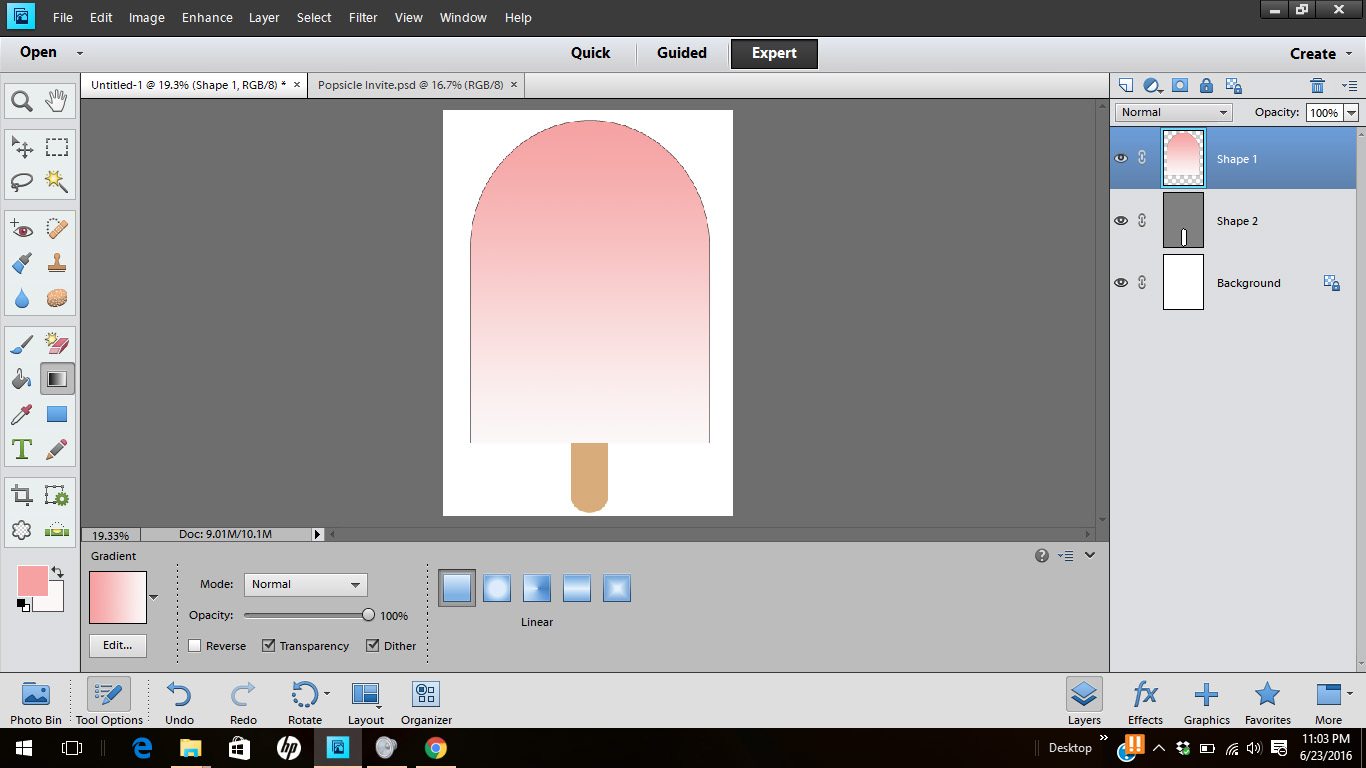
As you can see, the popsicle is not one solid color. The color is the darkest at the top of the popsicle and then lightens toward the bottom. It is sort of an ombre effect. To get this effect, you need to add a gradient to your design.
HOW TO CREATE GRADIENTS
First you will need to have a design. Whether you draw that design yourself or upload a design that somebody else has made, you need a design to work with. I’m going to use the popsicle as a design but you can draw a simple shape such as a square or circle for practice.
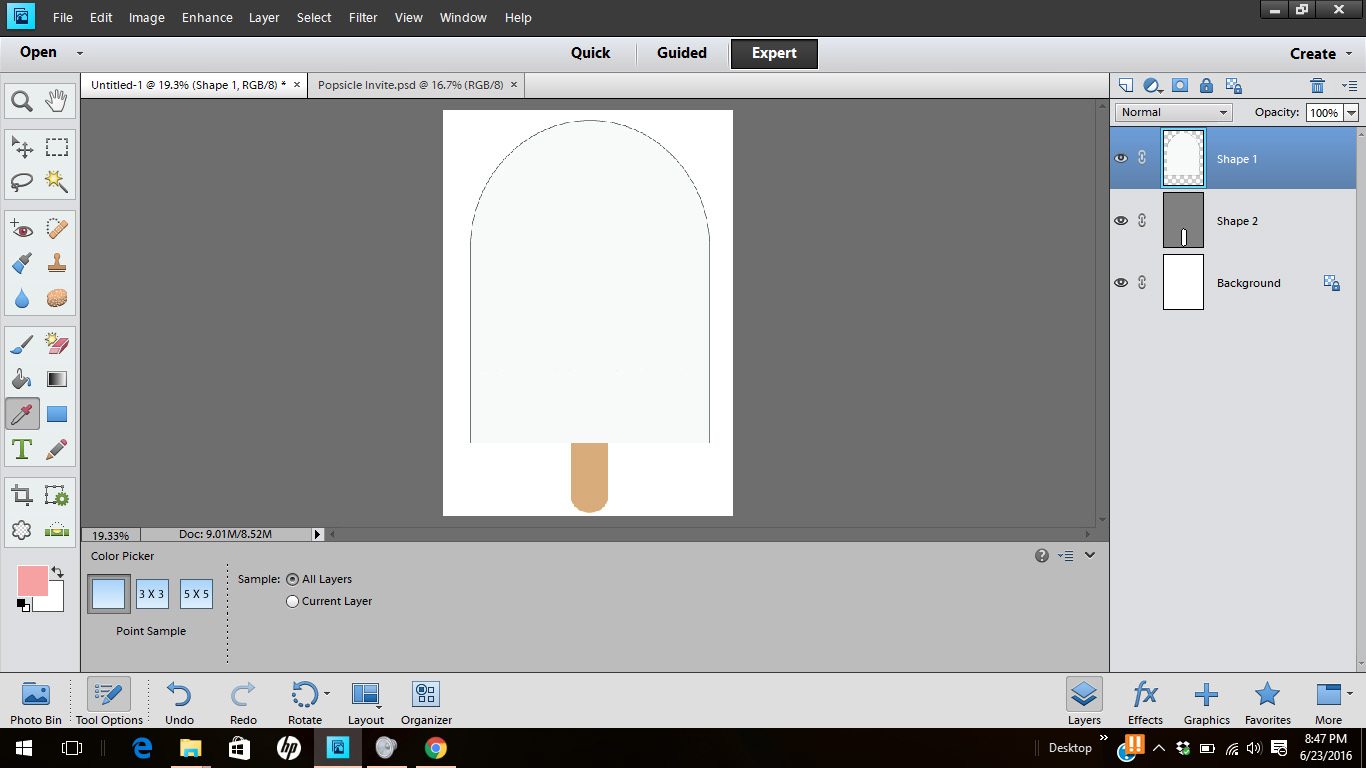
Next, choose the colors of the gradient that you want. You’ll need to choose two colors. The foreground color will be the color at the top of your shape. The background color will be the color at the bottom of your shape. Click on the color picker (two squares in the bottom left) and choose the colors that you want your gradient to be.
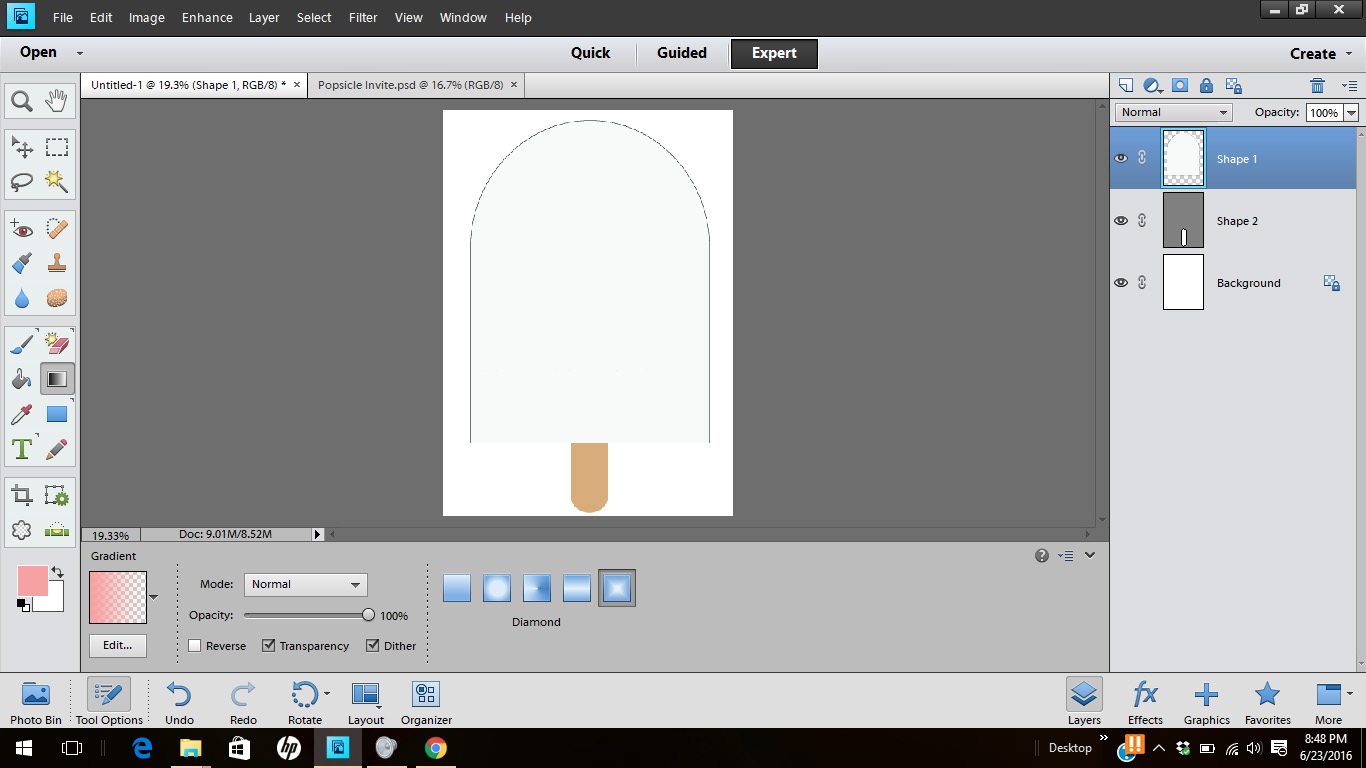
To create gradients, click on the gradient tool. This tool is the 8th tool down on the right hand side and looks like a shaded box.
After you click the gradient tool, a dropdown menu will show up. Click the arrow and pick the type of gradient that you want to use. For this example we will use the default option and pick the gradient in the upper left corner. This will result in a gradient from foreground color to background color.

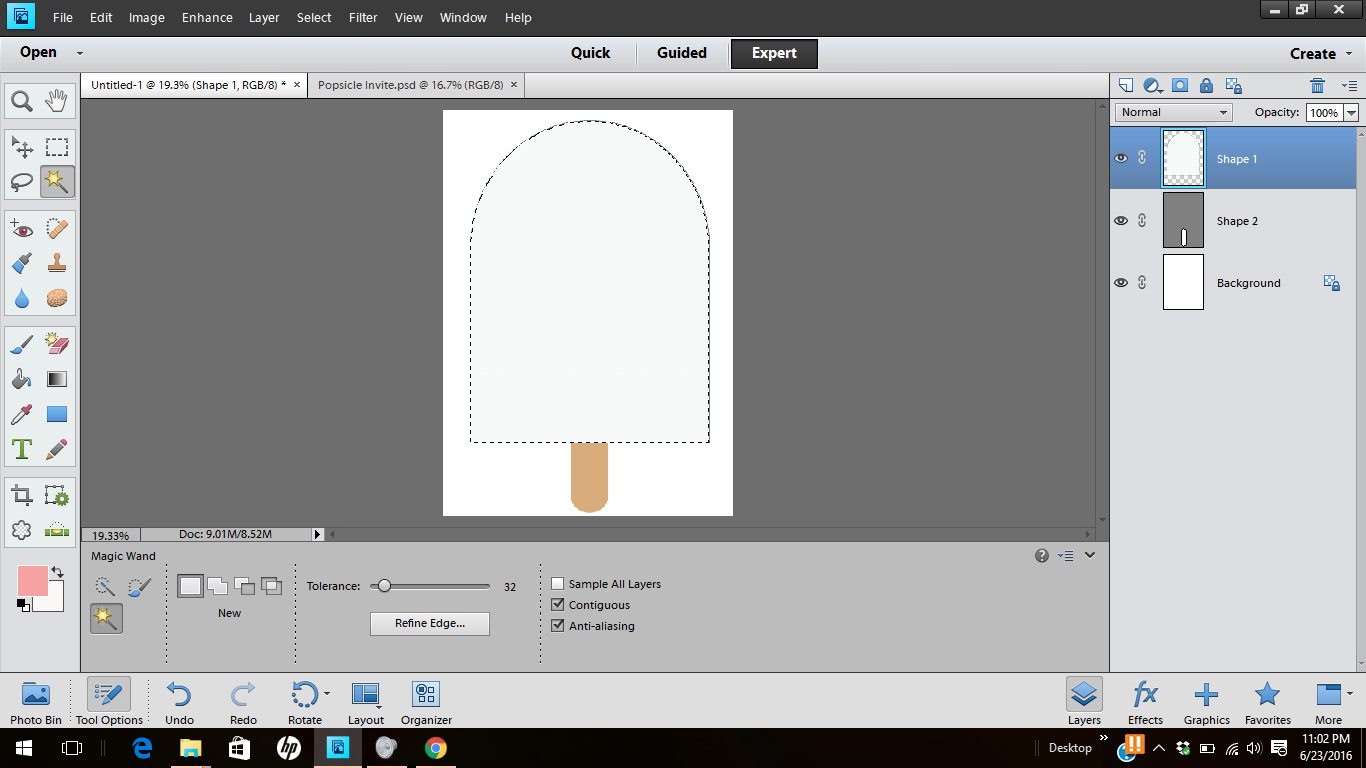
Now, click on the layer that you want to add the gradient to in the layer palette. Click on the magic wand tool (third one down on the right) and select your shape that you want to add a gradient to.
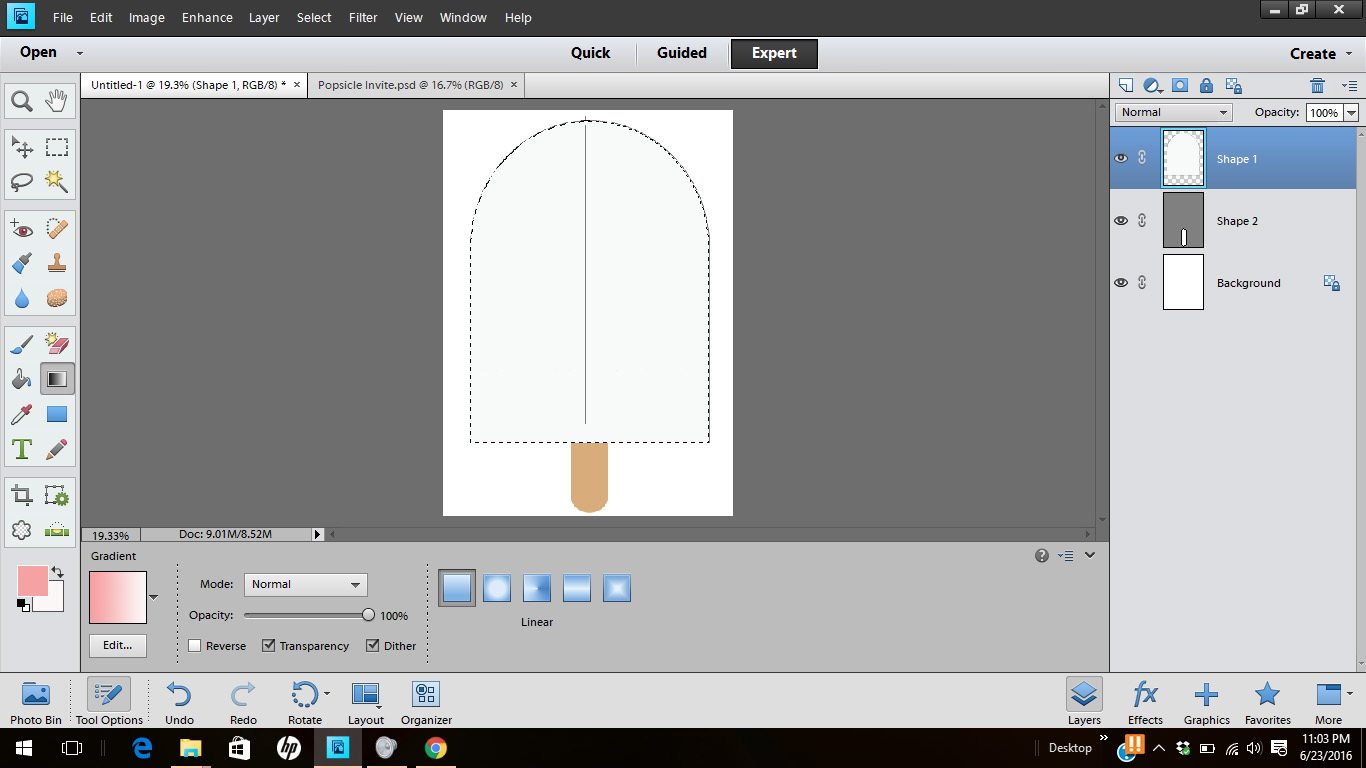
Click on the gradient tool, move your cursor to your design and click and drag the cursor from the top to the bottom of your shape.
And that’s how easy it is to add a gradient to your shape.
You can also experiment with different types of gradients (Linear, Radial, Angle, Reflected, Diamond) These 5 buttons are located at the bottom of the screen.
For more graphic design tutorials, check out:
The Easy Guide to Installing Fonts on Your Computer
How to Create Printables with Photoshop Elements
How to Create a Digital Watercolor Print
Linear and radial are my favorite gradients in Photoshop.