
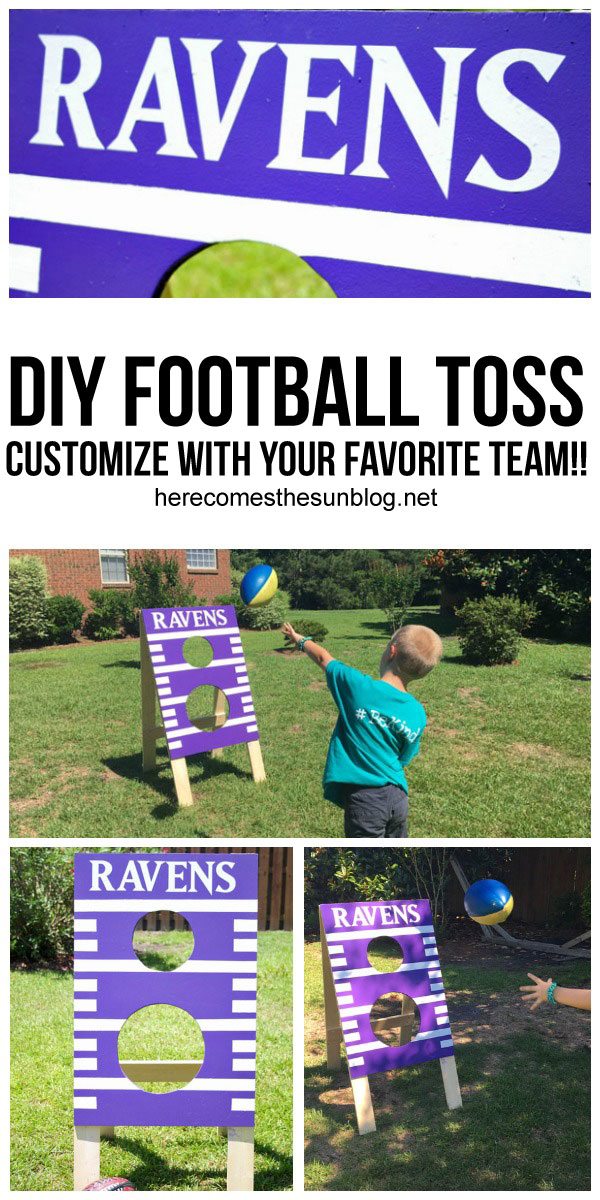
DIY Football Toss
I’m so excited to finally get to share with you all the details of the project that I made for the Home Depot DIY Workshop! If you saw my post last week, this was the inspiration project: A DIY Father’s Day Football Toss
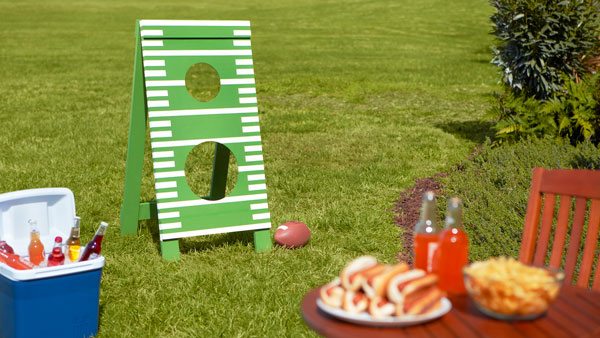
And THIS is how I customized it!
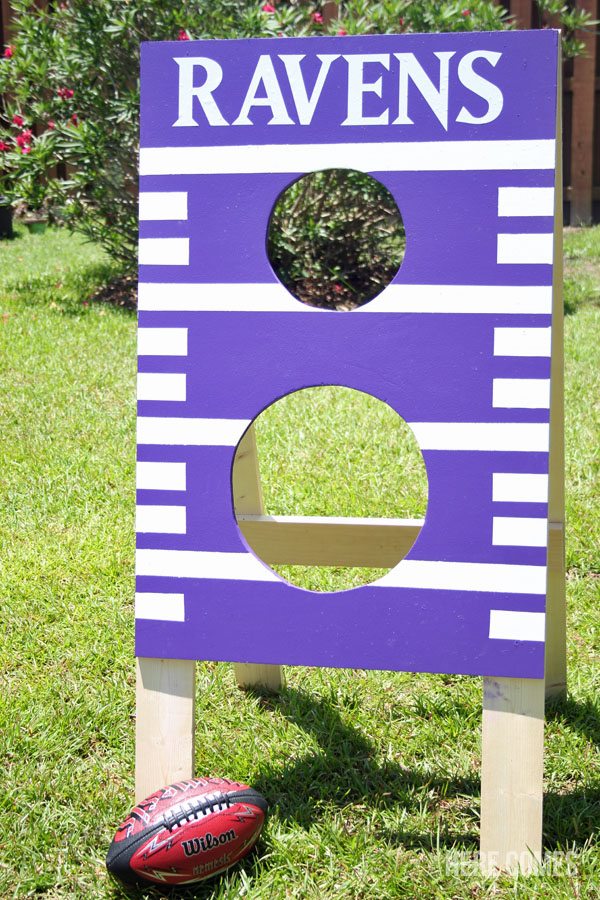
I am totally in love! Anyone else a Baltimore Ravens fan? We bleed purple in this house and I’m so excited to have this amazing Football Toss for all our summer (and Fall) fun! This is a great Father’s Day gift! It’s easy to put together and you can customize it to any team. Let me teach you how to make it.
DIY Football Toss
SUPPLIES
MATERIALS
(1) 1/2″ x 2 ‘x 4′ sanded plywood board
(2) 1″x 4″x 12’ Common boards
2 packs Everbilt #10 x 1 1/4″ Phillips Zinc-Plated Wood Screws
Paint (in your choice of colors)
White contact paper
1 Pack Everbilt 2 1/2″ Zinc-PLated Narrow Utility Hinges (2-pack)
2 circle templates (approximately 8 inches and 12 inches in diameter)
Painters tape
Paintbrush
Paint Roller
Measuring tape
Pencil
Safety Goggles
120 grit sand paper
TOOLS
Circular Saw
Jig Saw Saw
Drill
Drill Bits 1/2″ and 1/8″
DIRECTIONS
Using the circular saw, cut 1′ off the sanded plywood board.
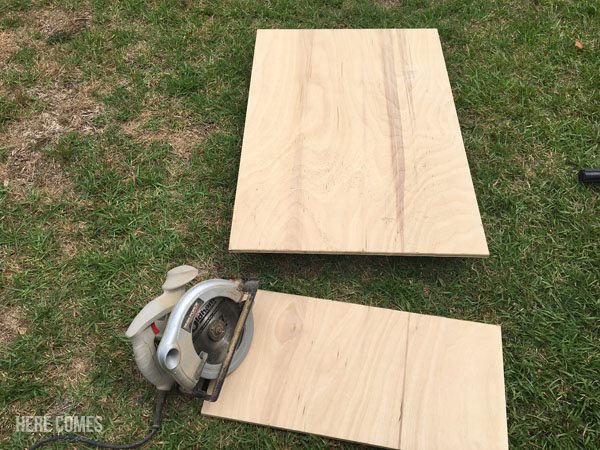
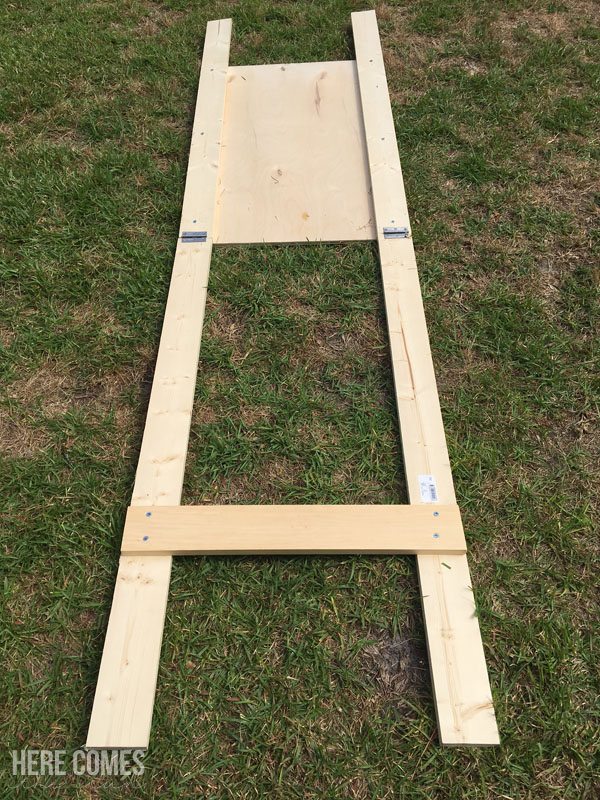
Cut the the common boards into (4) 4′ section and (1) 2′ section as shown below.
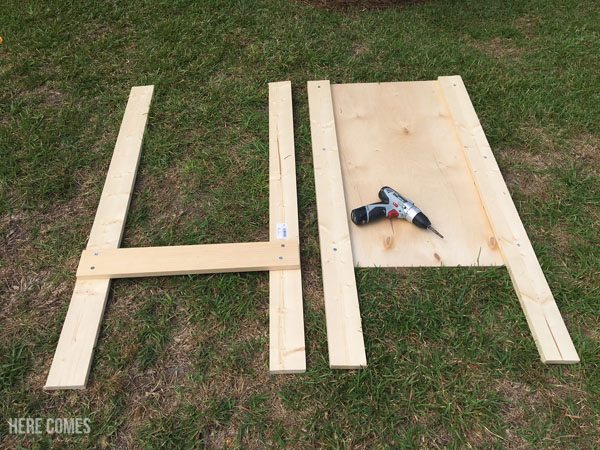
Screw 2 of the 4′ common boards into the plywood board, lining up the tops of each board.
Place the remaining 4′ common boards 2′ apart and screw the 2′ common board onto them approximately 1′ from the base, as shown below.
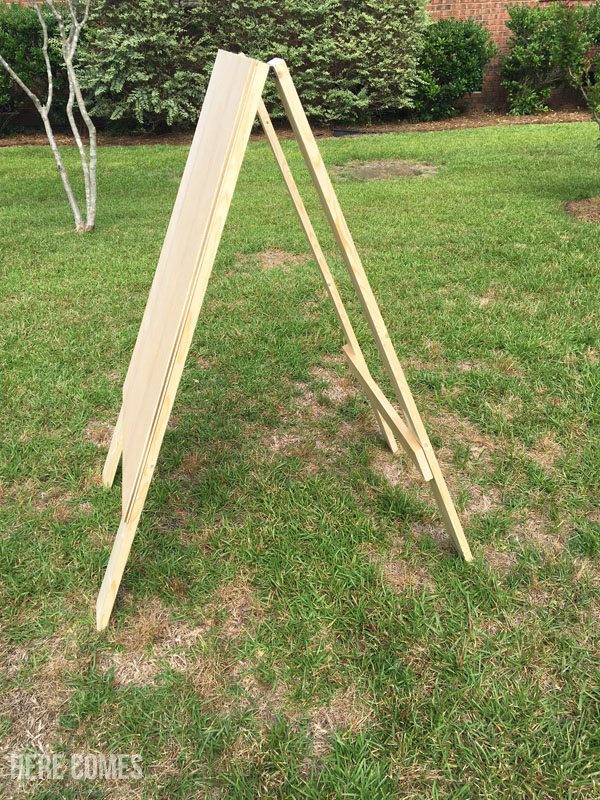
Lay the structure end-to-end and attach the pieces together with hinges.
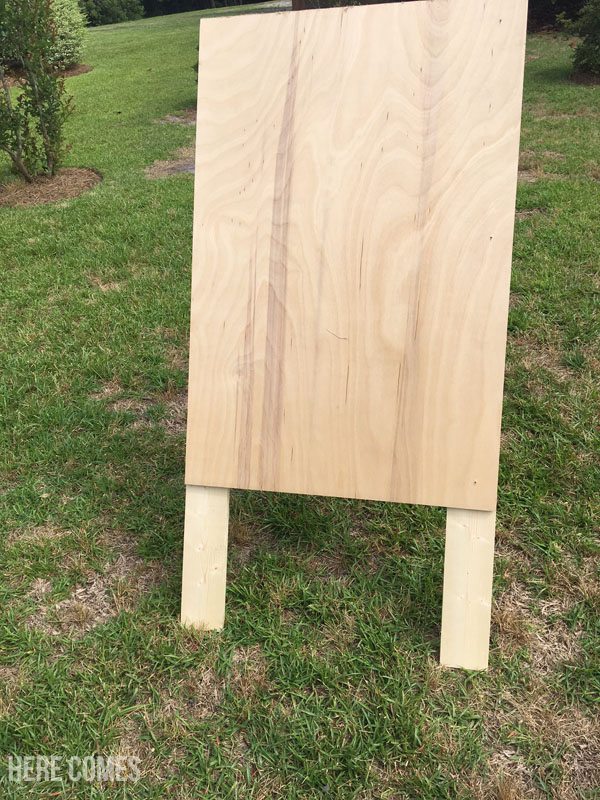
This is what it looks like when you stand it up.
This is how it looks from the side.
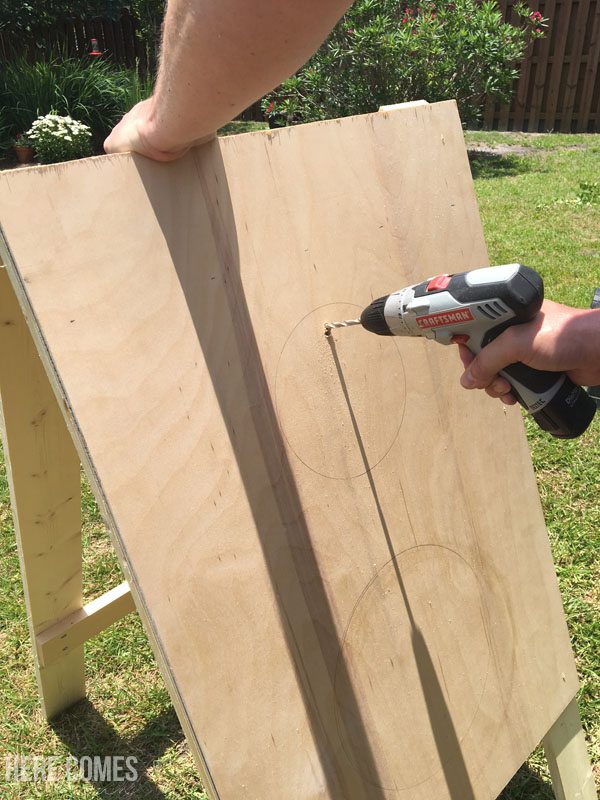
Using your circle templates, draw one small circle and one large circle onto the front of the board. My circles are 8″ and 12″ in diameter.
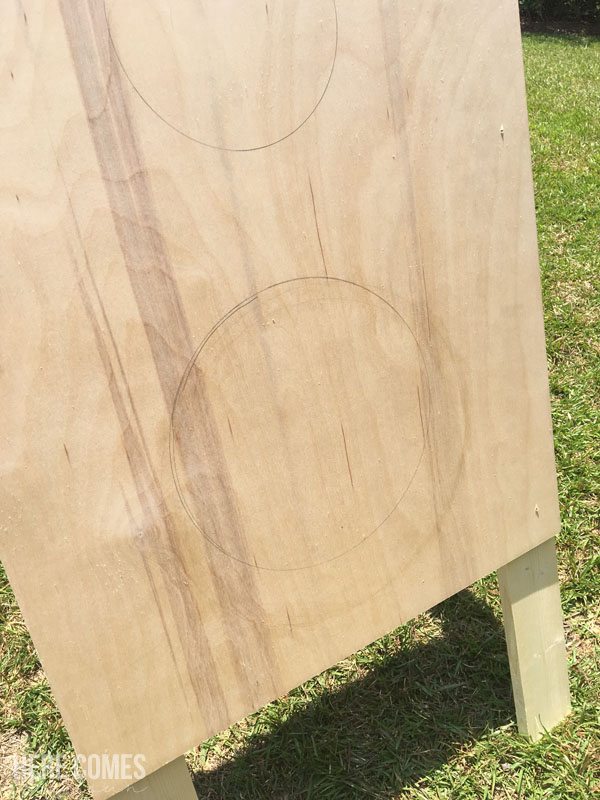
Drill into the board, as shown below to make a hole for the jig saw. Repeat with the bottom circle.
Place the jig saw into the hole and cut out the center of each circle. Sand any rough edges.
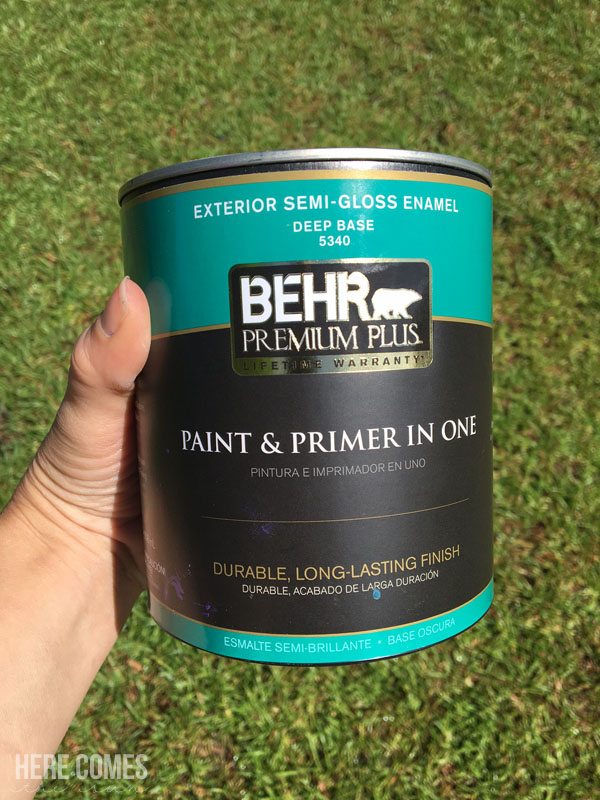
Once you have the holes cut out, make sure to wipe down your Football Toss well to remove all residue from sanding. Now it’s time to paint. I chose Behr Paint and Primer in One. The color is King’s Court. This covers pretty well with only one coat but I did two just for maximum coverage. You’ll want an exterior paint with a semi-gloss finish.
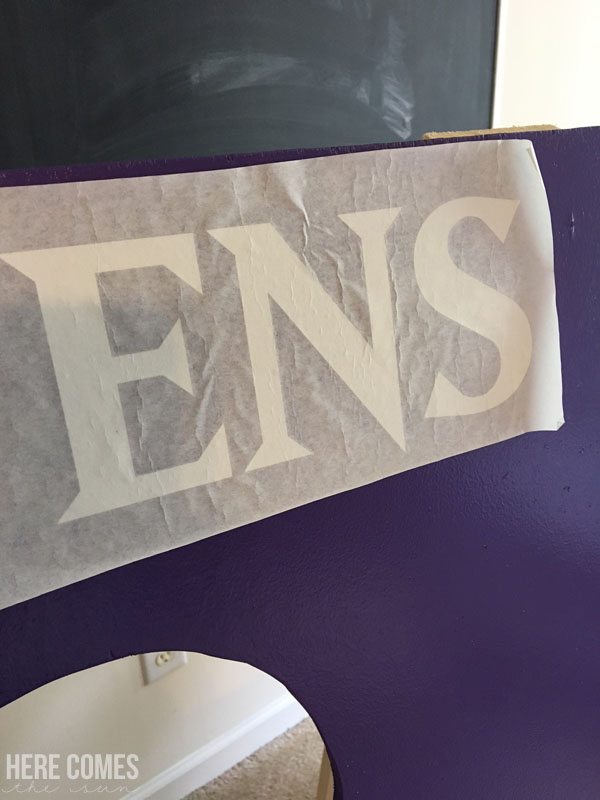
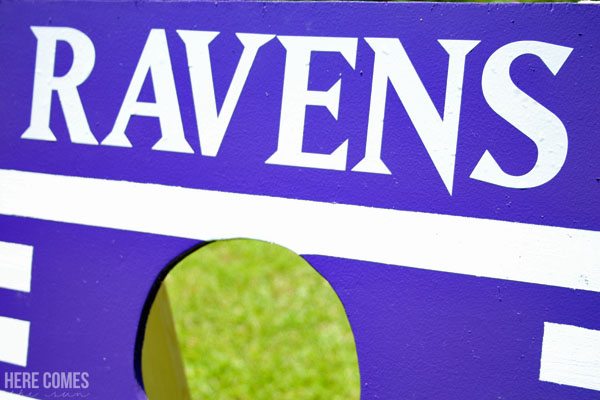
After the paint is dry, cut out any graphics or words onto contact paper or vinyl. I used my Silhouette machine to cut these letters but you don’t need a machine. You can use a craft knife to cut them out. Another option is to use a stencil and paint.
I used transfer paper to adhere the letters to the board to make sure they were straight.
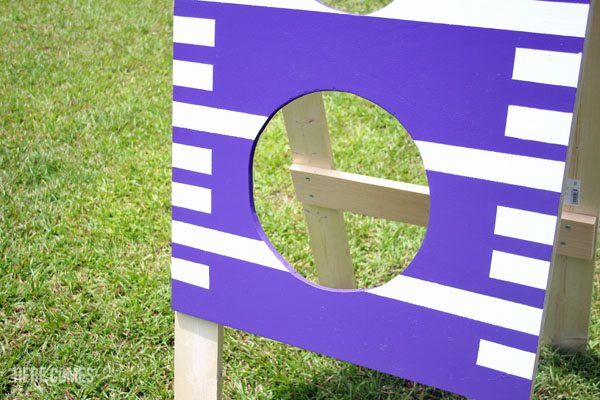
After the letters were placed, I measured out the stripes for the yardlines. The top of the top line is 30″ from the bottom of the plywood board. Each yardline stripe is 1.5″ wide and there is a 1″ gap between each yardline stripe.
I used painters tape to get a clean edge. First, I painted the lines that go all the way across.

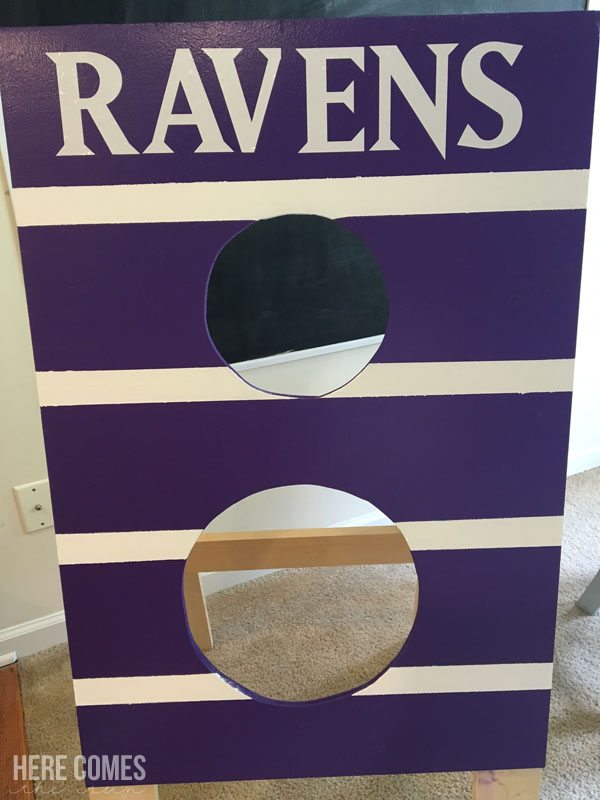
Once those were dry, I taped and painted the shorter lines. (The shorter lines are 3″ long) Any touch ups can be done with a small paintbrush. I did not paint the legs because I like the way they look natural. I am planning on storing the Football Toss inside but if you are planning on keeping it outside, you’ll want to either paint the legs with exterior paint or seal them with polyeurethane.
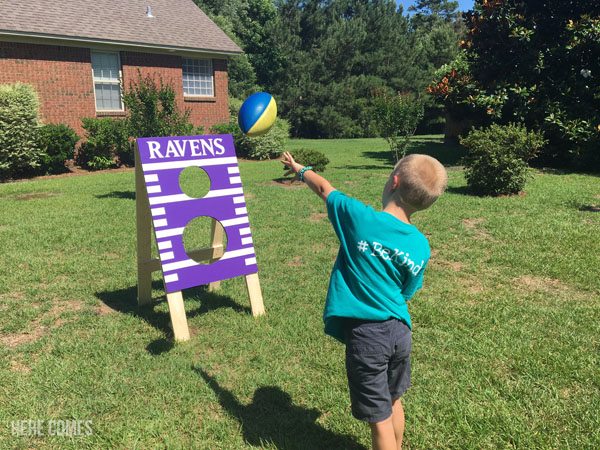
Then I took the Football Toss outside for it’s season opener.
My son had tons of fun practicing his skills and now we have a new game to play for family game night!
The Home Depot offers workshops at all of their locations to learn how to make projects like this. They offer 3 different kinds of workshops: DIY (Do-It-Yourself), DIH (Do-It-Herself), and Kids. You can learn everything from how to use power tools to simple home repair, to fun kids projects. These workshops are free demonstrative classes. The projects vary by store and even if you can’t make and take the project, you will learn the skills to recreate the project at home. Learn more about the workshops and register for a DIY Workshop at your local Home Depot by clicking here.
Check out how my blogging friends customized their football toss!
John Malecki
Infarrantly Creative
Confessions of a Serial Do It Yourself Blog
Our Pinteresting Family
Salvage Sister and Mister
Finding Home Farms
Thank you to Home Depot for sponsoring this post. #DIYWorkshop
This looks like so much fun! Both the construction, and the eventual product. Thank you for sharing this! It’ll be great for trying out with other sports too, like soccer and basketball. I’ll definitely try and build it over the weekend.
I’ve been Googling for stuff we can use for games for my son’s birthday party and I somehow landed on your post! I something like this would be a hit with the kids so I’m going to build this DIY football toss on the weekend! Thanks for sharing 🙂