
Guest Post: Create.Craft.Love
This post may contain links to affiliate websites, such as Amazon and we receive an affiliate commission for any purchases made by you using these links.
Today I have a guest post from Jill at Create.Craft.Love. If you have not checked out her blog yet, you MUST do so. It is filled with inspiring projects.

Hi everyone! I’m Jill! I am so excited that Kelly asked me to guest post!
I have a little blog called Create.Craft.Love. A little about me…I’m a mommy to a handsome little boy and wife to an amazing man. I am a nurse practitioner in real life but love the escape that crafting and blogging offer. It keeps me sane!
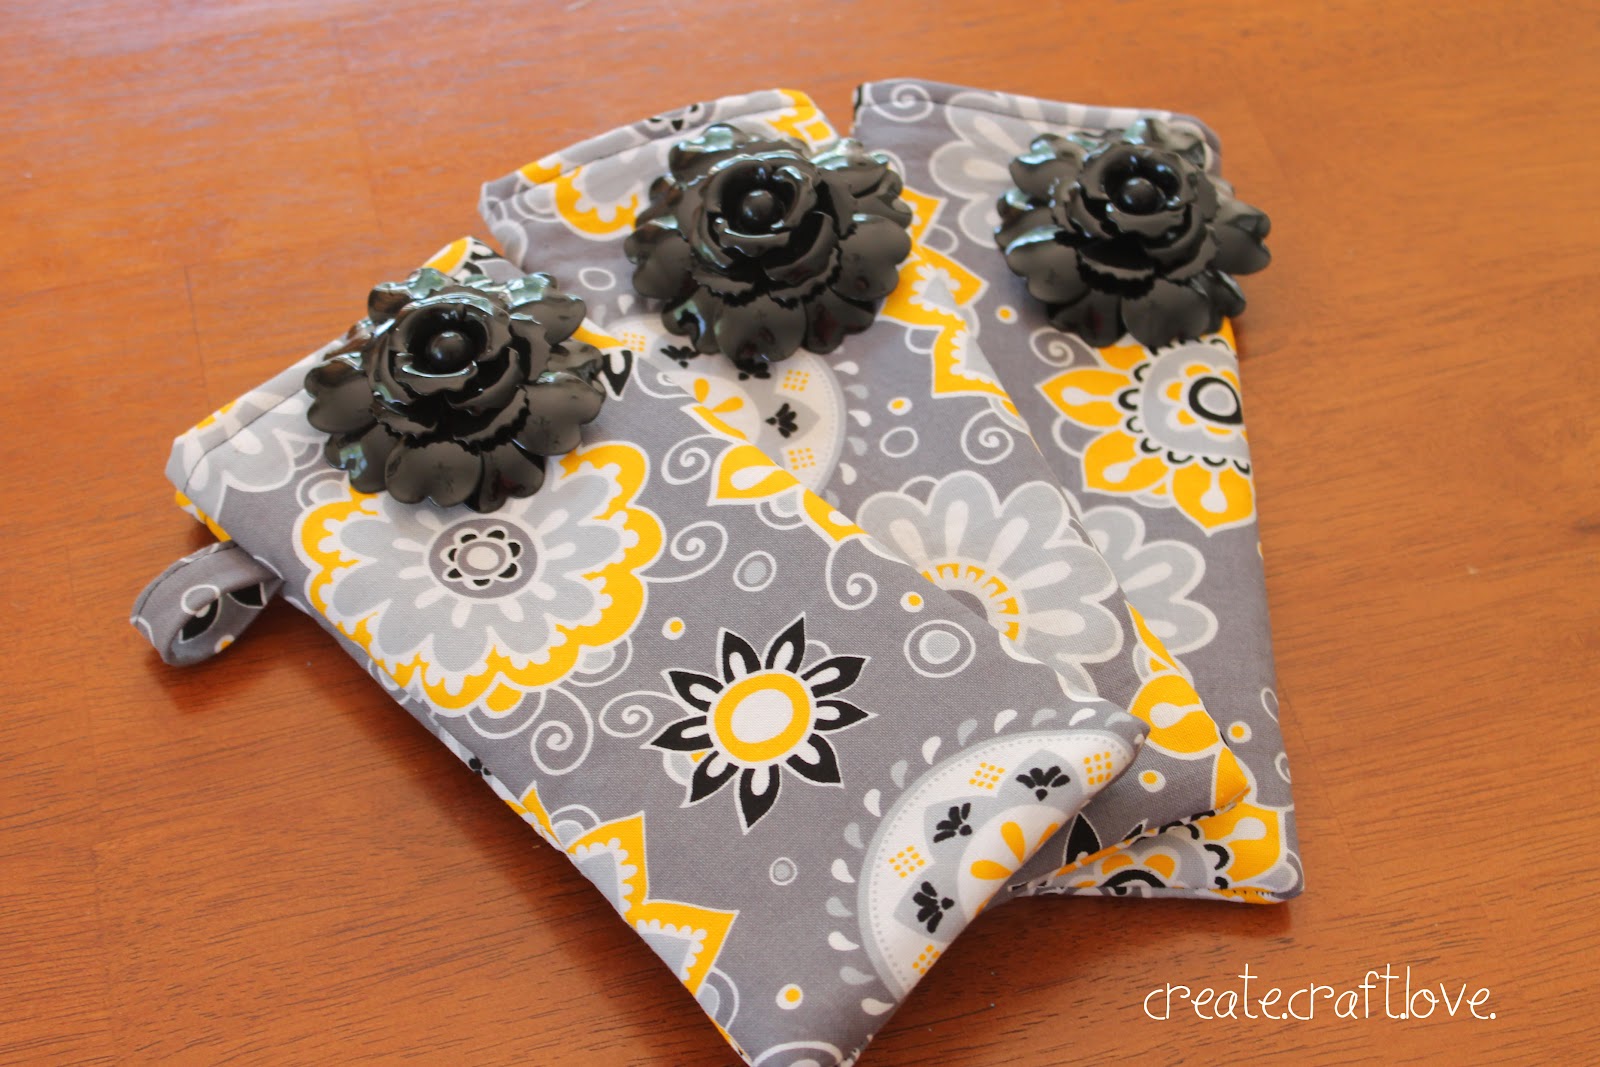
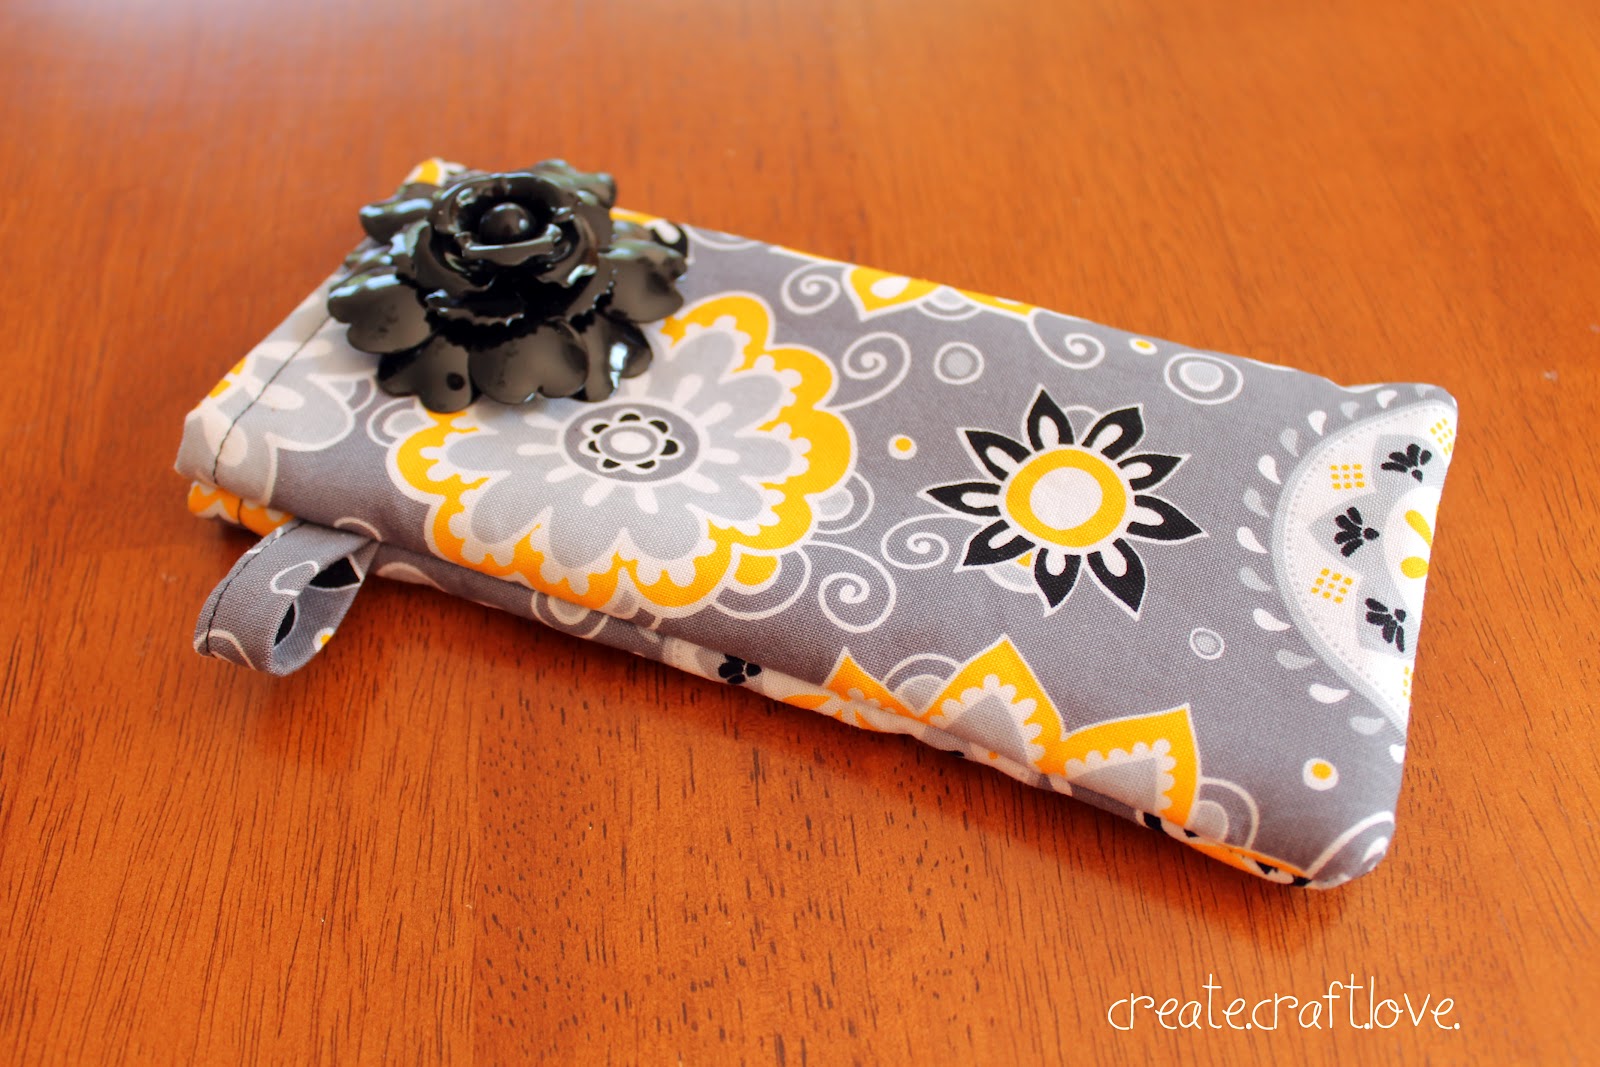
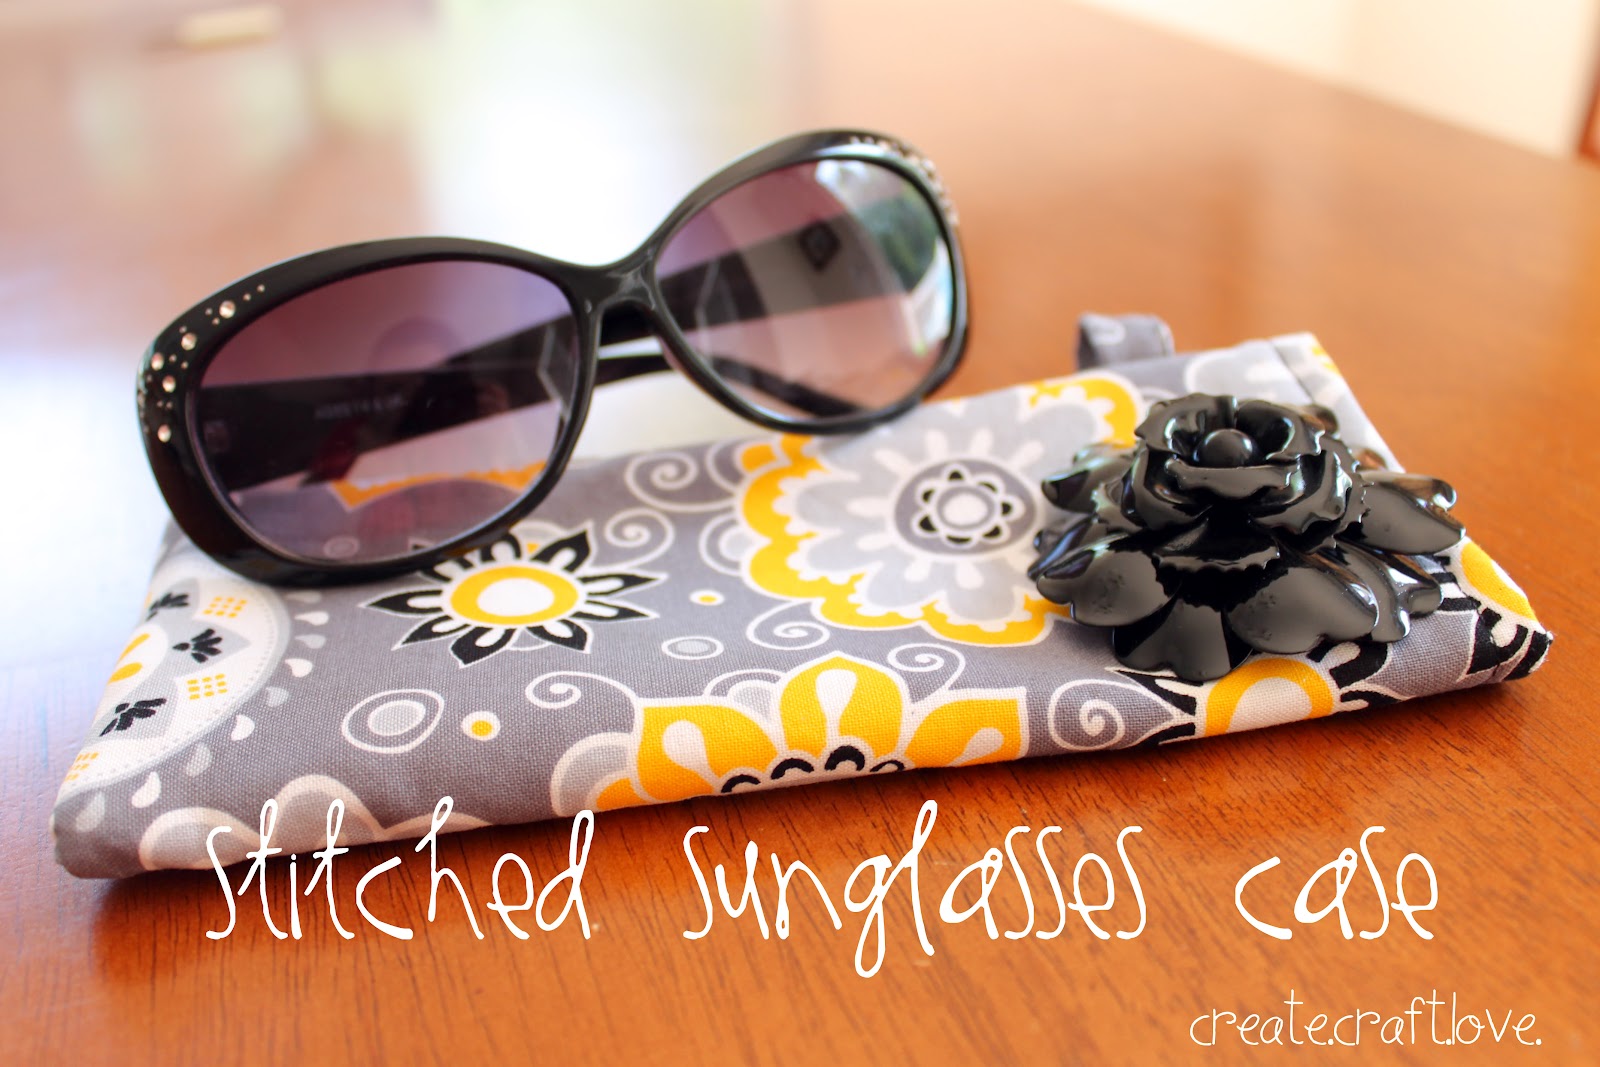
While perusing through oodles of fabric at Hobby Lobby (I have a small obsession with fabric), I came across the most adorable yellow and gray floral pattern! What is it about that color combo that is so appealing? It’s just so bright and cheery!
Anyway…
This delightfully happy pattern brought thoughts of summers by the pool and lounging on the beach. I wanted to make something that symbolized summer. And since I can never seem to keep my sunglasses from being mangled in my purse (or by tiny hands), I decided to make this adorable sunglasses case!

Don’t you just love it? I found those black rose brooch clips on sale at Hobby Lobby too. It really pulls it all together!
Here’s what you need:
Two pieces of coordinating fabric
Lightweight fusible fleece
Coordinating thread
Scissors
Brooch or decorative embellishment (optional)
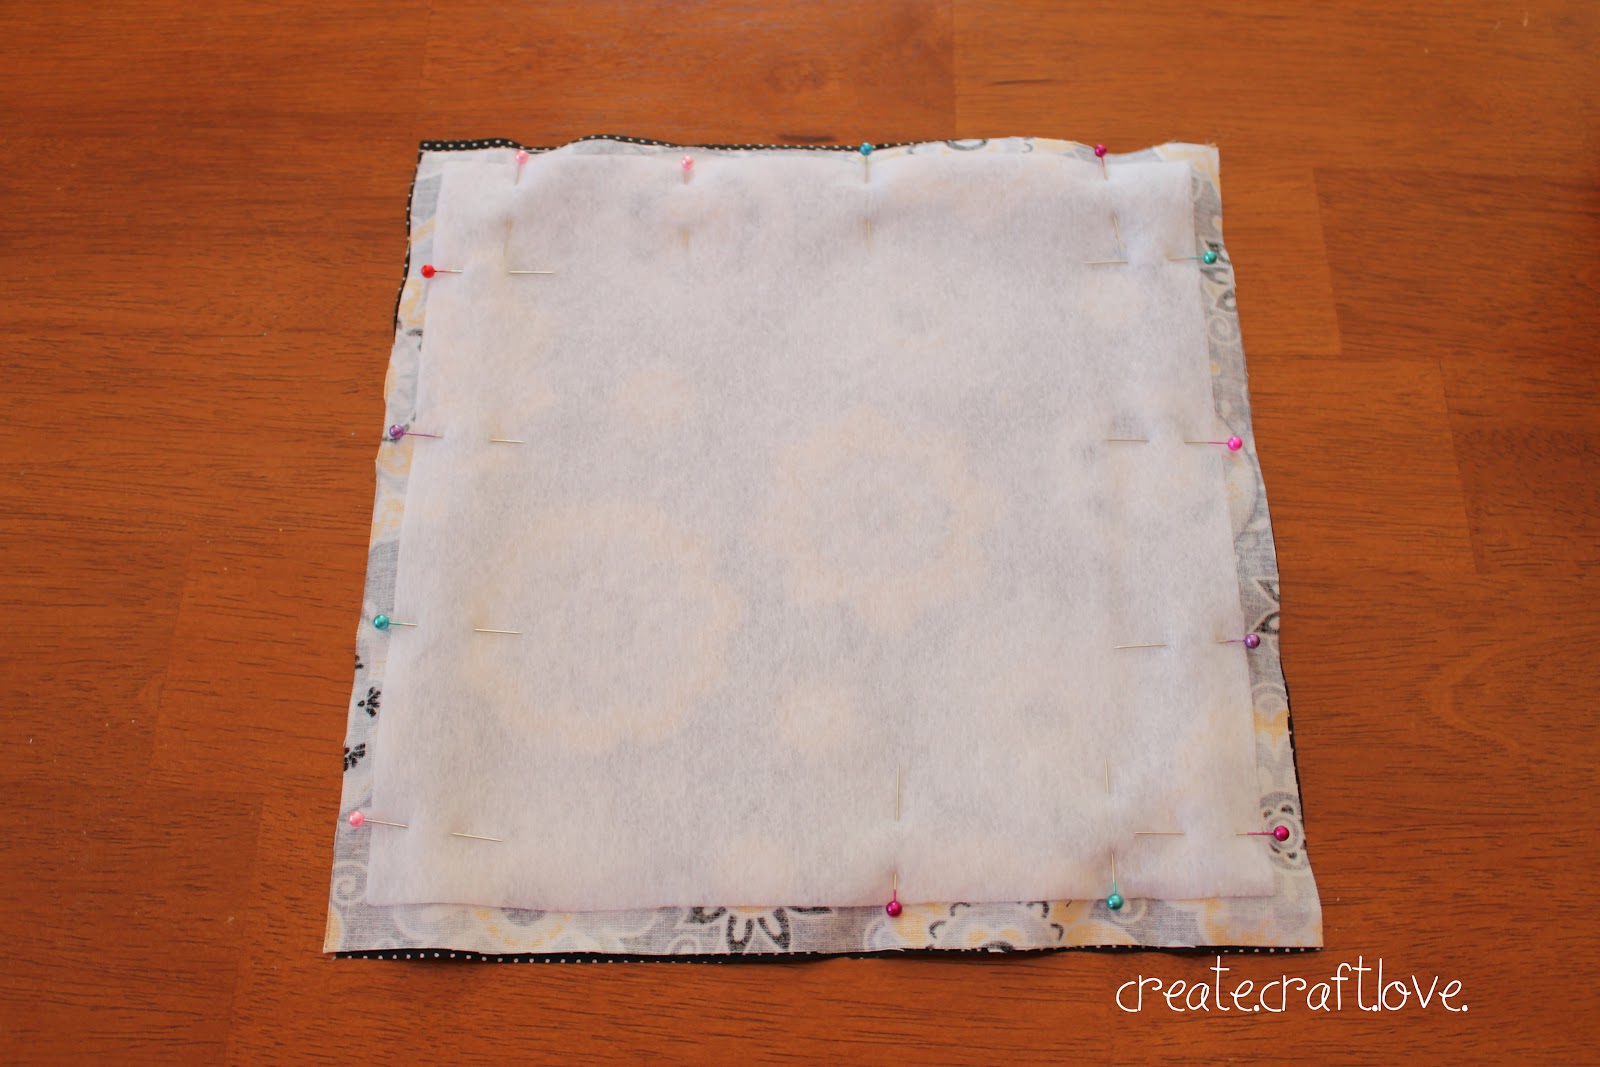
Start by cutting your two pieces of fabric into 10 inch x 10 inch squares. One will be the outside fabric and the other will be the inner lining. (I purposely made these too big.) Cut a 3 inch x 2 inch piece out of the fabric you are using on the outside. Next cut the fusible fleece into a 9 inch x 9 inch square.
Place the two pieces of fabric right side together. Lay the fusible fleece in the center and pin around the edges. (Be sure to leave a 3 inch opening to turn the fabric right side out.)
Sew around the edges (leaving that opening).
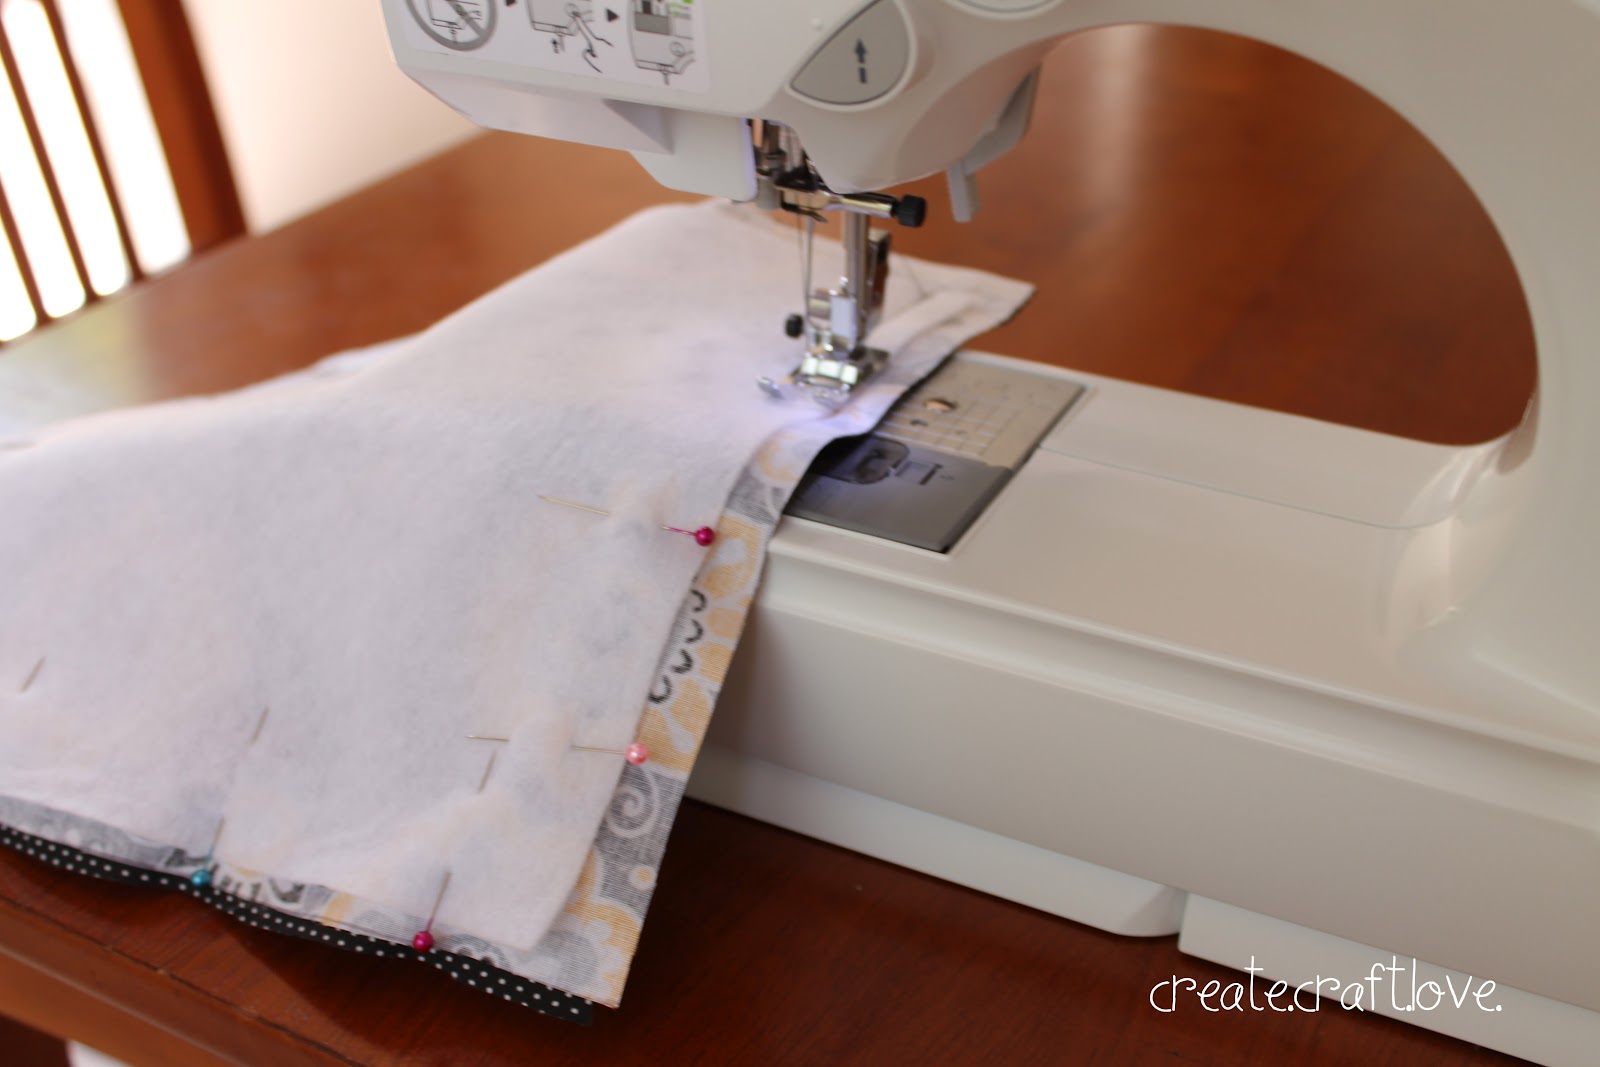
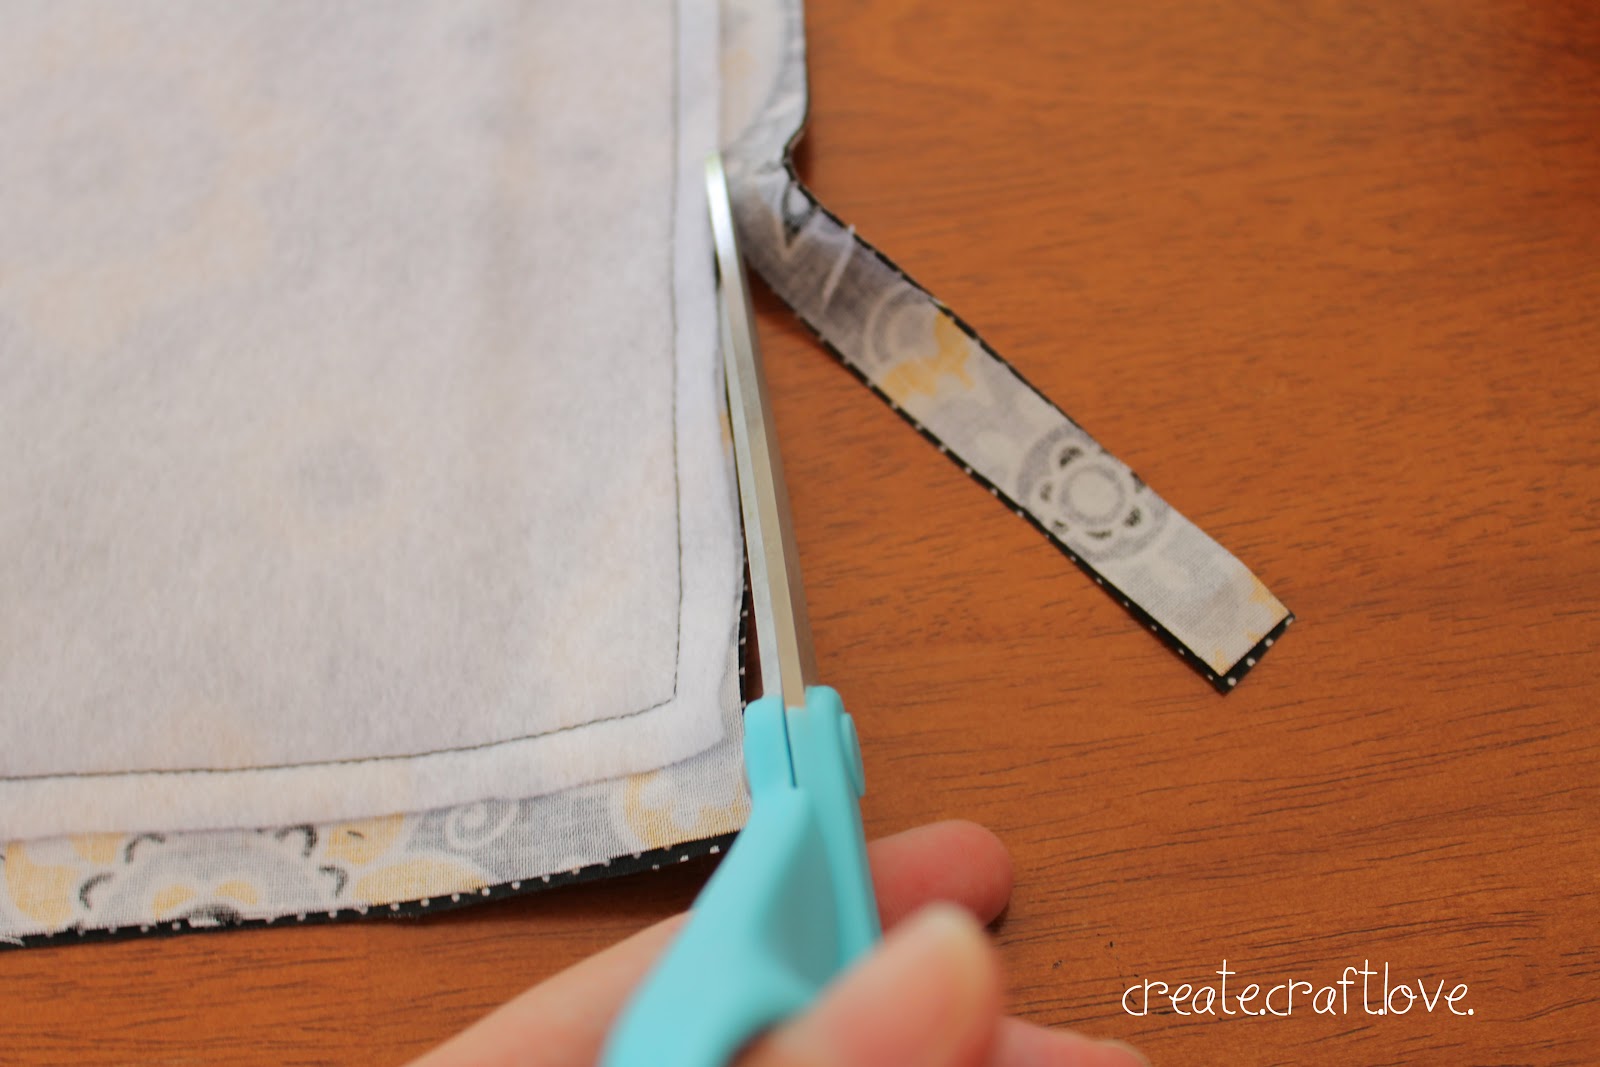
Cut the excess fabric and turn right side out.
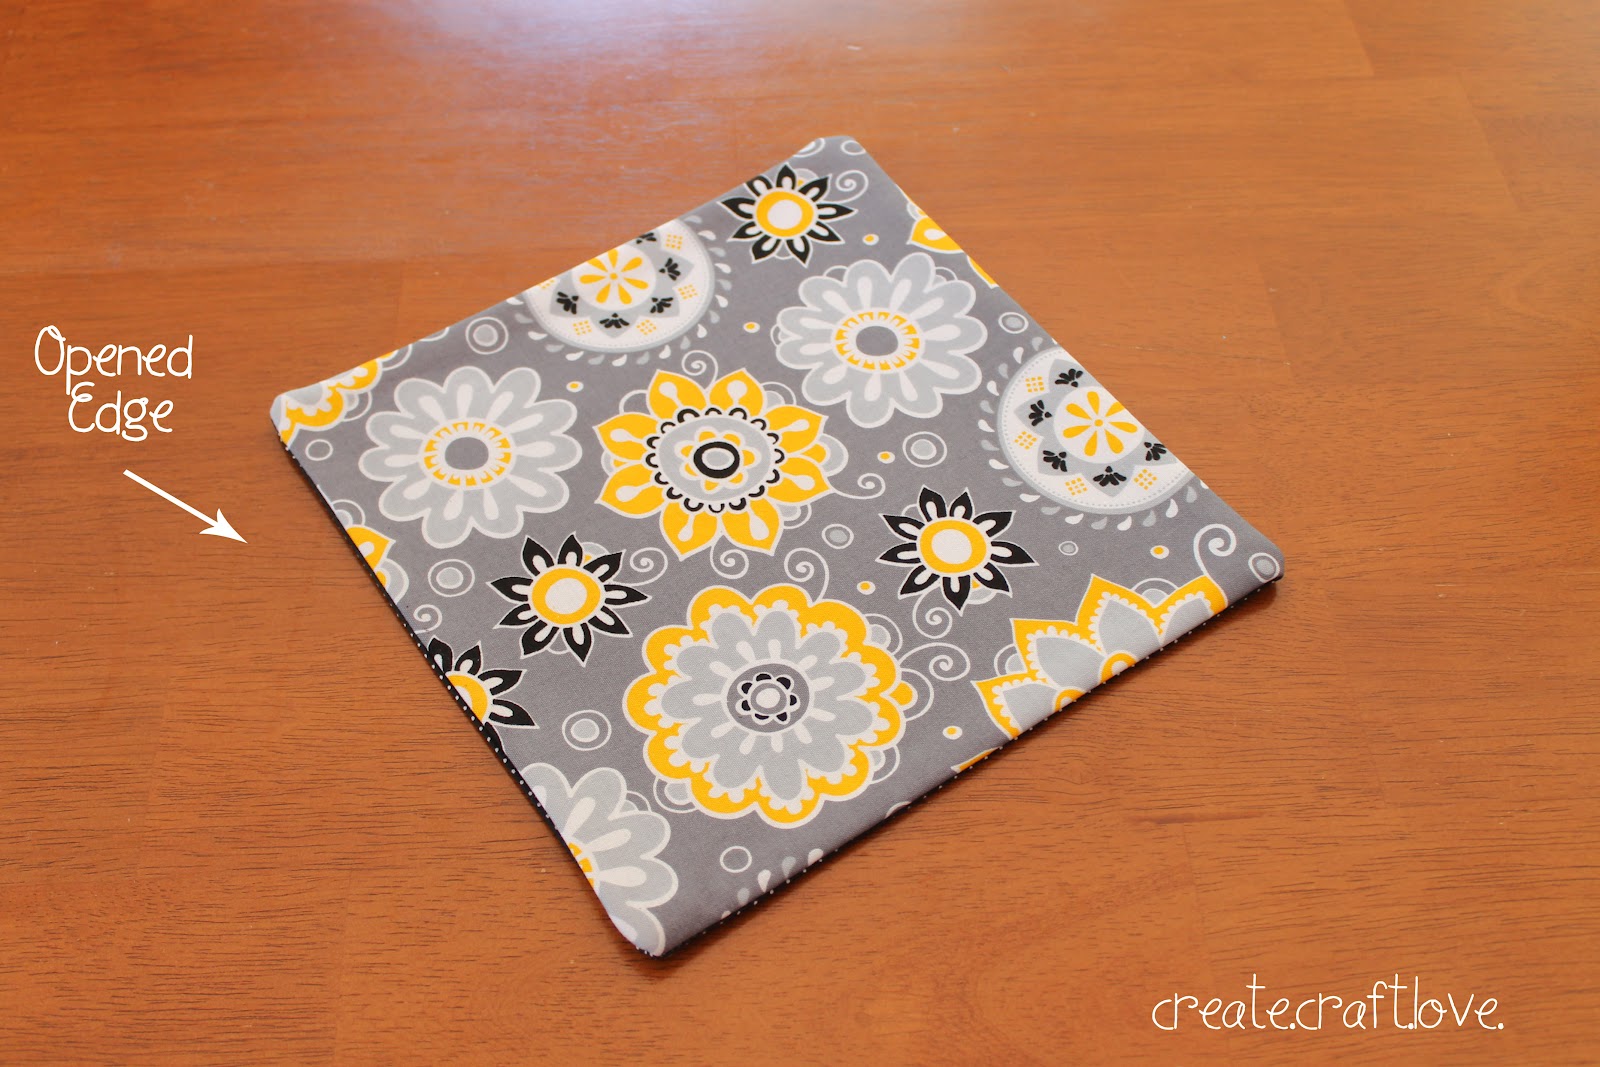
Iron the square. (I folded the opening in and ironed so it would be easier to sew.)
Next, pin the opening together and top stitch along that edge and set aside.
Take the 3 inch x 2 inch fabric and fold the long edges to the middle. Iron in place. Then, fold in half and iron again. (I did it this way so the edge looked cleaner than just folding in half and folding in half again.)

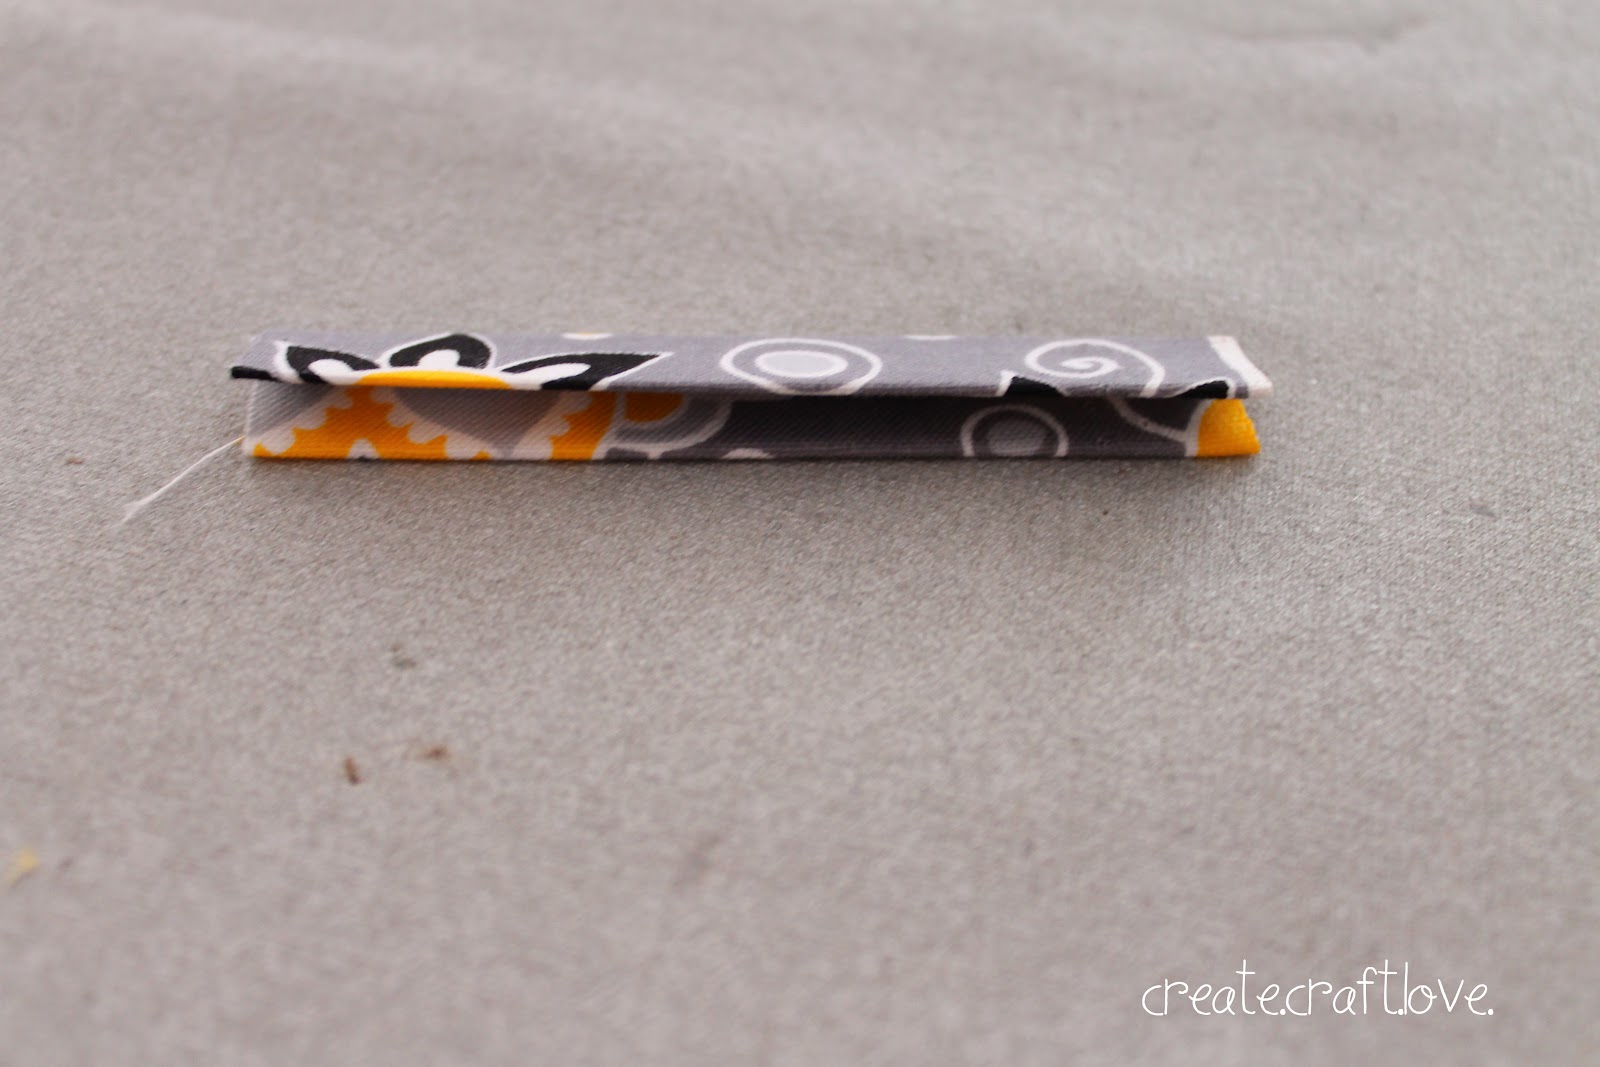
Stitch along the open edge.

Fold the piece in half and place the raw edge on the right side of the 9 inch square (loop will be pointing to the middle). Pin in place. Then fold your 9 inch square in half and pin along the edge and bottom.
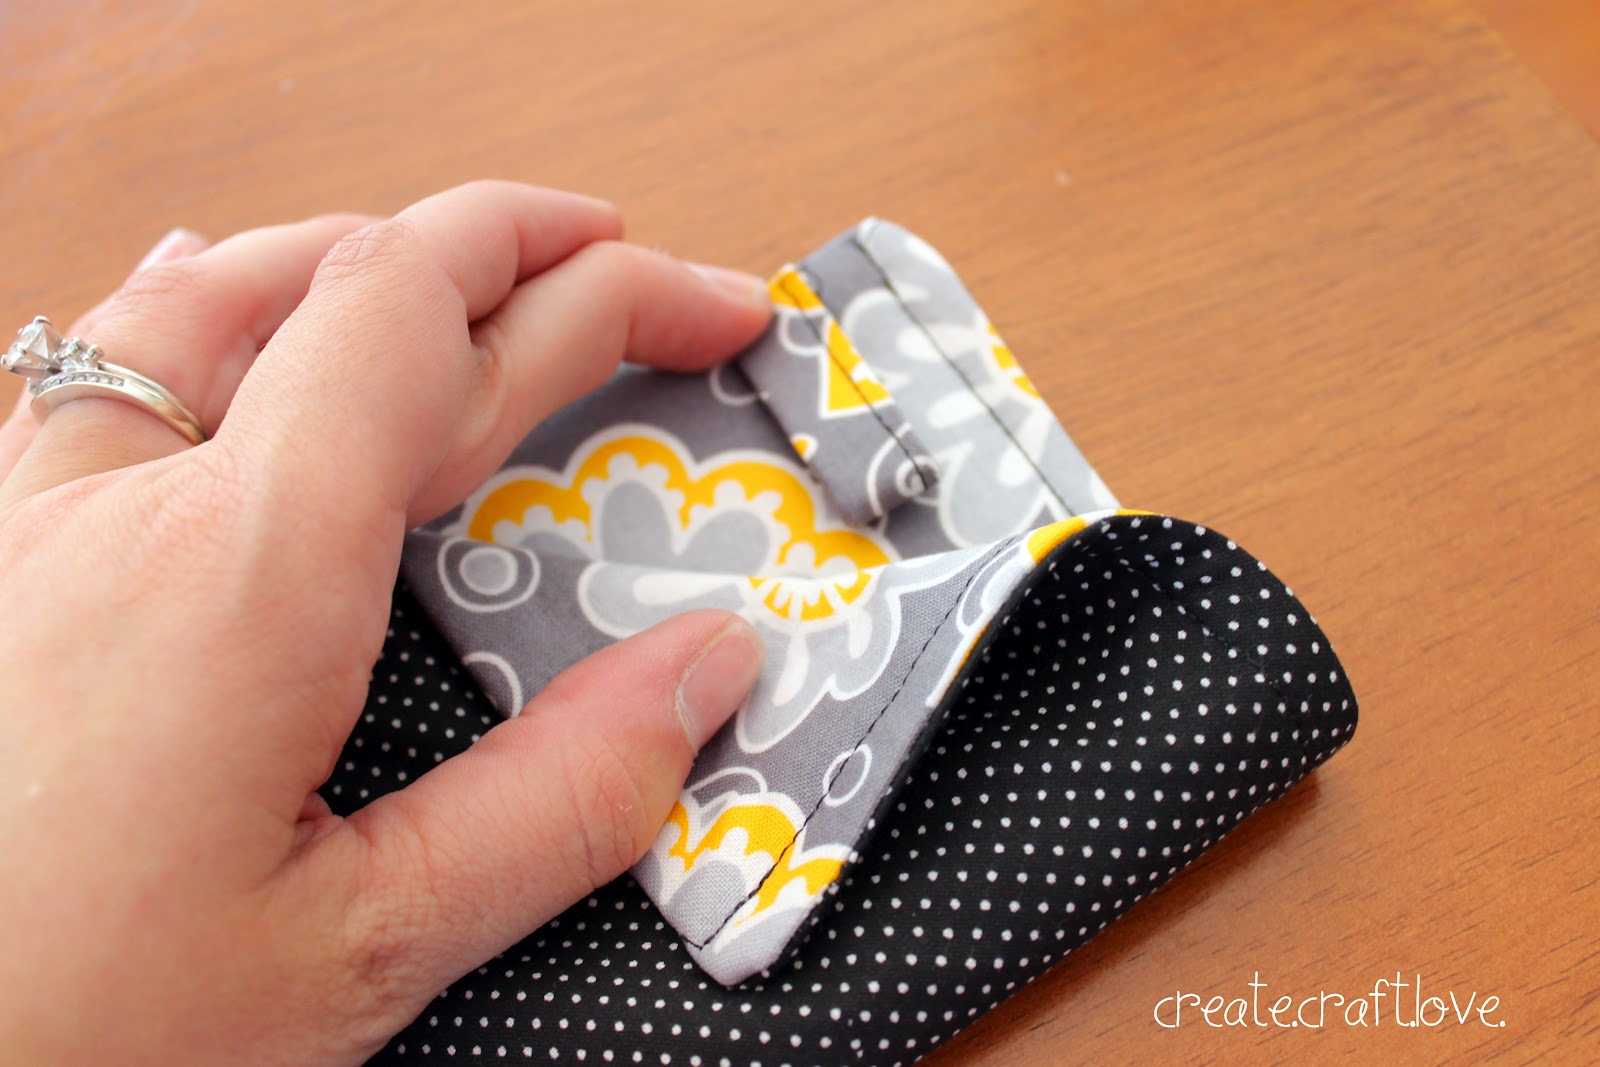
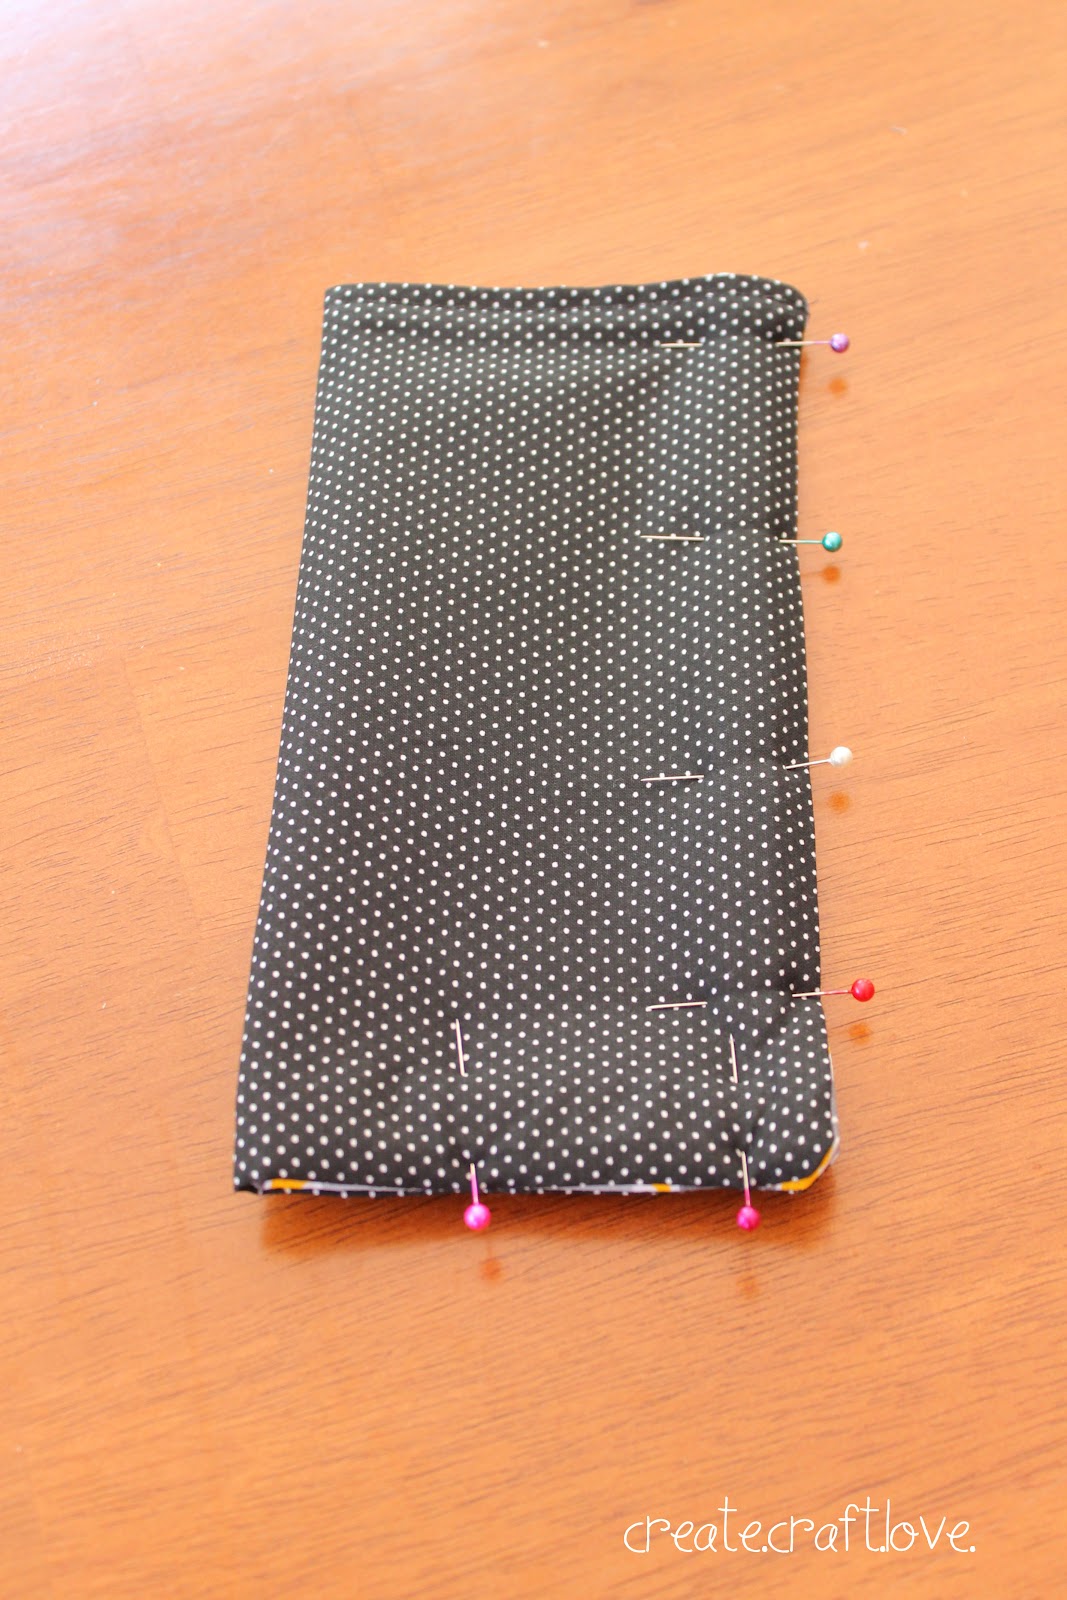
Stitch around the two sides (1/2 inch seam).
Cut the bottom corners.

Turn right side out, push out the corners and add embellishment.
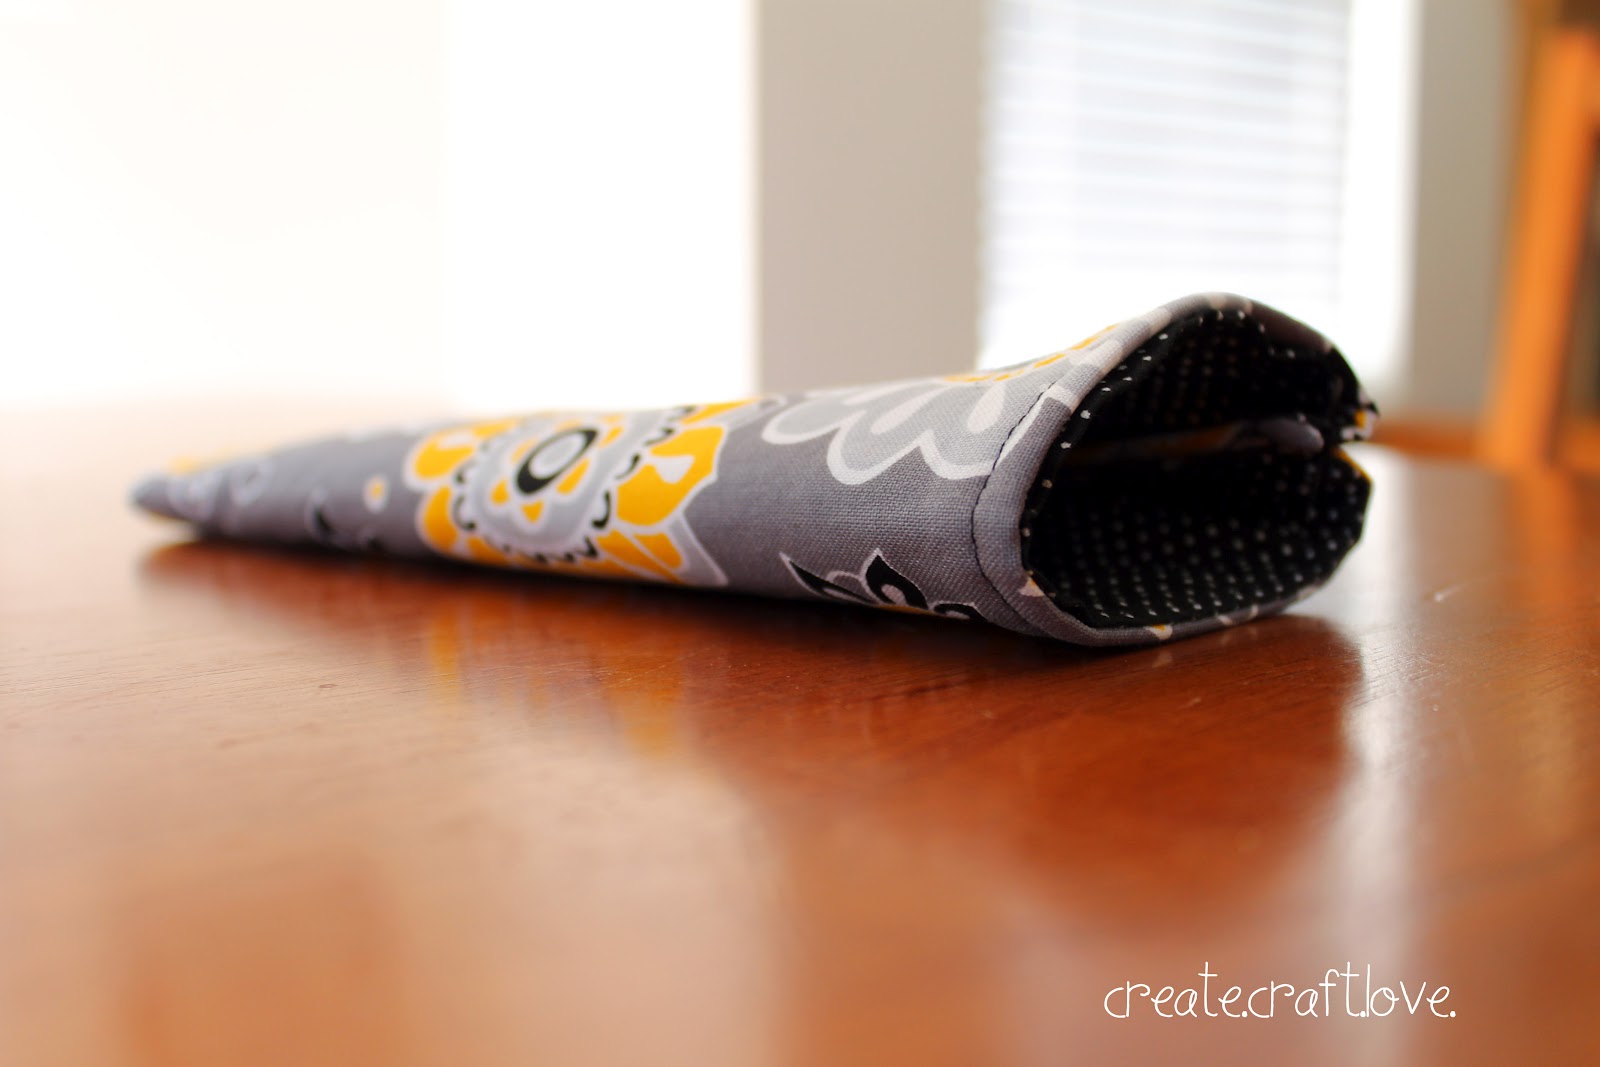
It was so easy to make! I made three in an hour!

Click here to download a printable PDF of my tutorial!
I am crushin’ on this case!
Would love for you to stop by and see what else I’ve crafted up!

Thanks so much, Jill, for this wonderful tutorial!
oh my gosh! so cute! found you via the blog hop xo
Very easy and creative post. I’ll try that and make my own design after reading our website.