Guest Post: Rachel from "I Heart Crafty Things"
I’m so excited to have Rachel from “I Heart Crafty Things” guest post today. She has an amazing blog with tons of crafts for kids. I’m inspired by her creativity each time I visit. Today, she is kind enough to share two great crafts with my readers… and both are “Out of this World”…..
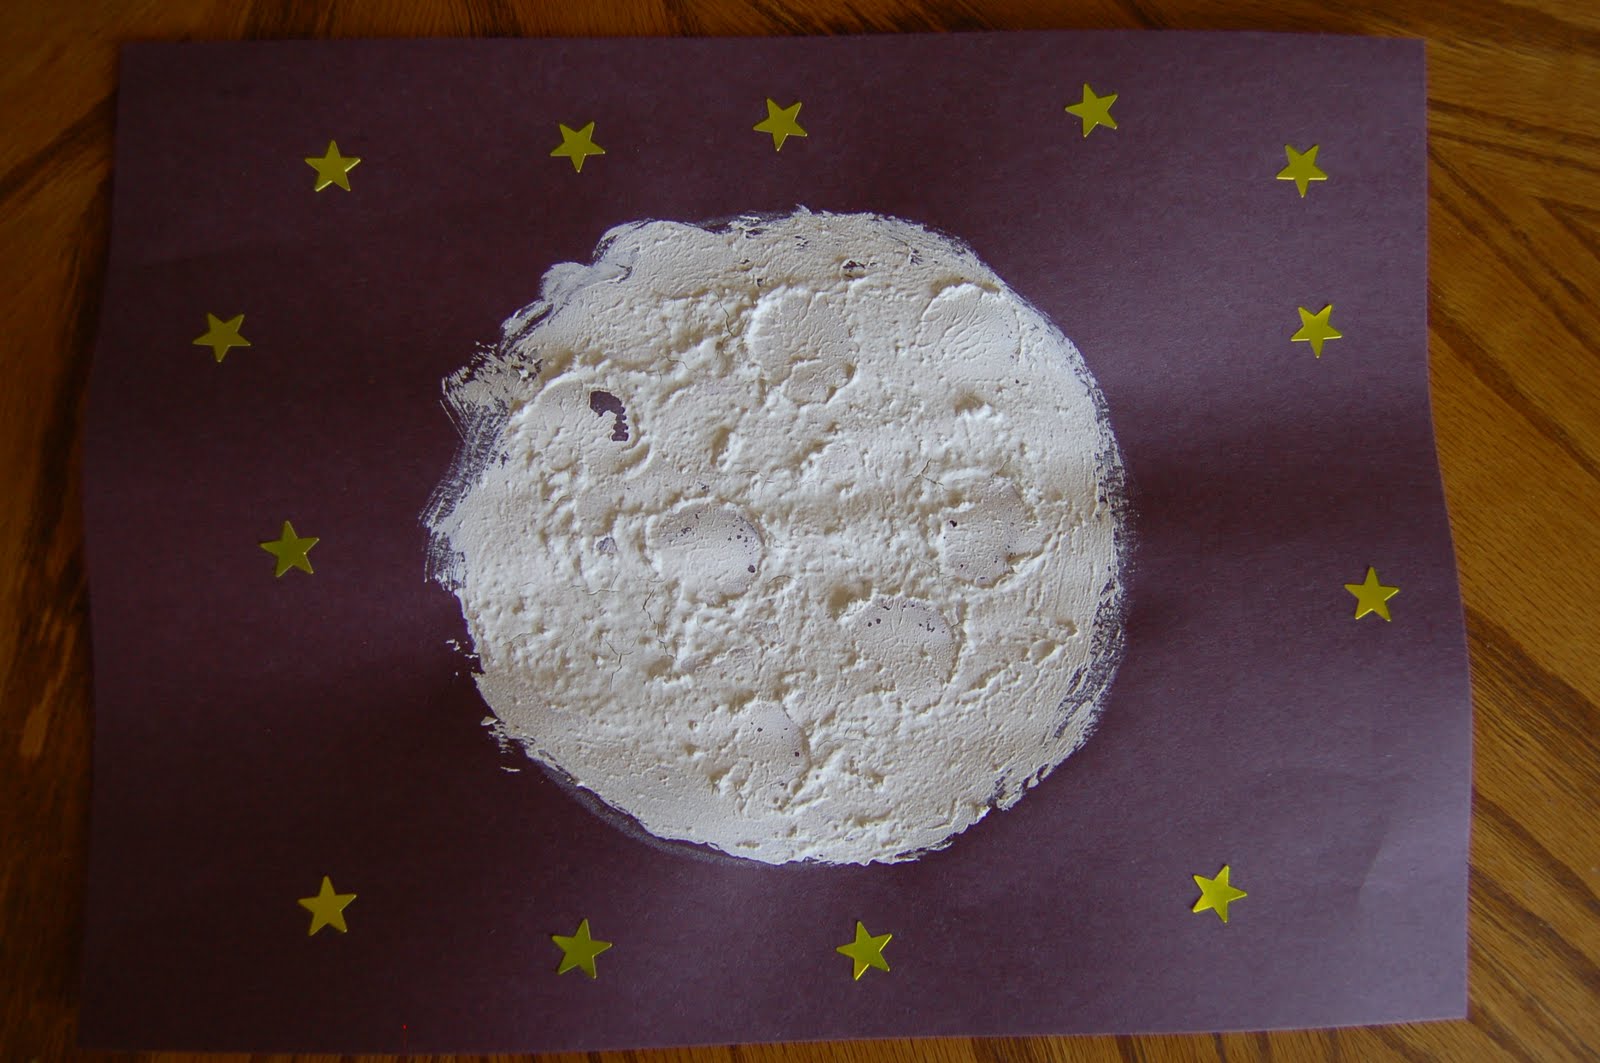
Hi, this is Rachel from I Heart Crafty Things. I am a stay at home Mom to 3 super cute kiddos and you will quickly learn from visiting my blog that we LOVE doing crafts at our house. I always try to correlate our crafts with children’s books and activities we do as a family. I’ve found that sometimes it gets difficult coming up with crafts that both my First Grader and Preschooler enjoy, but this Summer we had a Space week and we completed a couple projects that both my kids absolutely adored! I’m super excited that Kelly asked me to guest post today to share them with you. First, we created a Moon Masterpiece. I wanted my kids to have an understanding that the Moon had craters and texture, so we used a special painting technique to make our Moon have texture. You can see from this picture how cool it looks once it’s all dry.

Our favorite Moon book we read was “Happy Birthday, Moon” by Frank Asch. Love this Story!!
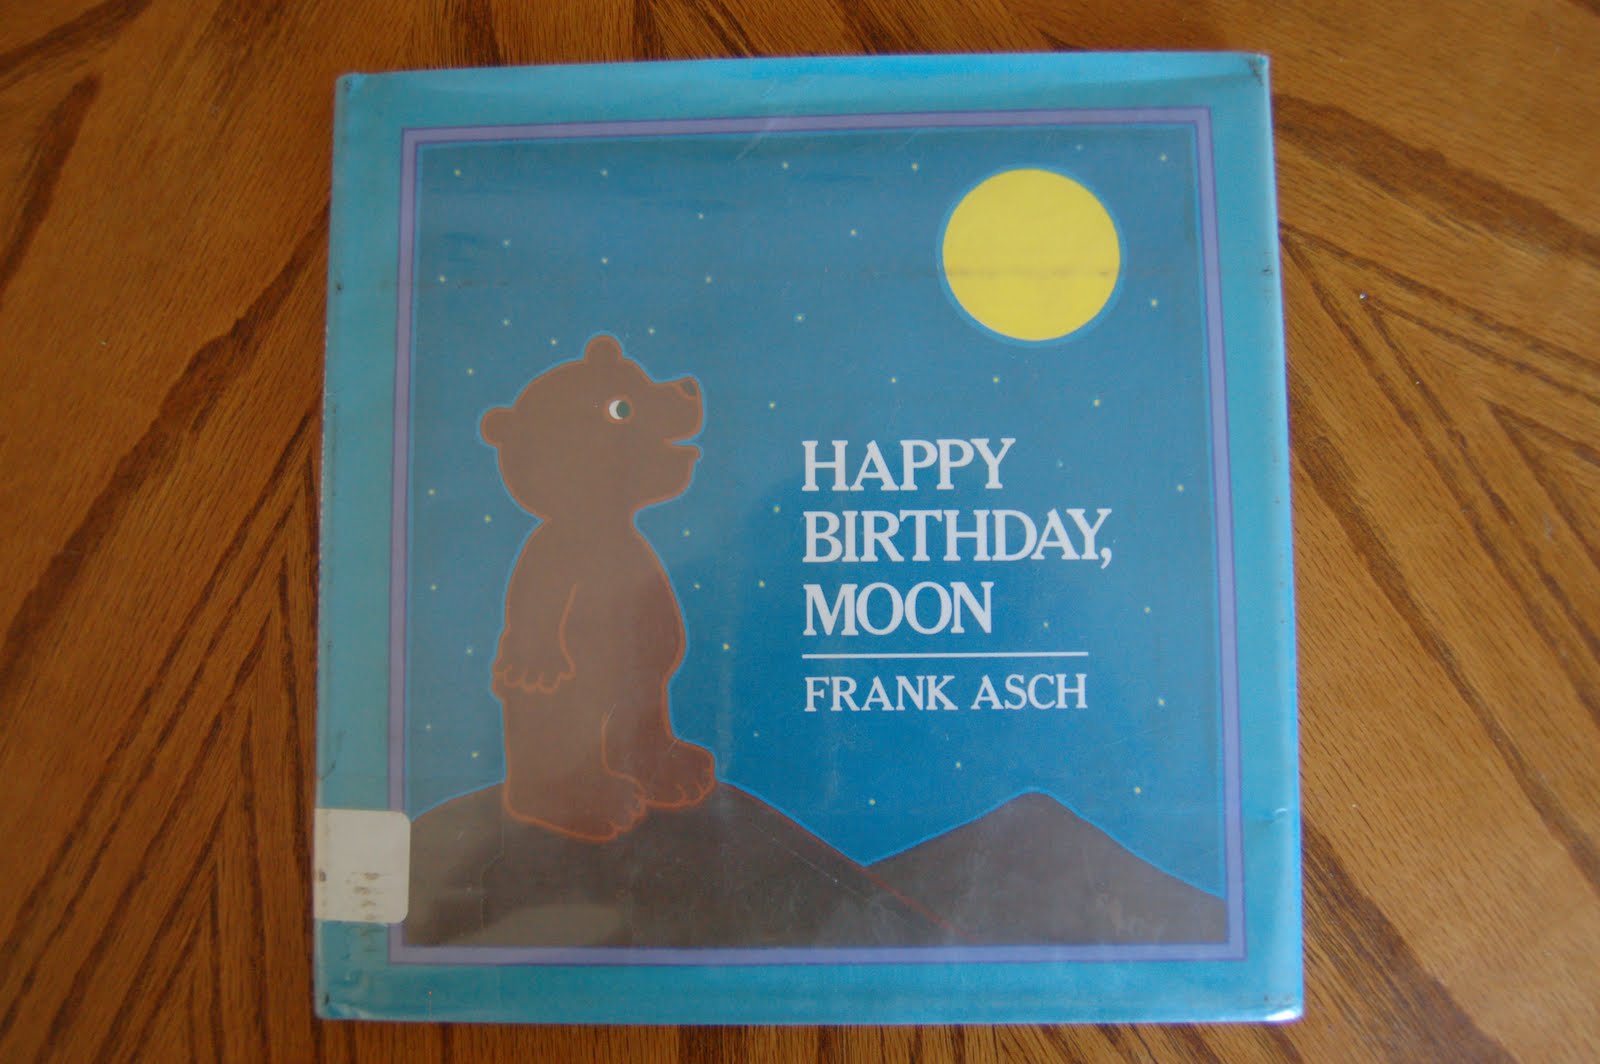
It’s about a Bear who thinks it would be fun to get the Moon a Birthday present. He climbs up to the top of a mountain to talk to the Moon and he really thinks the Moon is talking back to him, only it’s really just his own echo. My kids LOVED this story. They giggled and giggled and it was lots of fun!
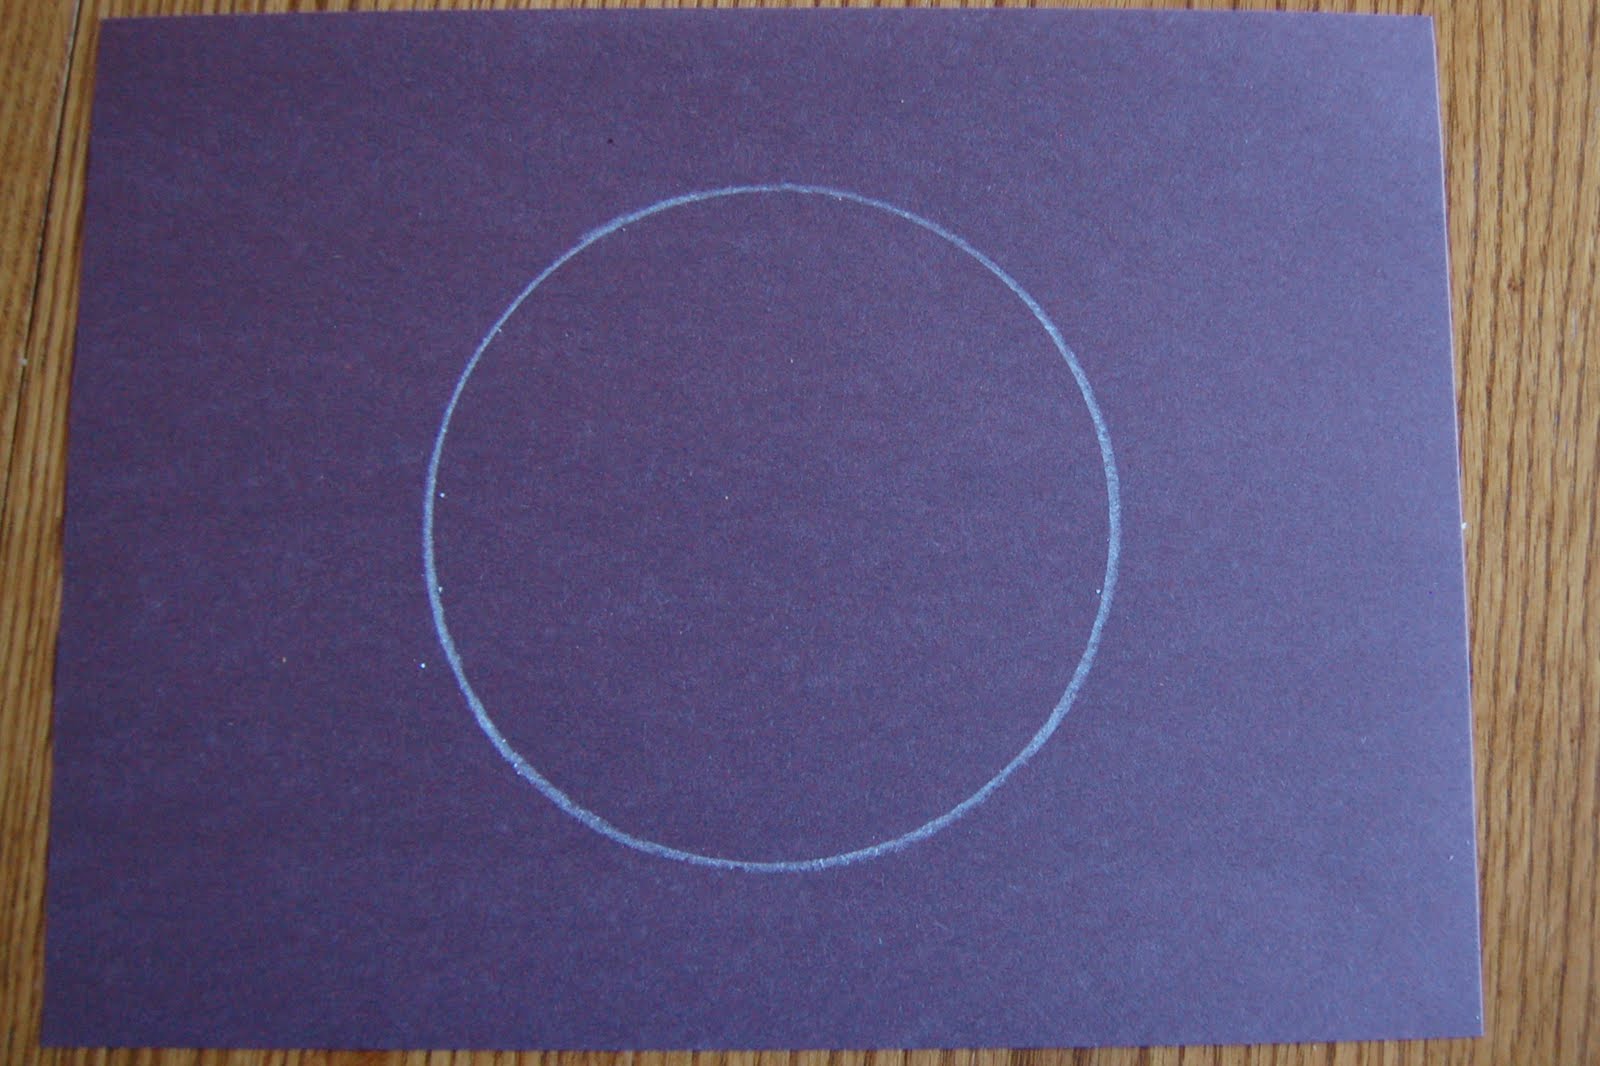
Let me show the secret technique to creating our Moon Masterpiece.
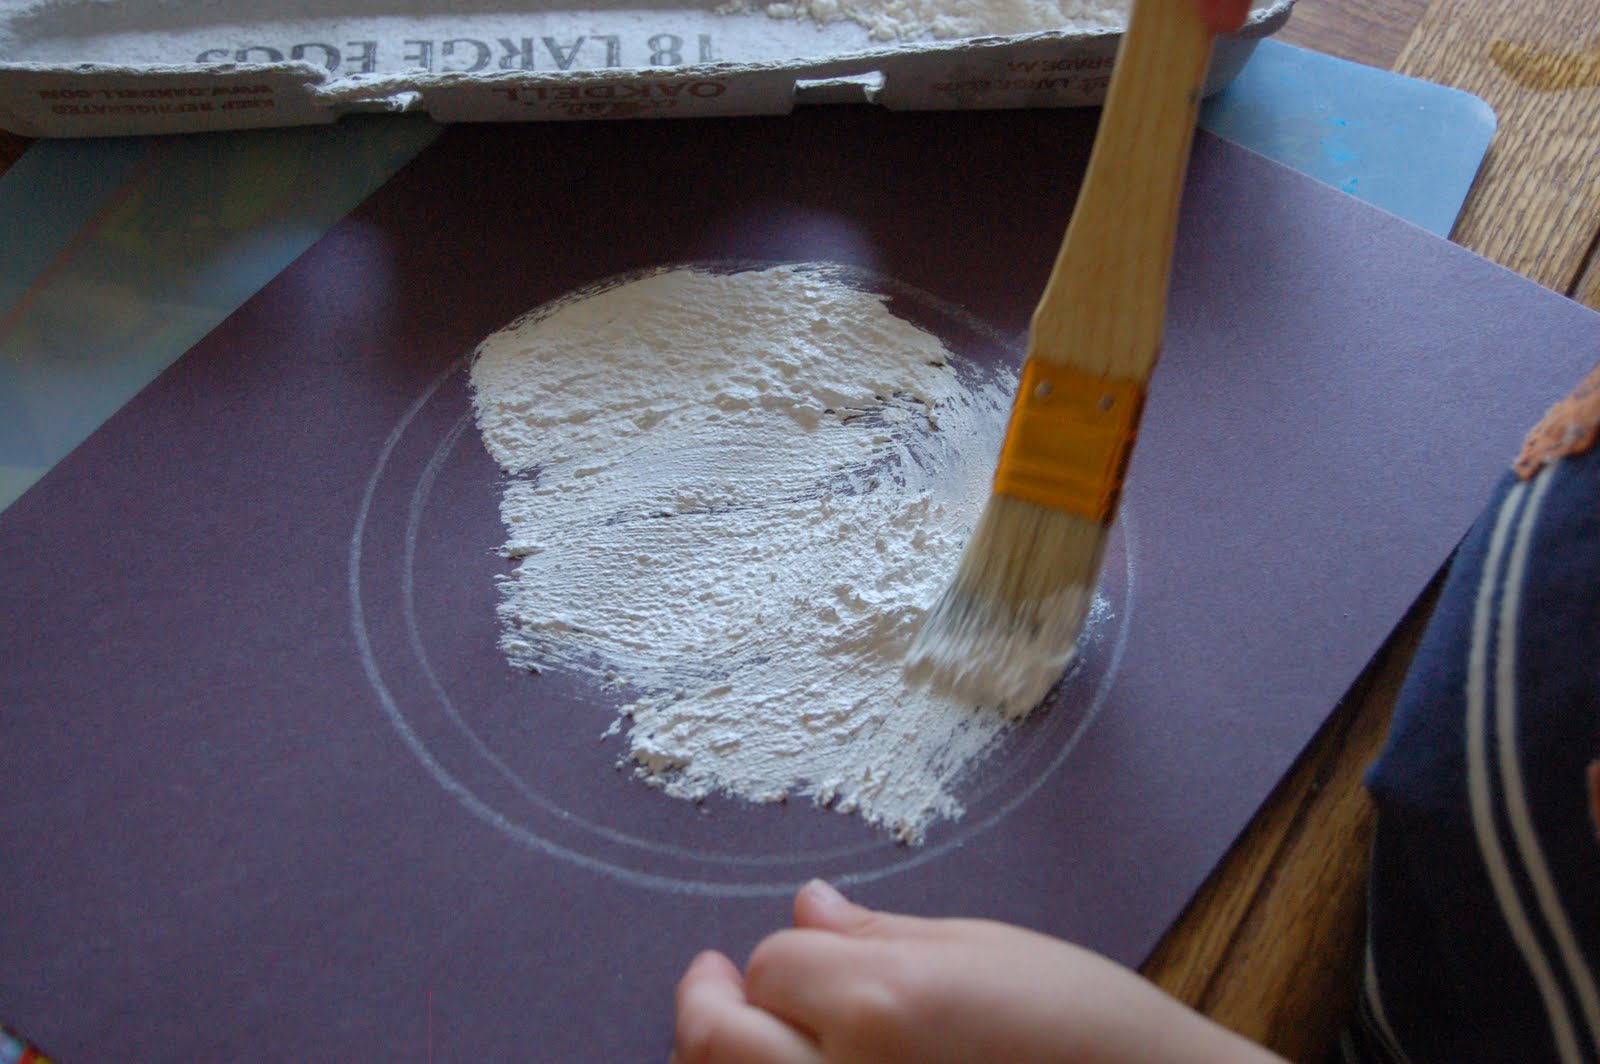
2. Mix together white paint with flour until it is the consistency of cottage cheese, and paint that onto your Moon circle. There isn’t really a ratio of paint to flour. I started by putting my paint in a container first, then adding flour a little at a time until it reached the consistency of cottage cheese. It does require a lot of the mixture to paint the Moon so be warned you will be using quite a lot of white paint. Also, the idea is to paint it on thick and not smooth. The more texture, the better!
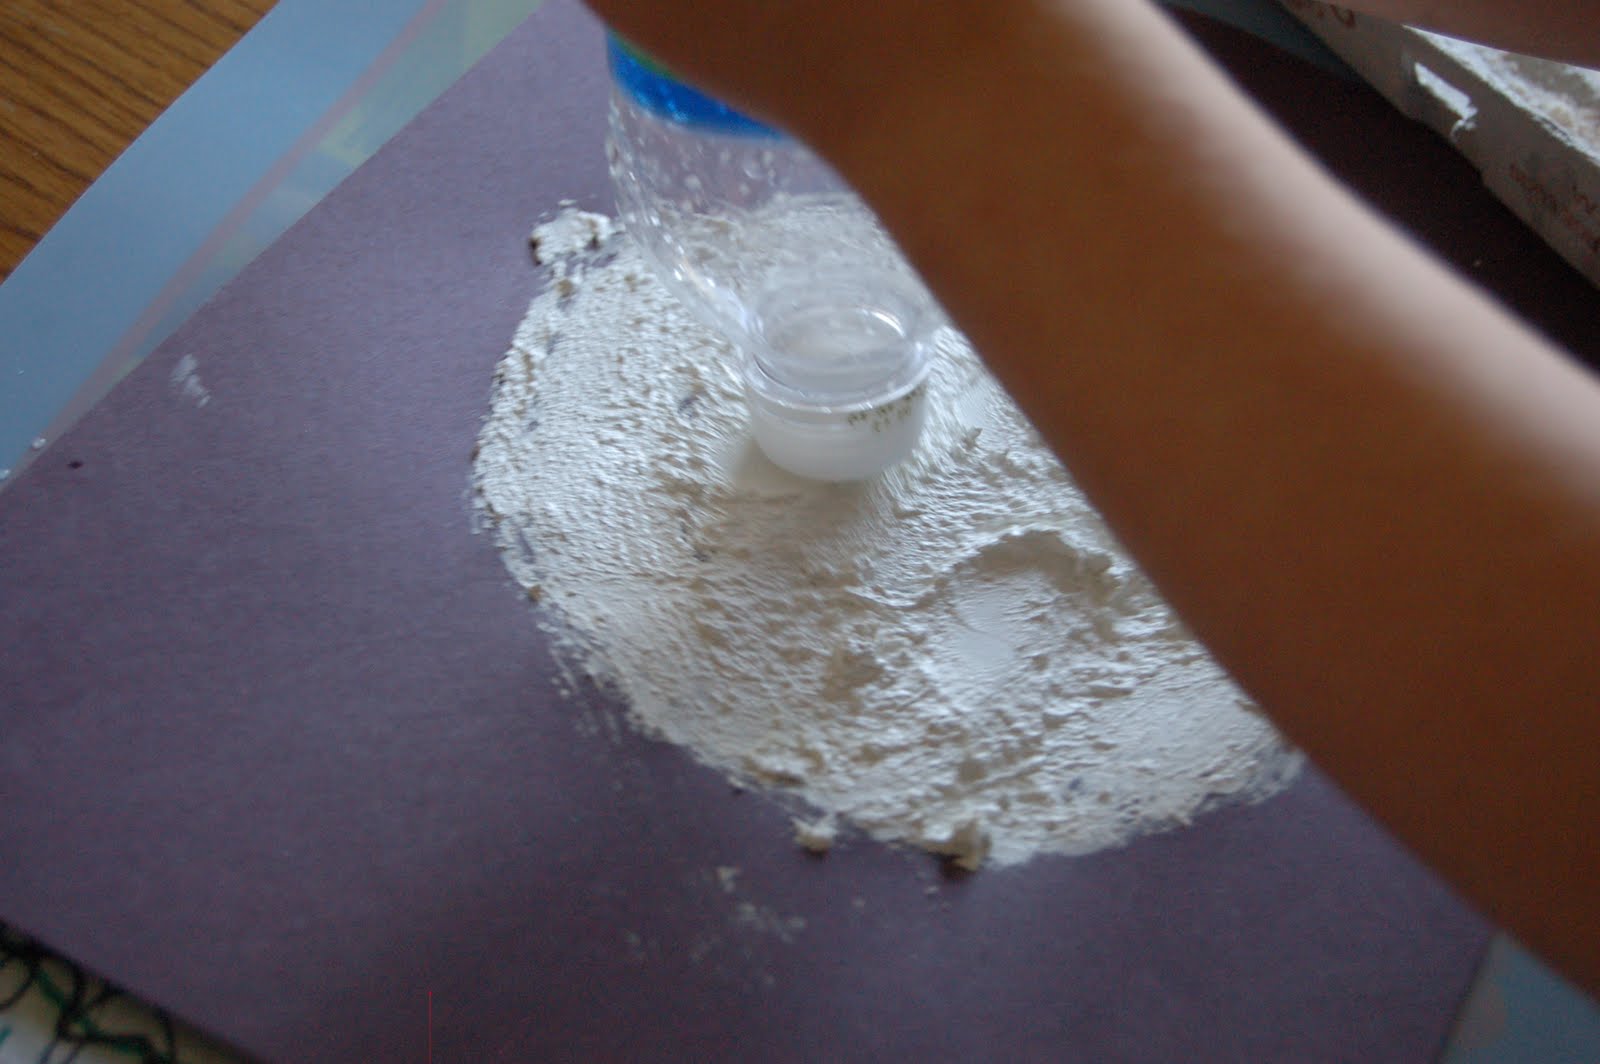
3. While the paint is still wet, press your circular plastic cap onto your Moon all over to create the craters. Then let the paint dry completely. Since it was thick, we let it sit over night.
4. Add some gold star stickers for finishing touches.


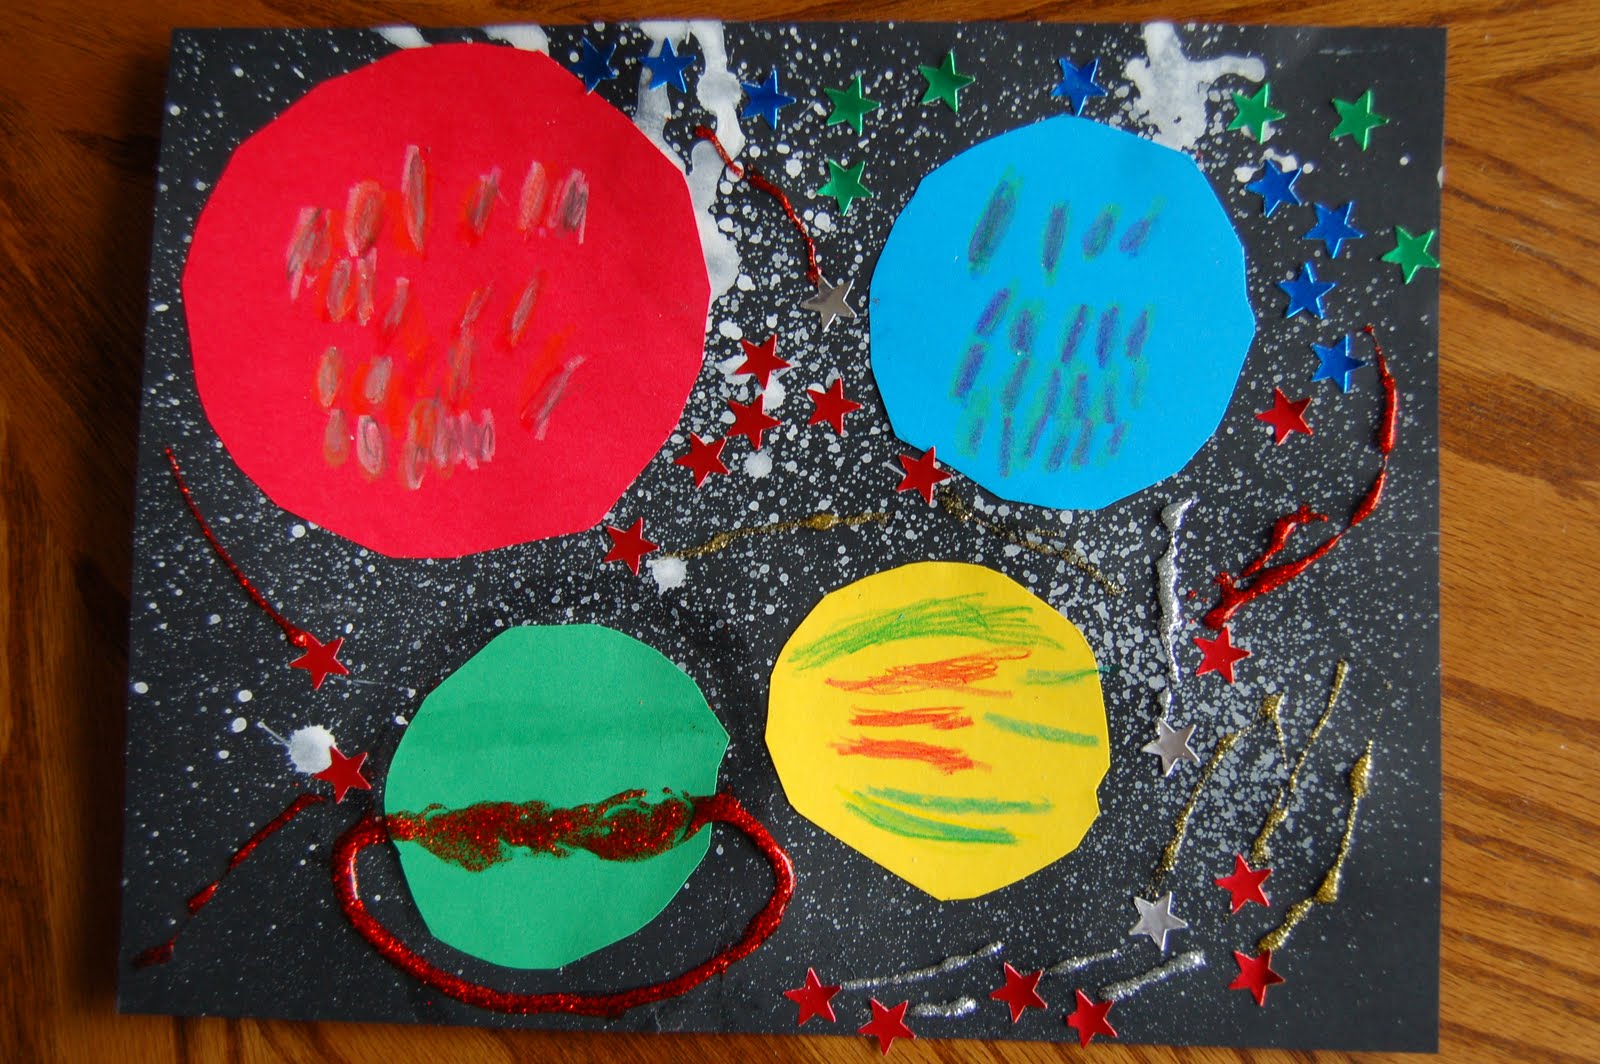
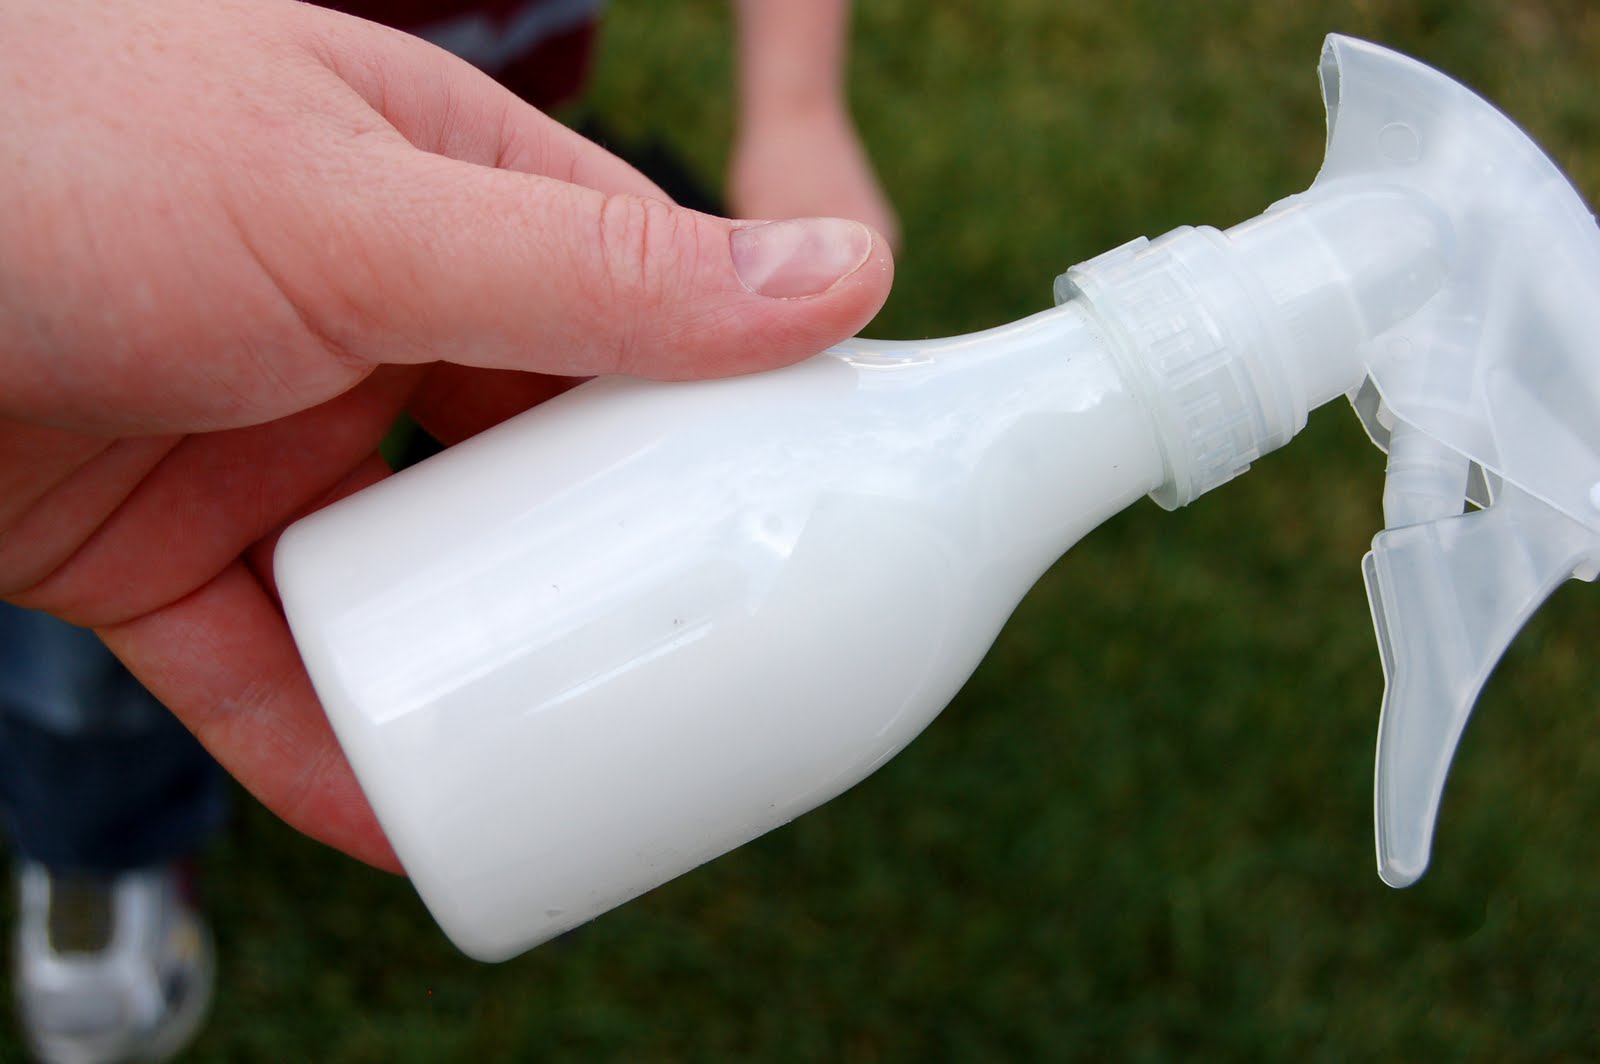
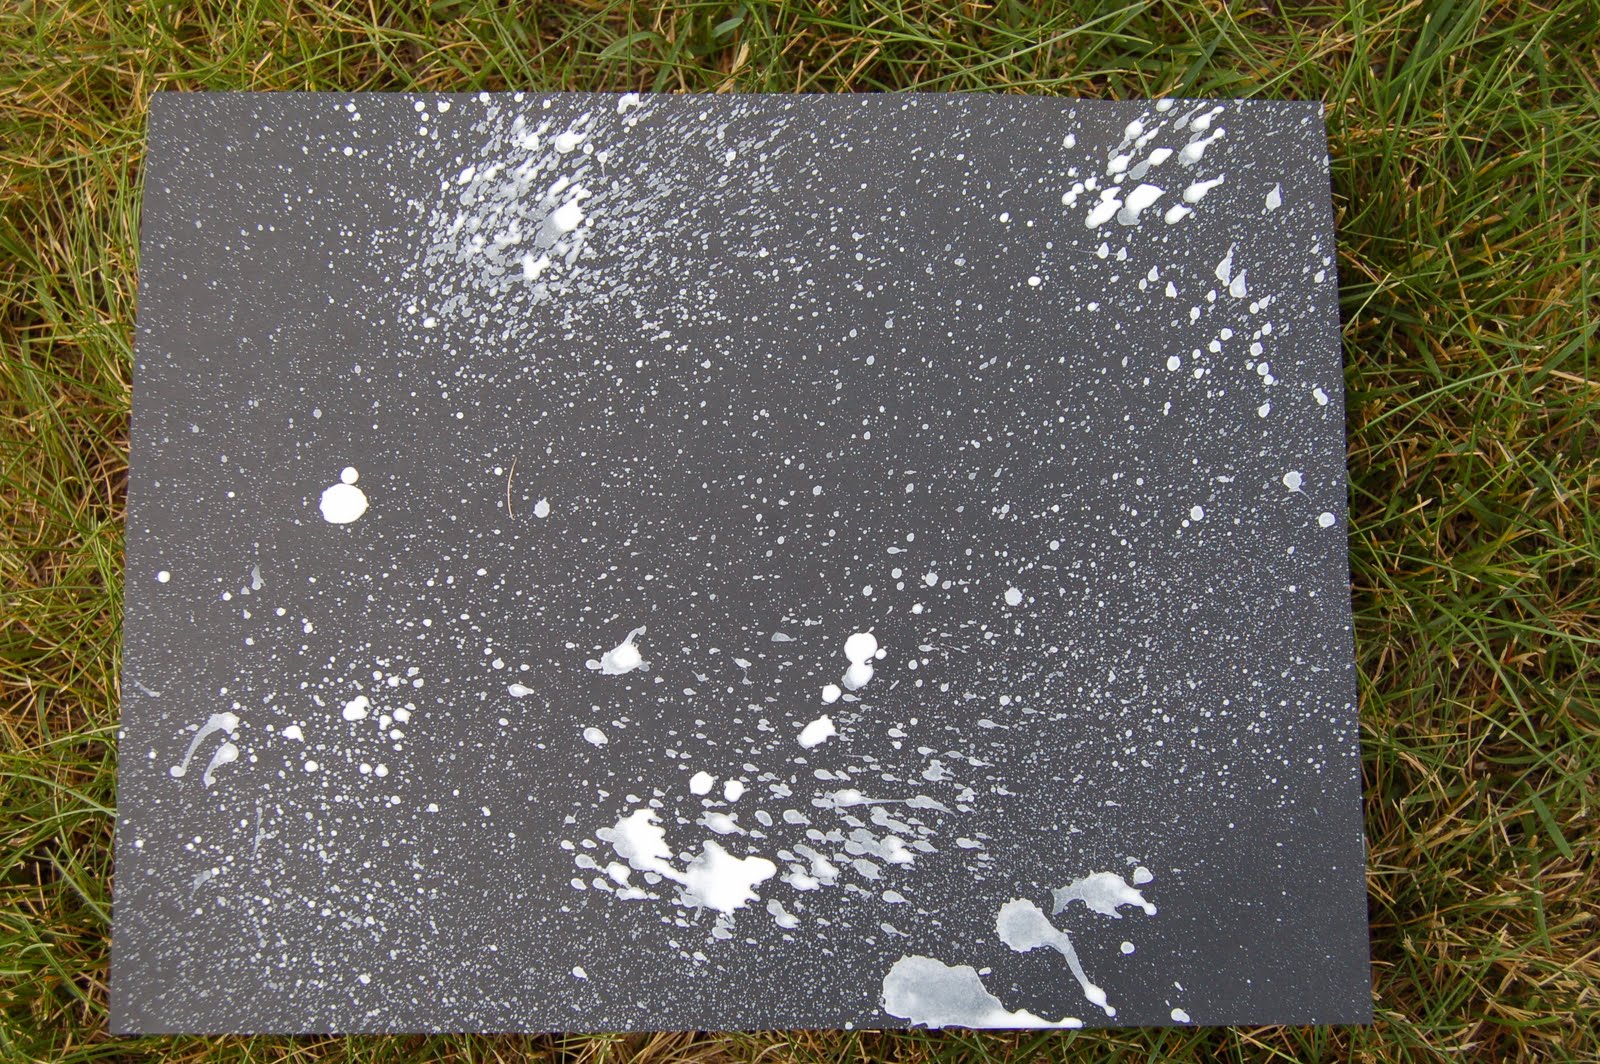
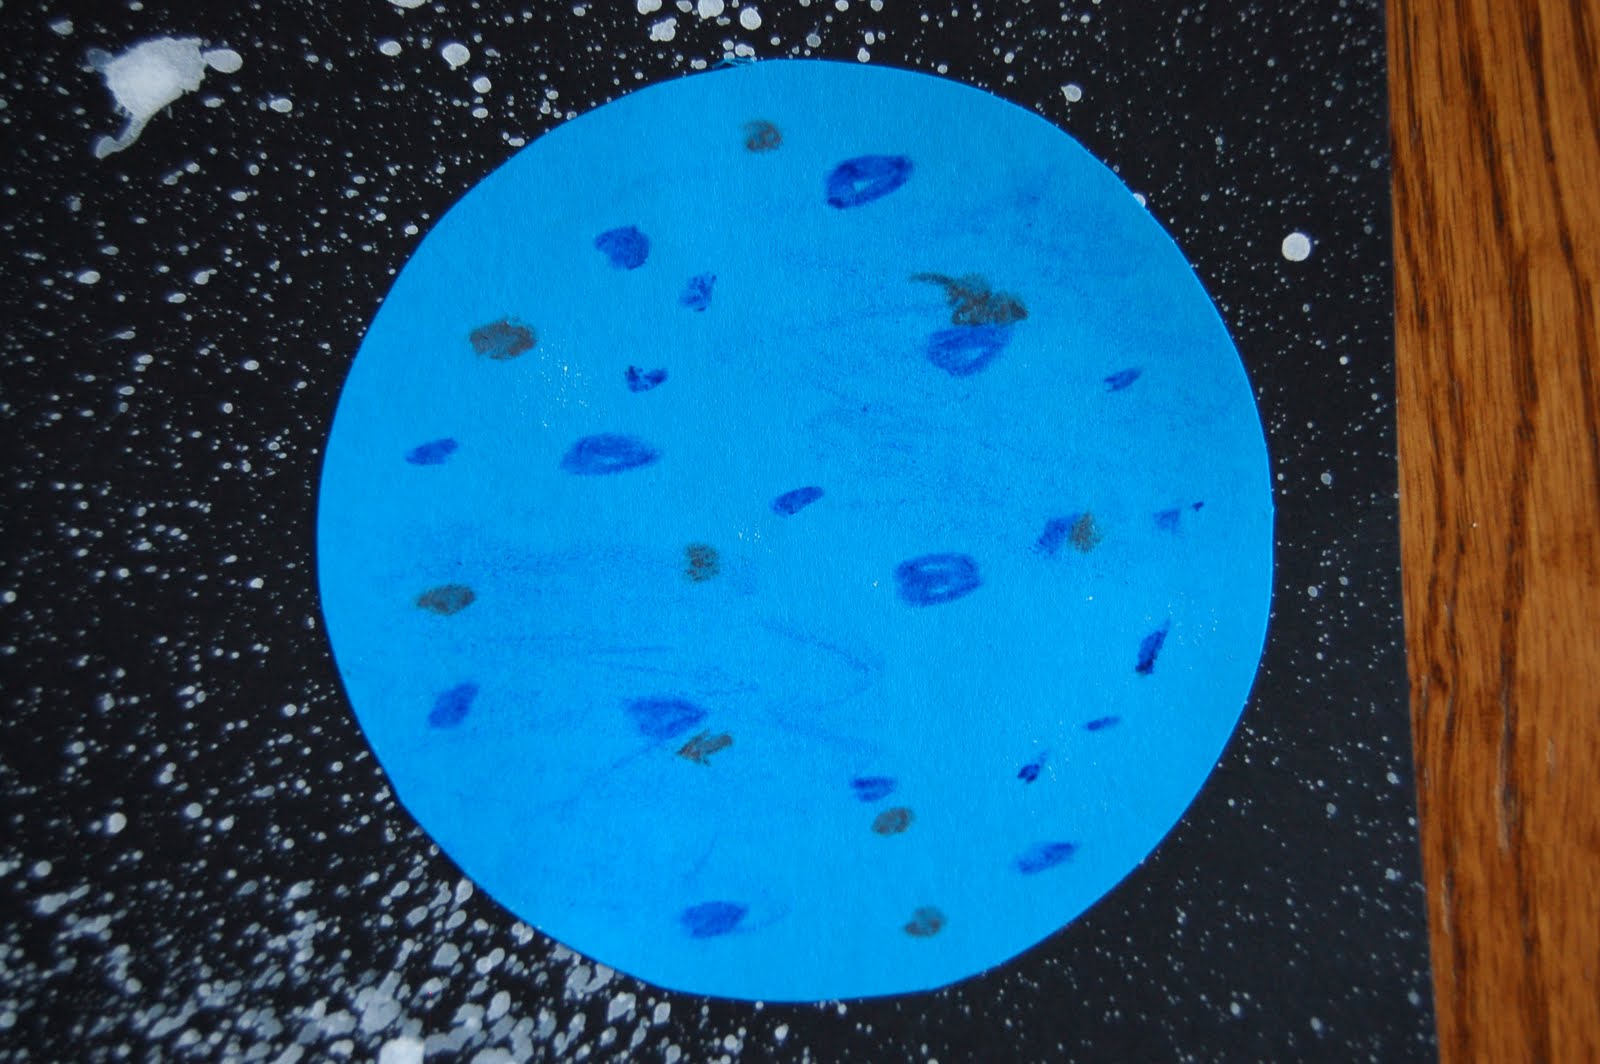
2. Spray a couple sprays onto your black sheet of paper. This creates that Galaxy look to your picture. Let the paint dry completely. It was sunny outside so it only took like 10 minutes to dry.
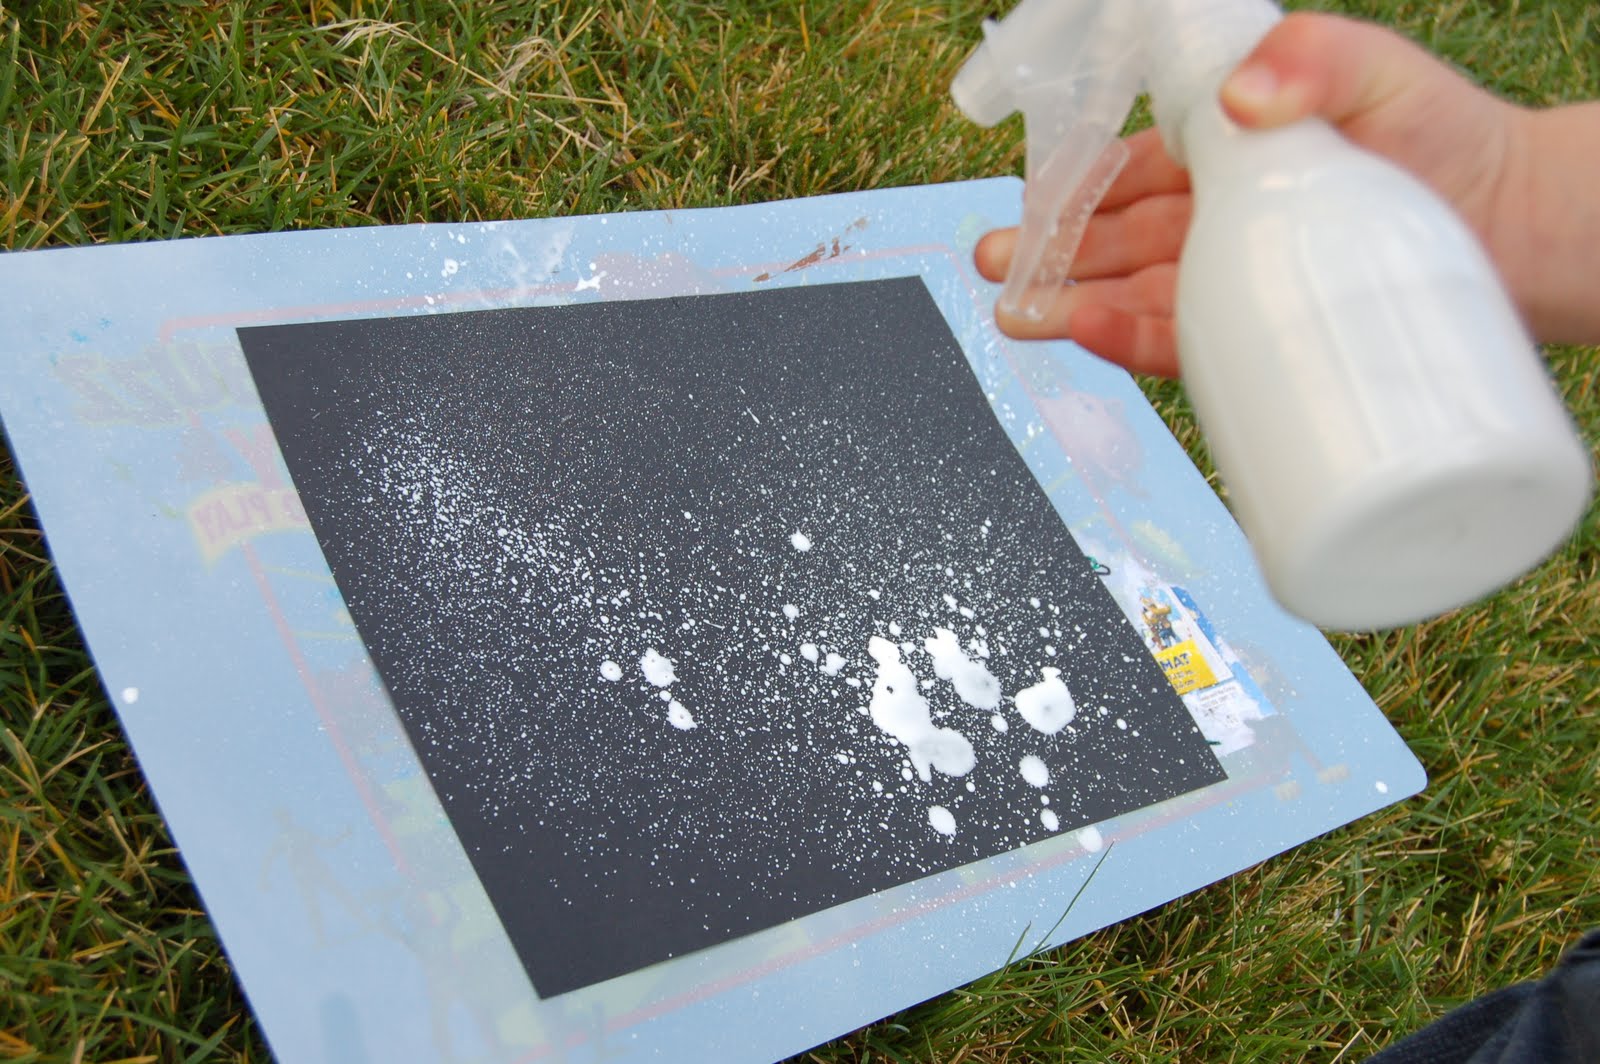
It really only takes a couple light sprays. Ours looked liked this after spraying.
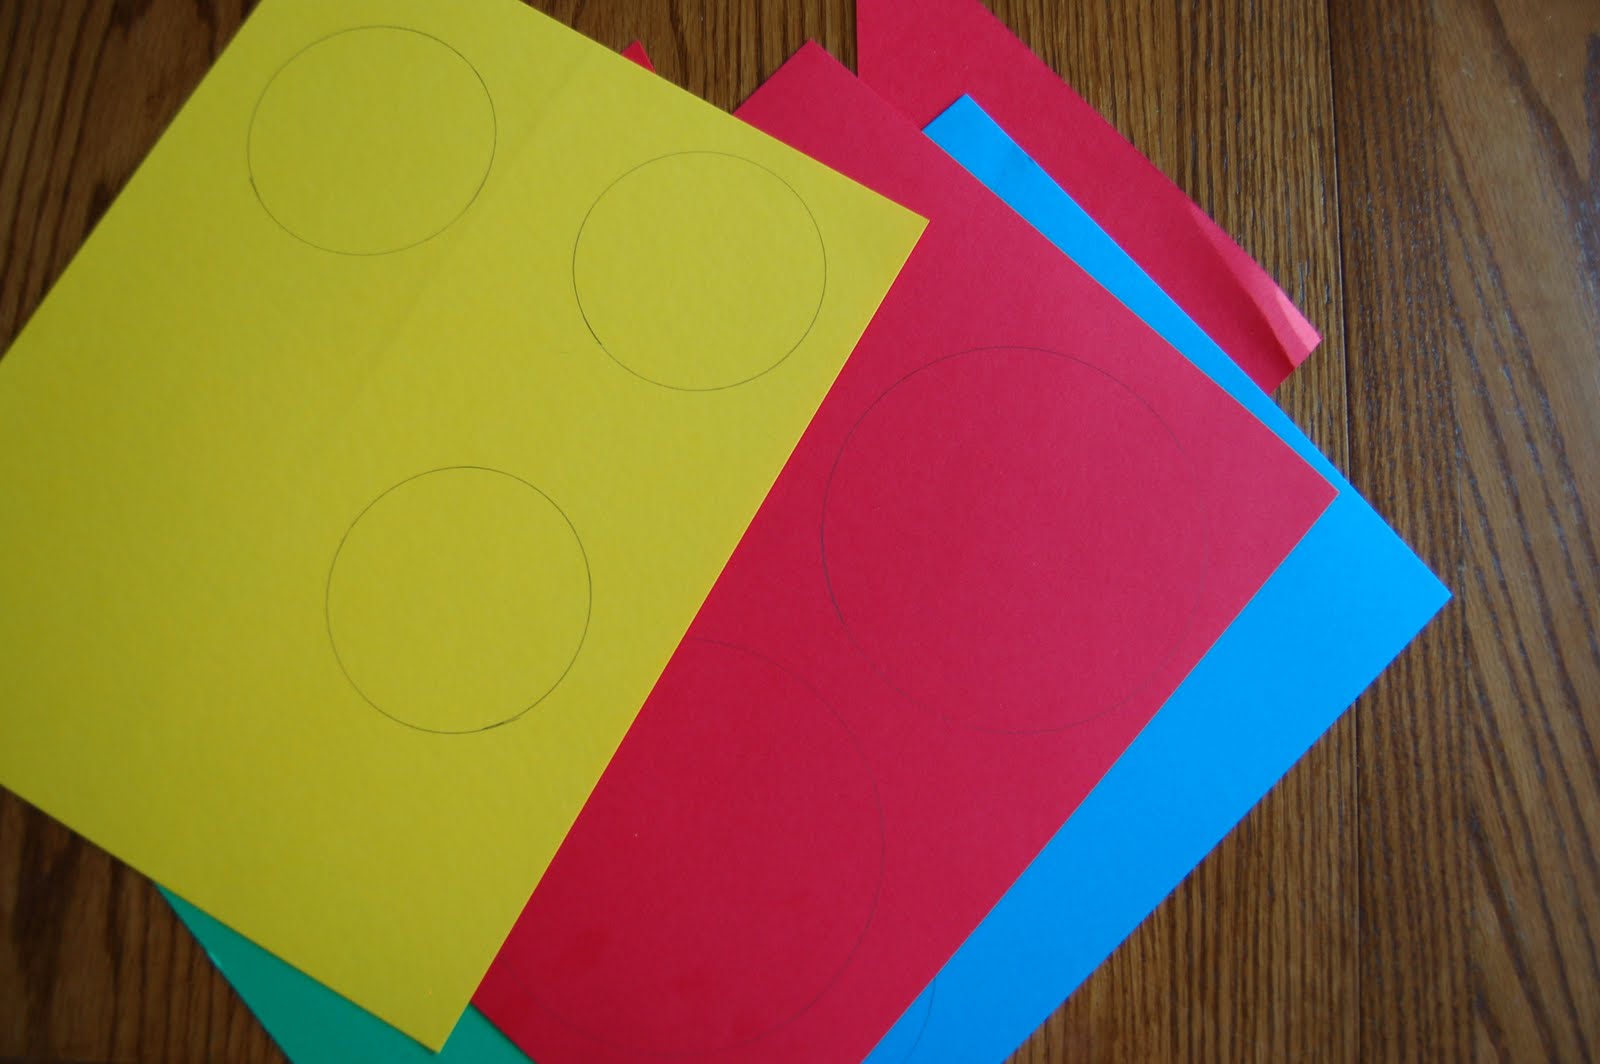
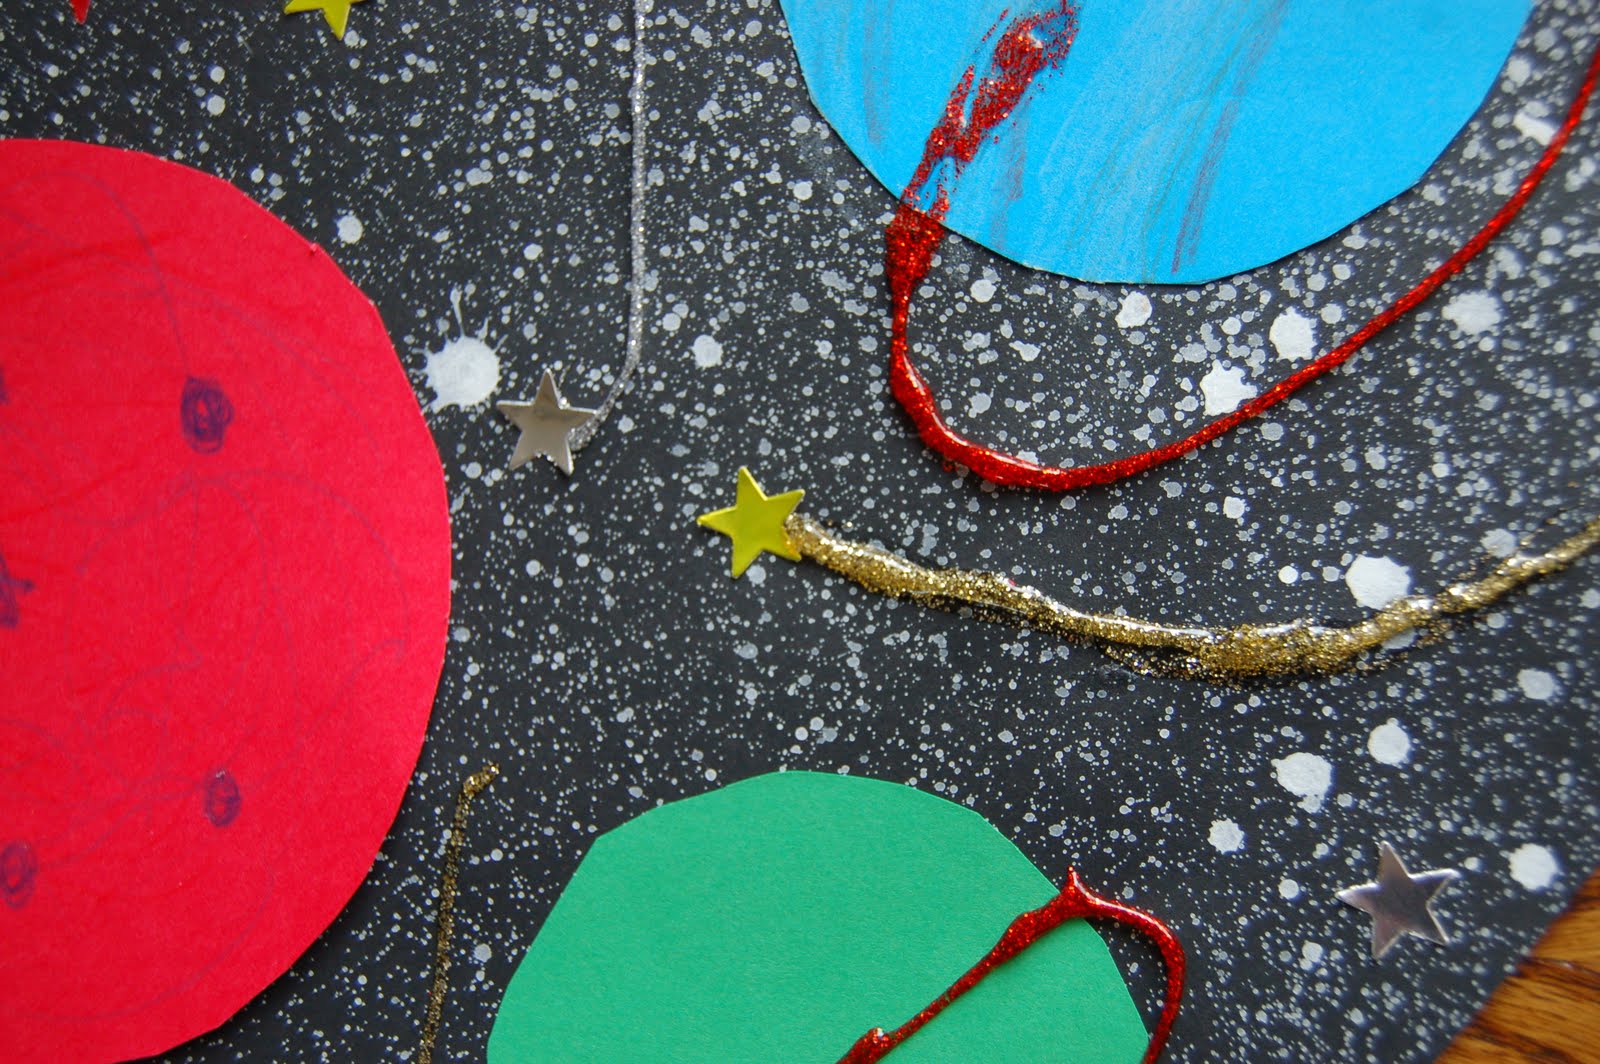
4. Cut out the circles and glue them onto your black paper.

5. Add whatever details you’d like to your Planets with crayons and glitter glue.
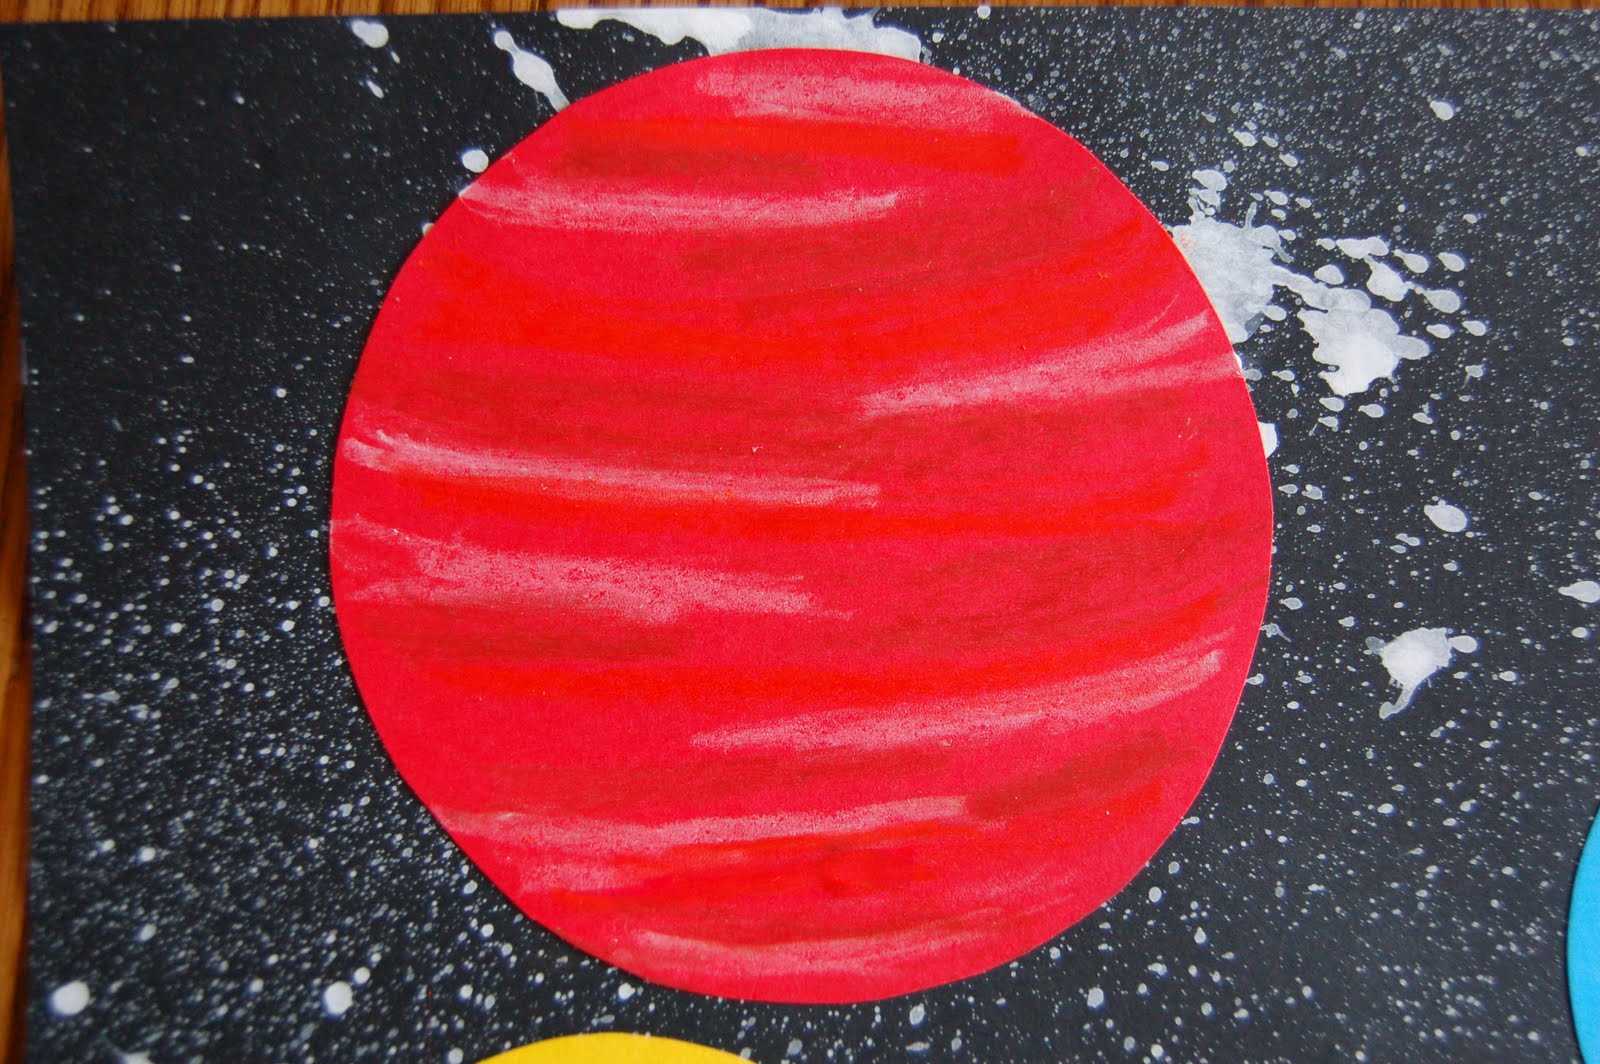
My boys loved using the glitter glue for a ring around a Planet.

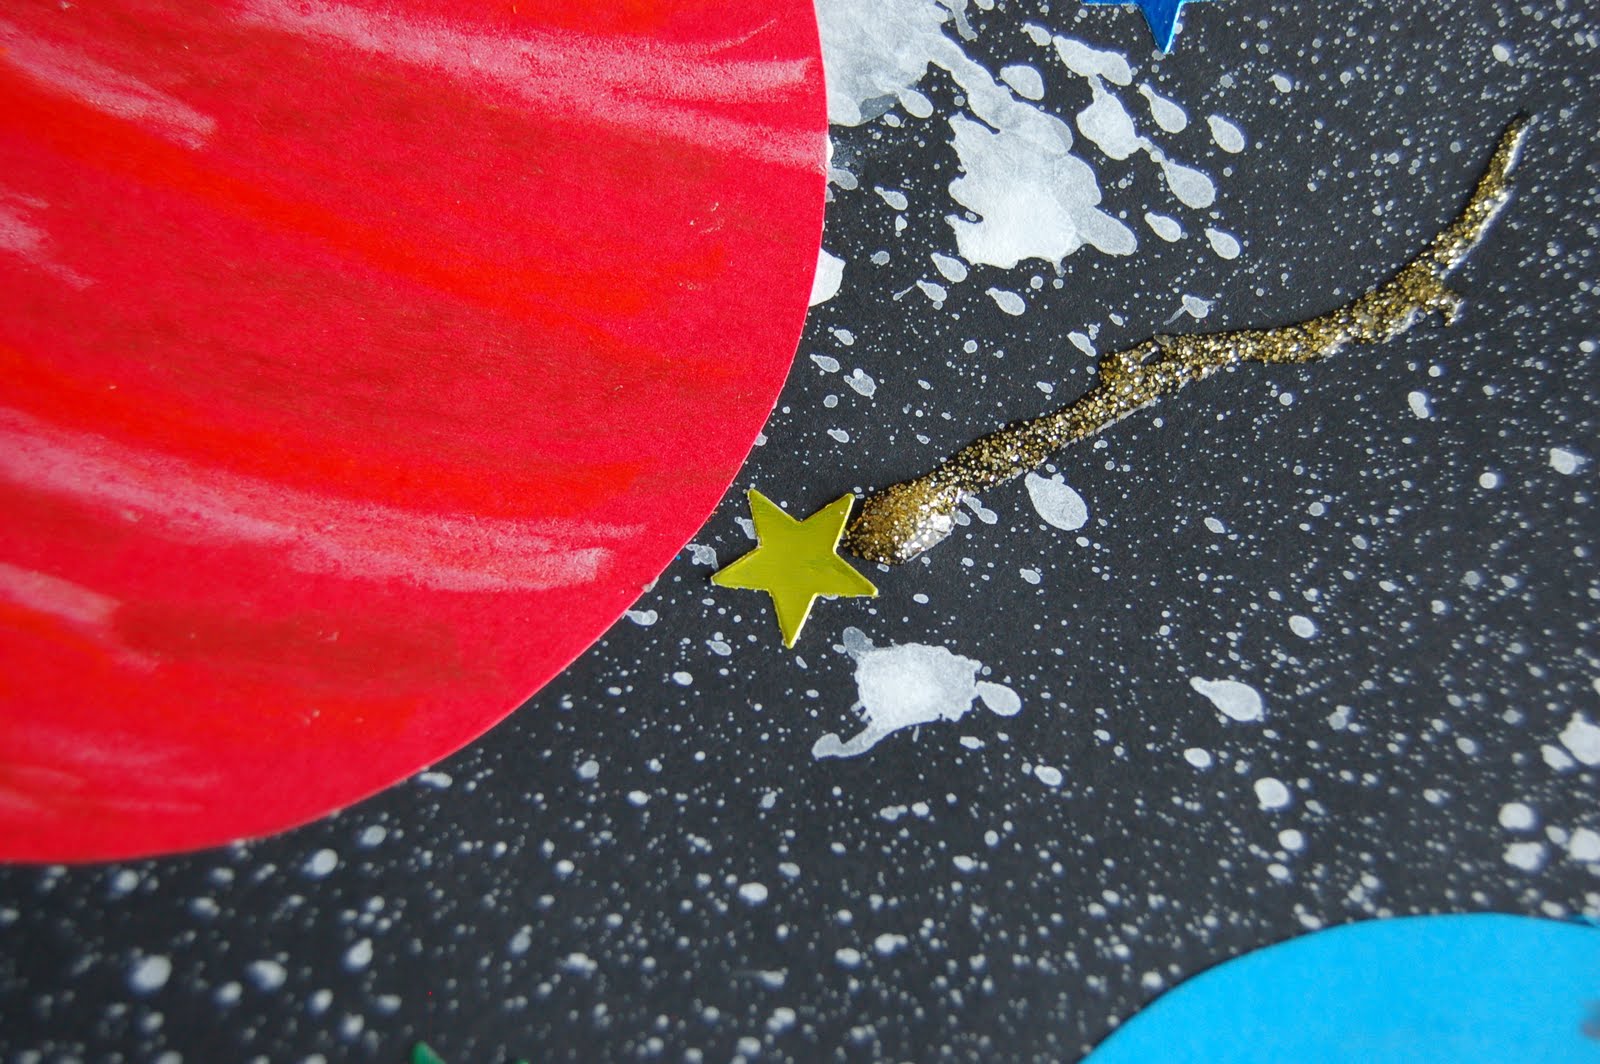
Andy suggested we make shooting stars. He even came up with the idea to add the gold star on the end of the tail. He is a Genius, I know! hahaha And I totally copied HIS idea on my own Universe, I’m such a copy-cat. LOL!