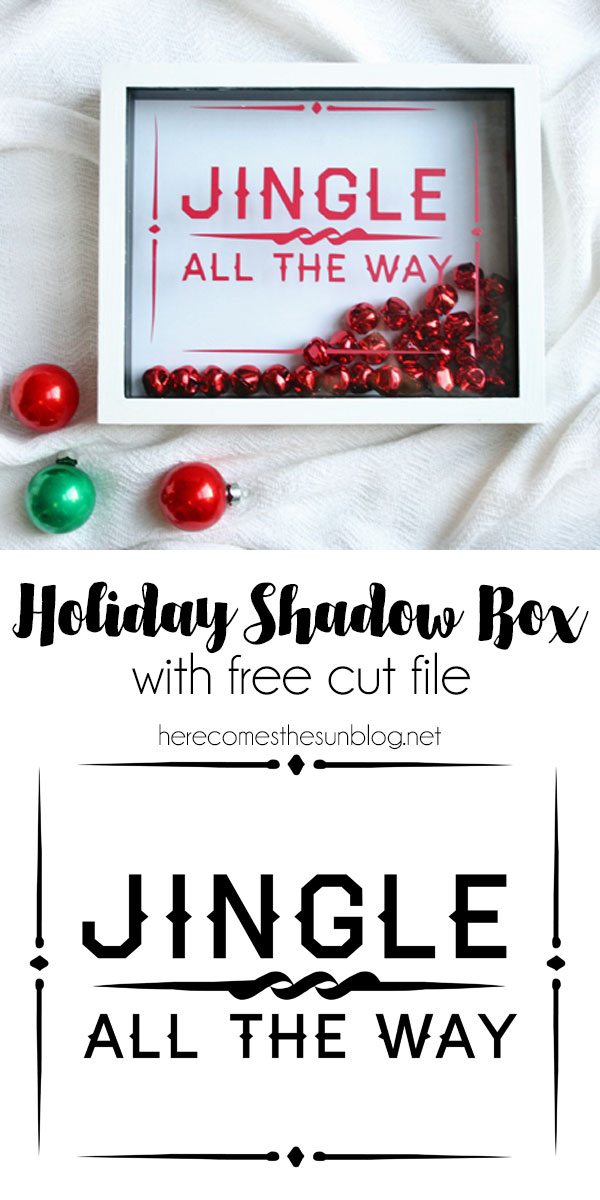
Holiday Shadow Box with Free Cut File
This holiday shadow box sign will add a festive touch to your home decor.
I have a love affair with holiday signs. I love lettering, the vintage designs, and all the colors. Every new sign that I see is so creative and festive I just knew that I had to make my own. But I decided to give it a little twist and use a shadow box instead of a wooden sign.

I’ve had this shadow box for a while and actual made something similar to this when I decorated my home with metallics for the holiday a few years back. As I was pulling it out of the holiday decor box, I knew it needed an update to match my current red and white vintage decor. Plus, my design skill and vinyl cutting skills have gotten way better in the past few years so a refresh was in order.
HOW TO MAKE A HOLIDAY SHADOW BOX
SUPPLIES
Shadow Box
White cardstock
Jingle Bells
Red vinyl
Transfer tape
Cricut or Silhouette
DIRECTIONS
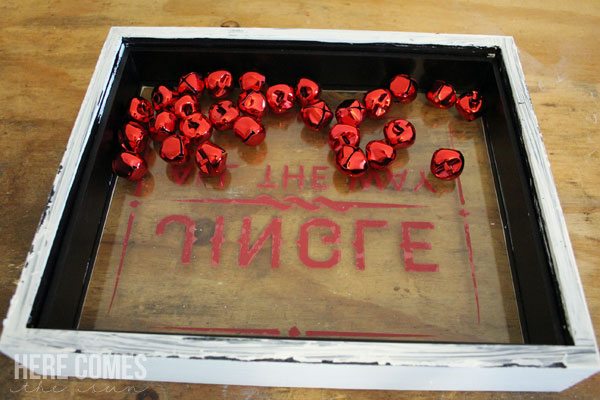
- Disassemble the shadow box and paint it if needed. My shadow box was black and I wanted it white to match my new decor.
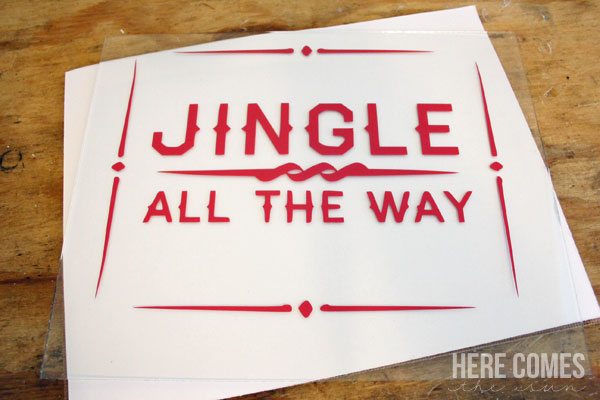
- Download the free cut file. You can access the file in the resource library, available to my email subscribers. Sign up here.
- Cut out the file using a Silhouette or Cricut and weed it.
- Place transfer tape over the design and place the design onto the center of the glass. The cut file is sized to fit an 8×10 surface.

- Reassemble the shadow box placing jingle bells into the box.
- Cover the back of the box with a white piece of cardstock. You can use any color that you want but I like the contrast of the white against the red jingle bells.

I love how this adds a vintage touch to my holiday decor. And even better, it only took about 30 minutes to make. Its a win-win.
LOVE IT? PIN IT!
If you want more easy Christmas projects, be sure to check out:
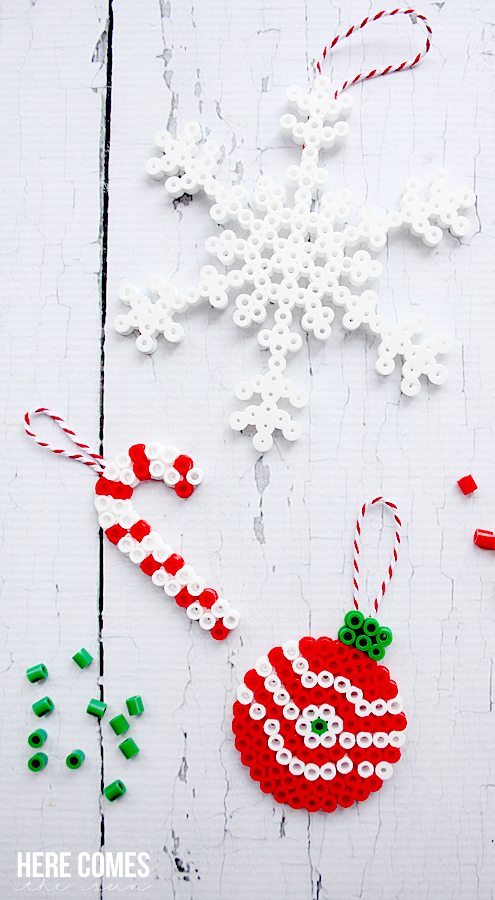
Perler Bead Christmas Ornaments