
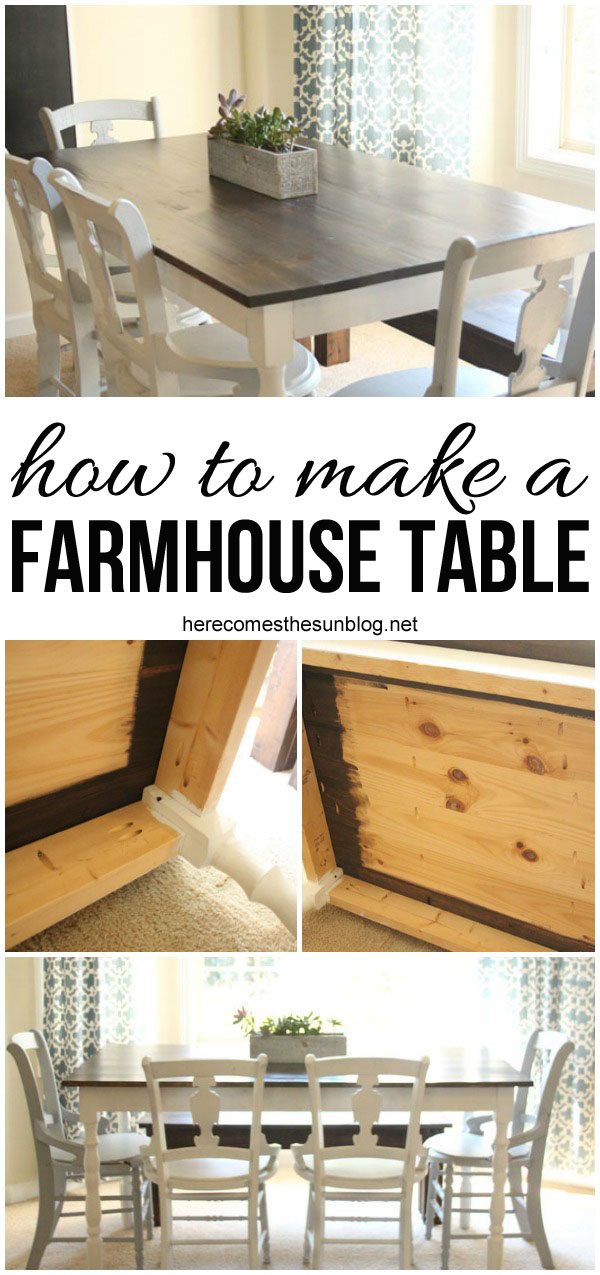
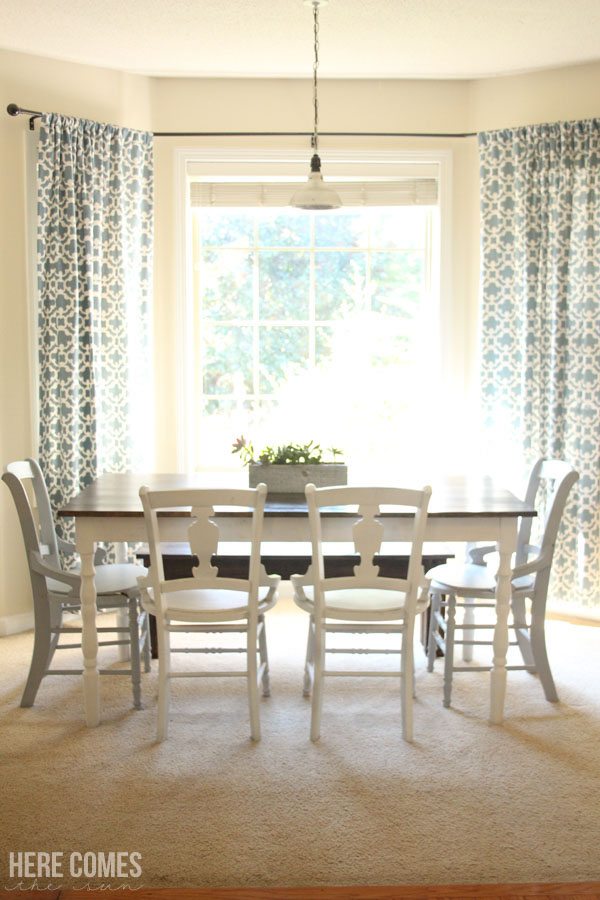
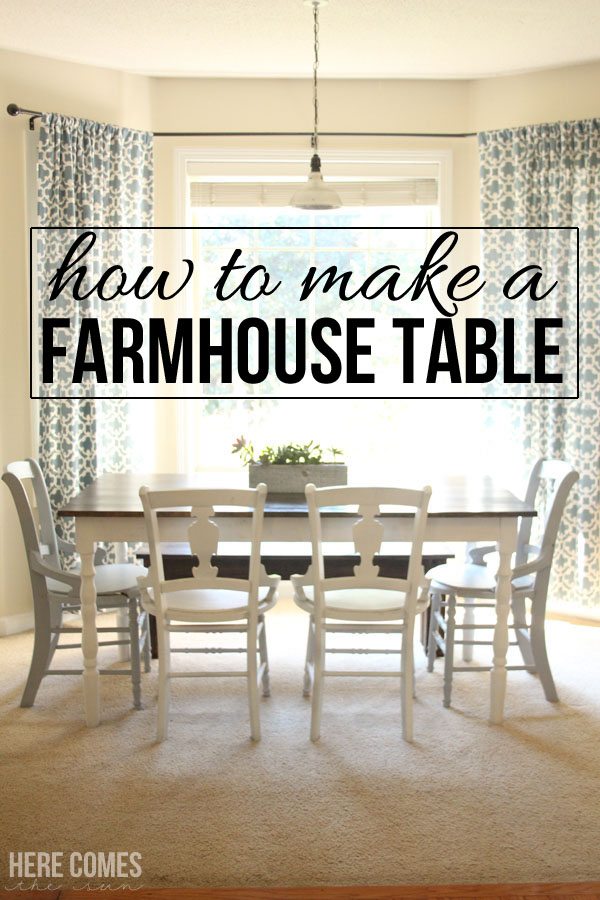
How to Build a Farmhouse Table
Oh how I swoon over a beautiful farmhouse table. Before we built our farmhouse table, I imagined big family dinners with conversations full of laughter around the table. In reality at the table, we get a lot of jokes about burps and farts from my almost 8 year old son. Laughter, yes we have laughter, but I imagined it a bit different.
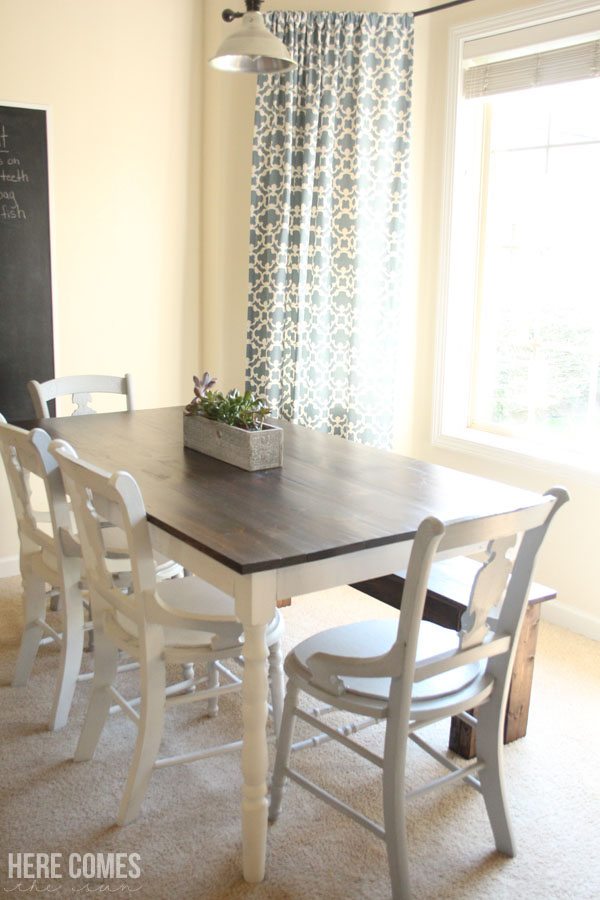
Our old table was pretty but just not functioning well for us. So I modified some plans from Ana White and built our own farmhouse table. We are in the process of moving into a new house that has an actual dining room instead of a small eat-in kitchen. Although I love the view of the back yard that we have from the table in our current house, I’m so excited to get an actual dining room where we have a bit more space.
This post contains affiliate links. You can read my disclosure policy here.
SUPPLIES
(2) 2×4 @ 8 feet long
(7) 2×6 @ 72 inches long
2 1/2″ pocket hole screws
Wood glue
Kreg Jig
tape measure
drill
circular saw
belt sander
speed square
pencils
4 table legs (we used the legs from our old table)
Rustoleum Wood Stain in Kona (I really love this dark, rich color)
Polyeurethane
Please note: the length of your boards will vary depending upon how long you want your table to be. Our table is 60″ long and 33″ wide.
Also, we did not do the side apron trim that Ana references in her plans.
DIRECTIONS
Since Ana does such a great job of explaining the build process, please take a look at her detailed farmhouse table plans for step-by-step directions.
I will show a few shots here so you can get an idea of how we put it together. We attached the aprons to the legs from our previous table.
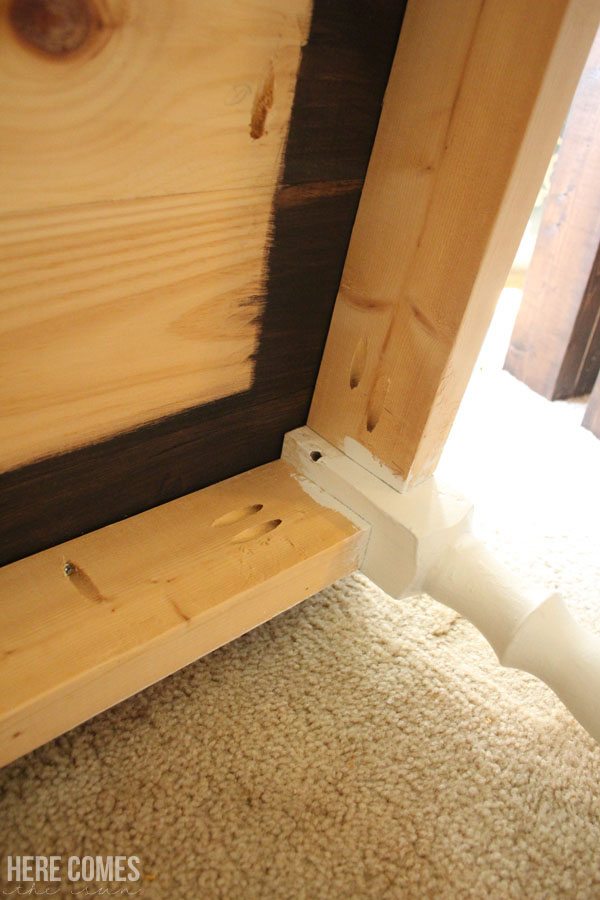
Here you can see the underside and how it is screwed together using the Kreg Jig. I highly recommend using this tool. It makes the build so easy and all the screws are hidden.
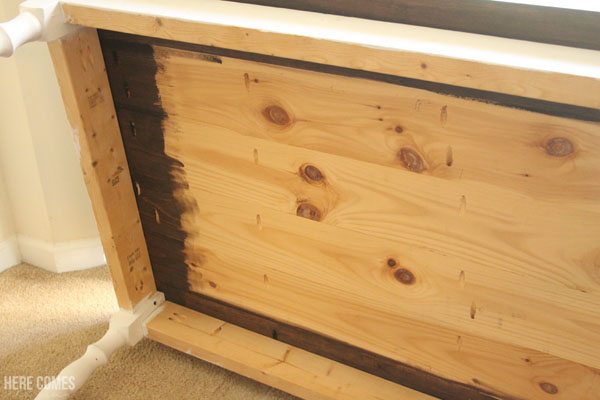
Here is the table from the top. As you can see, the seams between each board are really tight and almost invisible. You get this look by using the Kreg Jig, pocket hole screws, wood glue and clamps.

A few more things to note. Don’t skimp on the polyeurethane coats. We only did 2 (possibly 3) and our table ended up with scratches in it. At first, I was going to re-sand and poly it again but am ok with the scratches, dents and “character”. It is a farmhouse table after all. But if you are really picky and want to keep your wood pristine, opt for as many coats as directed on the can of polyeurethane.
DIY FARMHOUSE TABLE

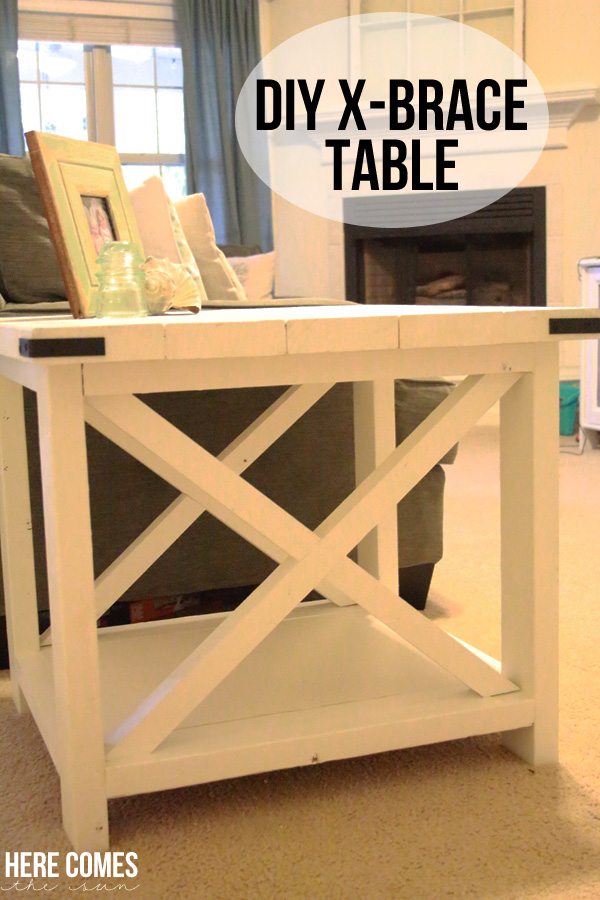
You may also like:
X-Brace Table
Wow Kelly, this table looks so beautiful. I love how it looks especially with your chairs. Ana White does such an amazing job with her tutorials!! I love those chairs btw, where did you get them?
Thank you so much, Sabrina. I got the chairs at a local thrift store.