
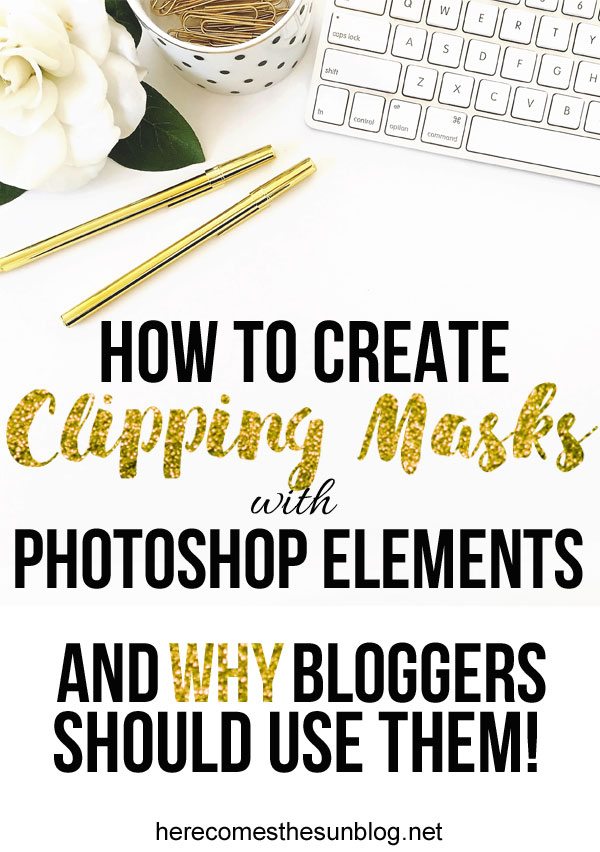
How to Create Clipping Masks in Photoshop Elements and Why Bloggers Should Use Them!
Clipping masks are one of my favorite things to use in Photoshop Elements. Clipping masks can be used to create an effect like this: Or this:

And for you bloggers, clipping masks are key to creating unique and personalized graphics for your blog.
So how do you create this effect? Let me show you.
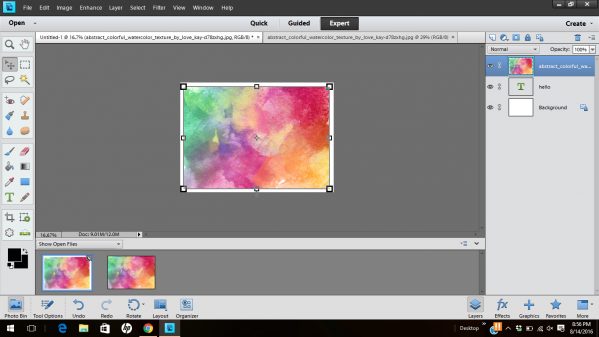
First, create an image, type some text or upload a file that you want to use. This will become your clipping mask.

Next, upload a background image such as a watercolor background or even a photograph. Place this image on top in the layer panel.
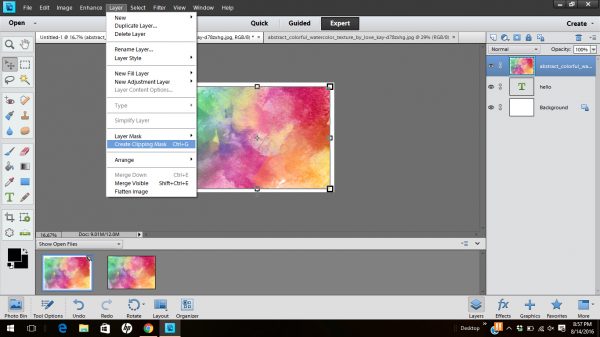
Select the top layer and hit CTRL-G and watch the magic happen. You can also click LAYER > CREATE CLIPPING MASK from the top menu.
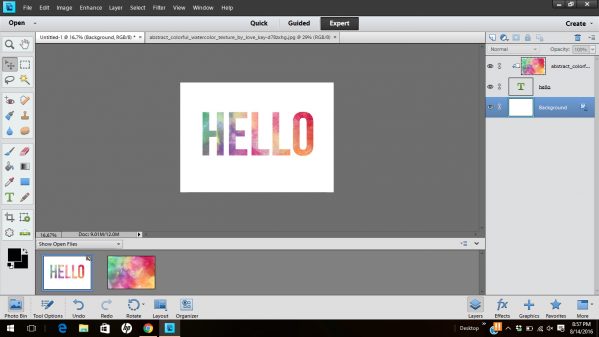
How awesome is that? You can make a clipping mask with any shape or text. Think of the possibilities! And listen up bloggers….clipping masks are KEY to creating unique images, buttons and text for your blog.
Want a watercolor header? Use a clipping mask to make one. Need a photo collage? A clipping mask makes it easy. Want customized social media buttons? Guess what you use? I’m sure you already know.
I’m a big fan of Photoshop Elements and love how user friendly it is. If you don’t have a copy of the program, you can get it here.
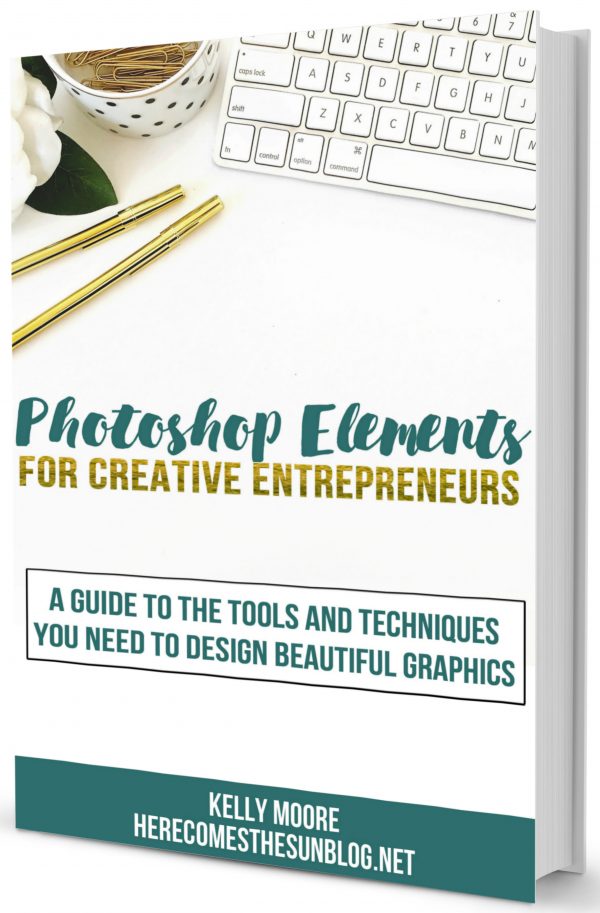
Want to learn even MORE? Check out my ebook, Photoshop Elements for Creative Entrepreneurs
Very clearly explained. Thank you.