
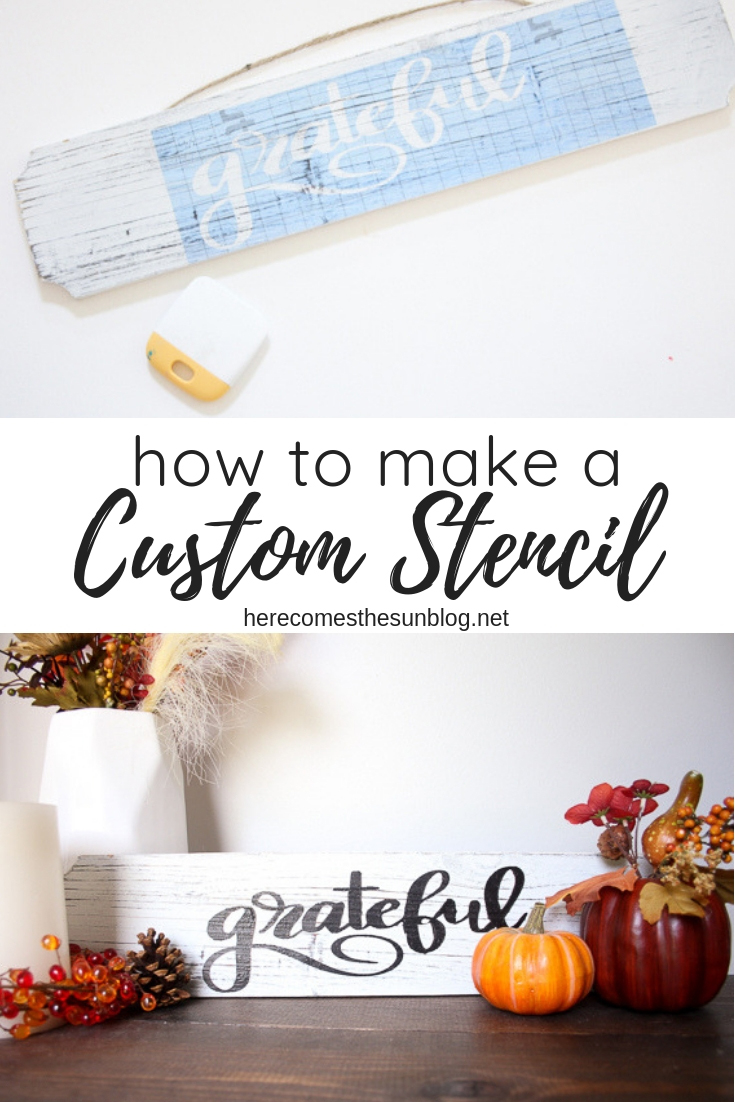
How to Make a Stencil with Vinyl
Learn how to make a stencil with vinyl.
I love making wooden signs for my home but my painting skills are not all that great. There is just no way that I could freehand a hand lettered sign which is why I love using stencils. You can buy all sorts of premade stencils but what if you want a stencil with a unique saying or better yet…. with your own hand lettering? Did you know that you can make a stencil with vinyl? Let me show you how easy it is.
WHAT YOU NEED TO MAKE A STENCIL WITH VINYL
- Stencil Vinyl
- Weeding tools
- Transfer tape
- Silhouette or Cricut
- Surface to adhere stencil to
- Paint in your choice of color
- Sponge brush
- Grateful cut file
HOW TO MAKE A STENCIL WITH VINYL
In the past, I’ve used regular vinyl to create stencils. This is all fine and good but I found another product that is specifically for stencils called (wait for it….) stencil vinyl.
If you are familiar with regular vinyl, you know that once you pull it up, you can’t use it again. Stencil vinyl is thicker than regular vinyl which enables you to use the stencil over and over again instead of just once.
First, you will need a digital file to create your stencil. The file that I used is part of my Fall Quotes SVG Files Bundle
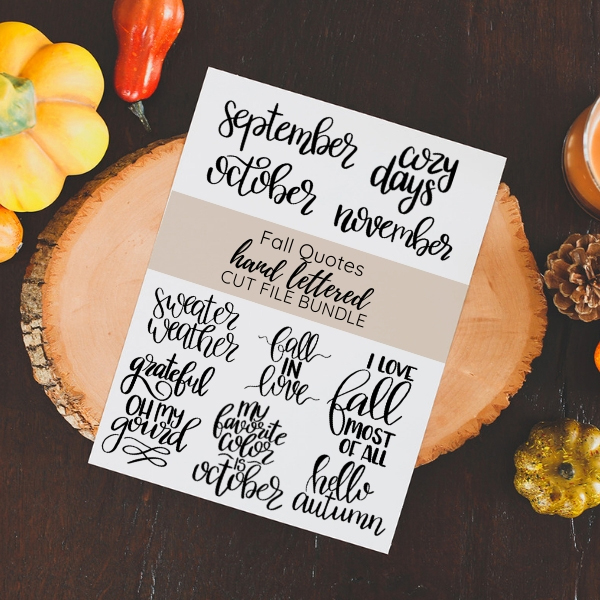
- Download my Fall Quotes SVG Files Bundle (or use a file that you already have)
- Open up the file in your Cricut or Silhouette software.
- Place the stencil vinyl onto a cutting mat and cut the file using your Silhouette, Cricut or other personal cutting machine.
- Since you will be using this cut file as a stencil, weed out the inside of the letters.
Want a unique custom stencil? Here's how to make one!

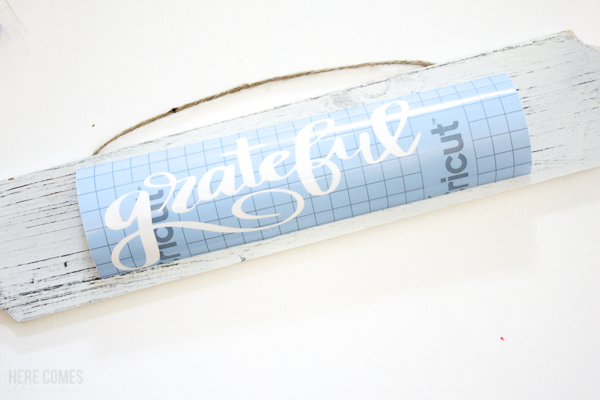
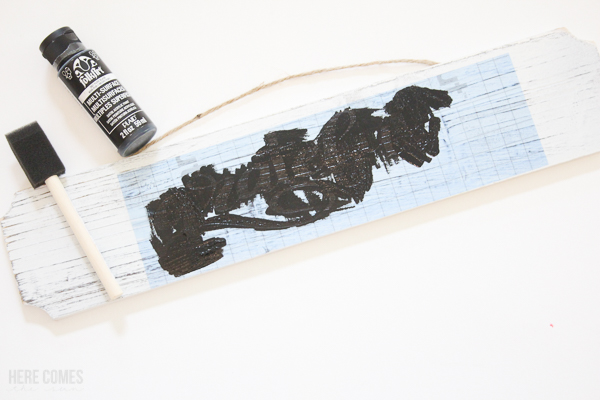
- Transfer the stencil vinyl onto your surface using transfer tape.Make sure the vinyl stencil is adhered to your surface so you don’t have any paint seep under the edges.Here is a short video on how to use transfer tape.
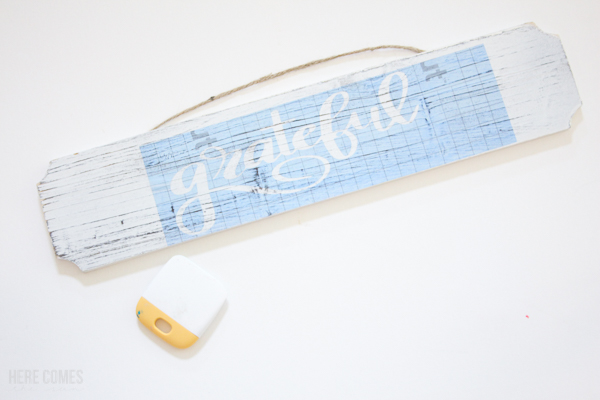
- Paint the inside of your letters with a sponge brush and let dry.
- When the paint is dry, remove the vinyl stencil and touch up if needed. I have found that a thin black marker or sharpie works well for touchups if you are using black paint. It is hard for me to freehand with a paintbrush and I can get a more accurate line with a Sharpie.
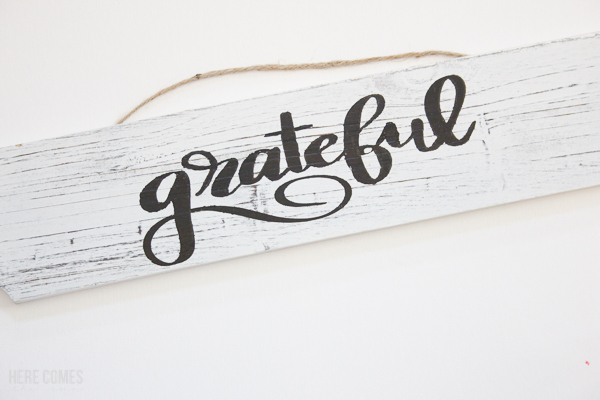
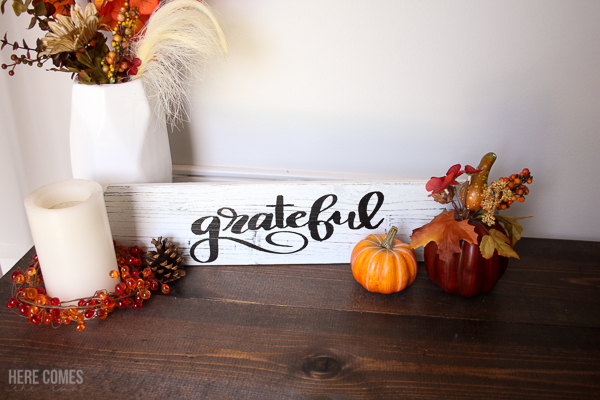
Now you have a beautiful sign AND a stencil that you can reuse.
When you are ready to use the stencil again, just apply some stencil adhesive to the back to make it sticky again.
LOVE IT? PIN IT!
YOU MAY ALSO LIKE
Hand Lettered Fall Sign
DIY Wooden Sign