
How to Make a Rustic Christmas Sign
Christmas is coming soon and I’m always looking for new ideas for how to decorate my house for the season. I have all different styles of decorations and I like to pick a theme each year and decorate around that theme. One year, i decorated in a metallic theme, another year was red and green and last year I decorated in a coastal theme. I think the coastal has been my favorite. As I was thinking about what theme I wanted for this year, rustic kept coming to mind. I don’t have a whole lot of rustic Christmas decorations and buying everything can get very pricey. So I made a quick Rustic Christmas Sign to go with my new holiday decor vision.

This project takes about 15 minutes (not including drying time) so you can have a unique piece of decor in record time. The project is perfect for beginners.
RUSTIC CHRISTMAS SIGN
This post contains affiliate links. You can read my full disclosure policy here.
SUPPLIES
Wood – my piece was slightly bigger than an 8″x 10″. Any thickness wood will do. I used scrap wood from a previous project.
Wood stain – I used Rust-Oleum in Kona. I’ve used this stain on numerous projects such as our farmhouse table and these coasters. I love the rich, dark color.
120 grit sandpaper
White vinyl – I get my vinyl from Expressions Vinyl. They have a huge selection of very type of vinyl imaginable
Transfer tape – This is very important. This is what will ensure that your text is straight.
Silhouette machine – This is optional but a very useful crafting tool.
DIRECTIONS
1. Cut the wood to the desired size. Most home improvement stores will make one free cut for you if you purchase the wood there.
2. Apply the wood stain with a clean white cloth. Apply a little bit and then immediately wipe off. I used one coast of stain for this rustic Christmas sign. Don’t forget to stain the edges. No need to stain the back if you don’t want to.

3. Cut out your text in white vinyl using your Silhouette machine. You can download the free cut file for the text that I have used here. If you don’t have a Silhouette machine, I would suggest printing your text onto the back side of the vinyl. Be sure to flip the text before printing. After printing, use a exacto knife to cut through the vinyl but NOT through the backing.
4. Peel off the excess vinyl so you are left with your text on the vinyl backing.
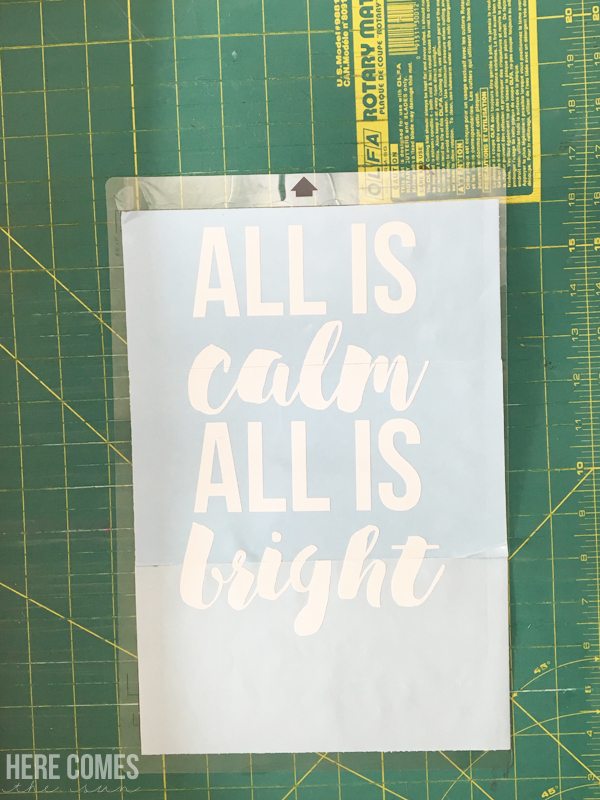
5. Apply transfer tape to the vinyl
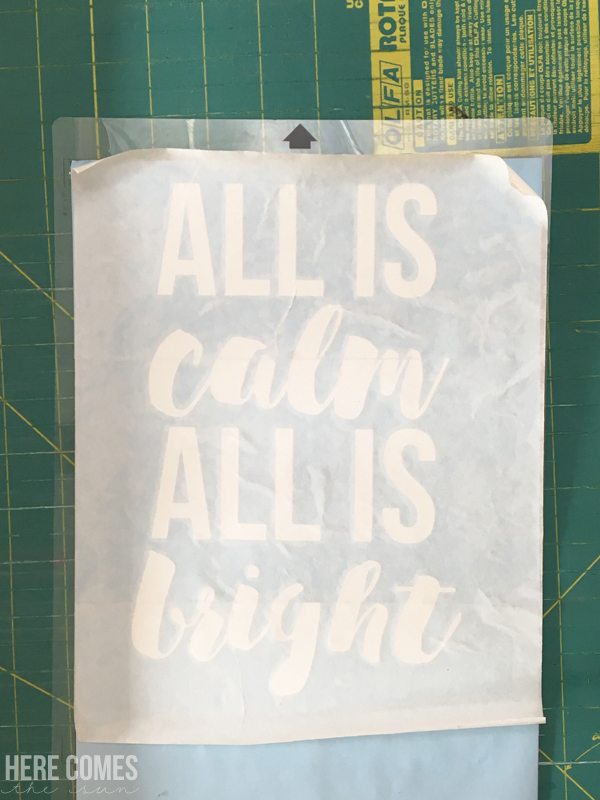
6. Center the design onto your wood and use a flat edge such as a ruler to adhere it to the wood.
7. Peel off the transfer tape, making sure the vinyl sticks to the wood.

I love the way my rustic Christmas sign turned out! It is the perfect start to my rustic Christmas that I am planning!


This post is part of the Craft Lightning Christmas Edition. Click the image below to see more 15-minute Christmas projects.

Please note, this project is meant for indoor use. If you would like to make a sign for outdoor use, I would suggest putting a coat of polyeurethane onto the wood after staining and using a vinyl made specifically for outdoor use. You can find outdoor vinyl at Expressions Vinyl.
Love this! So nice of you to offer the free file!
Thank you Vanessa!
Awesome DIY Kelly! I didn’t know there is such thing as transfer tape. That makes DIY so easy! Where do you buy those?
Hi Emmerey! Thanks for stopping by. Sometimes you can find transfer tape in the craft store next to the vinyl. If you can’t find it there, you can order it here on Amazon.
We do not have that from where I live. Thanks for sharing the link Kelly. I’ll probably buy one! 🙂