
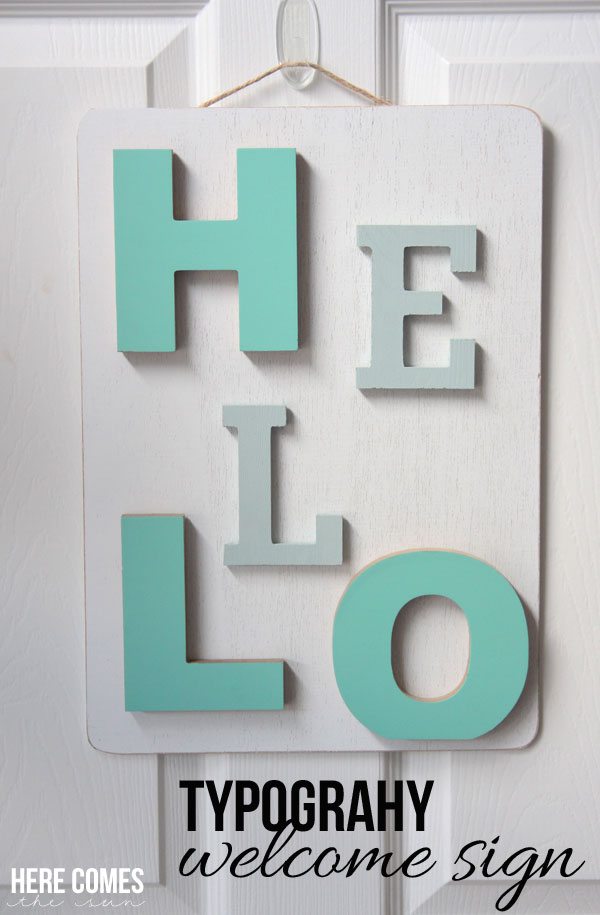
Typography Welcome Sign
Sometimes Spring needs a little wake-up call, am I right? It’s like winter just won’t let go and Spring is a bit scared to come out. I’ve been trying to coax Spring out of Mother Nature for a while now but I’m not sure if Mother Nature is getting the message. Soooo I decided to make a Welcome Sign so Spring knows it is totally welcome in our house!
This sign is super easy to make and I love the Spring-y colors. AND I can leave it up all year because it matches the coastal colors of the rest of my decor. I’m very much a fan of making things that do double duty.
This project is part of Hometalk’s DIY My Spring Blog Hop. If you’ve never seen a blog hop before, you’re in for a treat because in addition to my project, you’re gonna get access to TONS of seriously amazing Spring projects!
HOW TO MAKE A TYPOGRAPHY WELCOME SIGN
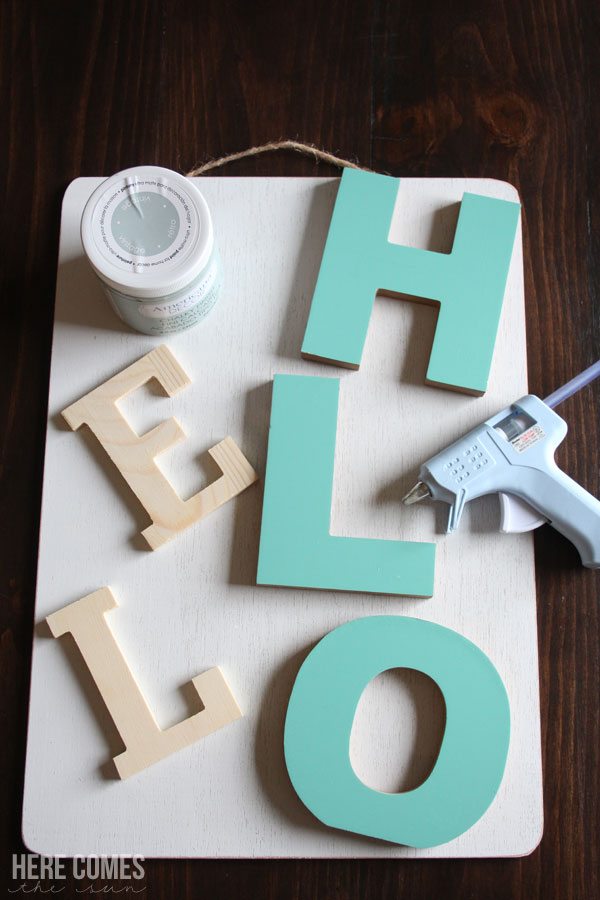
Supplies:
Wooden board (I got mine at Michaels)
Different sized letters
Glue Gun (aff. link)
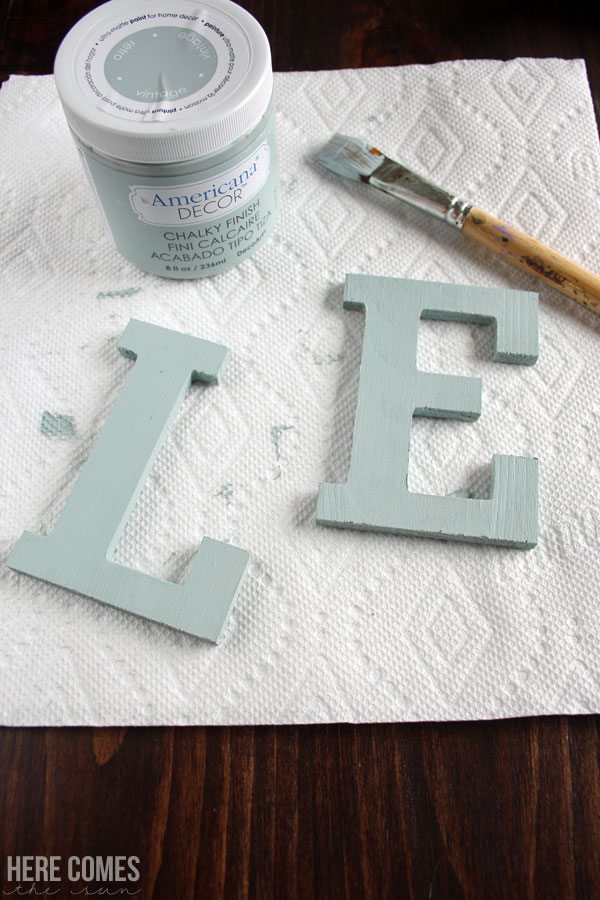
Americana Chalky Finish Paint in Vintage (aff. link)
Paint brush
Directions
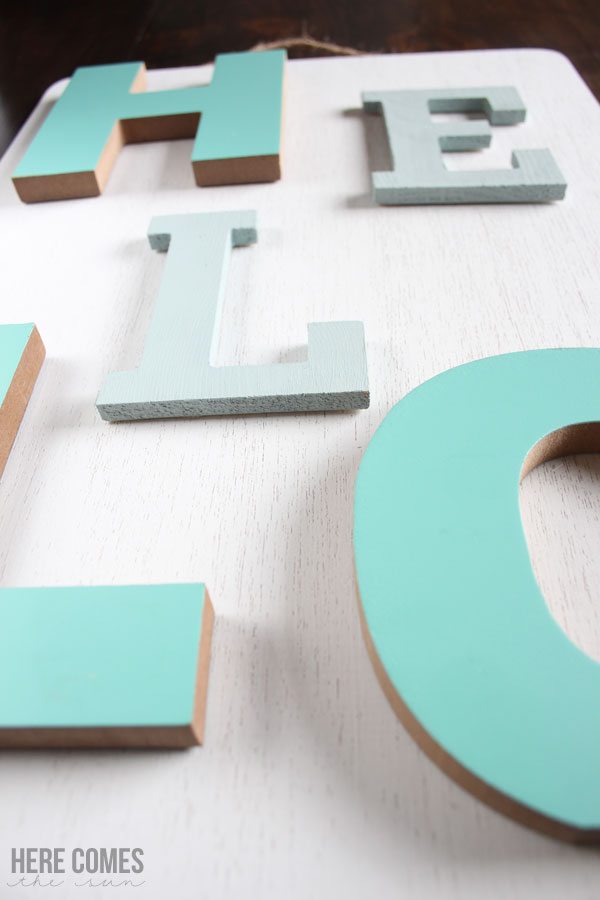
1. If you have letters that are unfinished, paint them with the chalky finish paint. I chose to use the color “Vintage” because it went best with the other letters that I used. The great thing about chalky finish paint is that you don’t need to prime the object that you are painting.
The reason that I used letters in different sizes and colors? Honestly, because Michaels had a huge selection of letters but they didn’t have all the ones that I needed in the same style. So I mixed and matched until I came up with a combination that I liked. Feel free to mix and match yourself! Your sign will be completely custom and match your style!
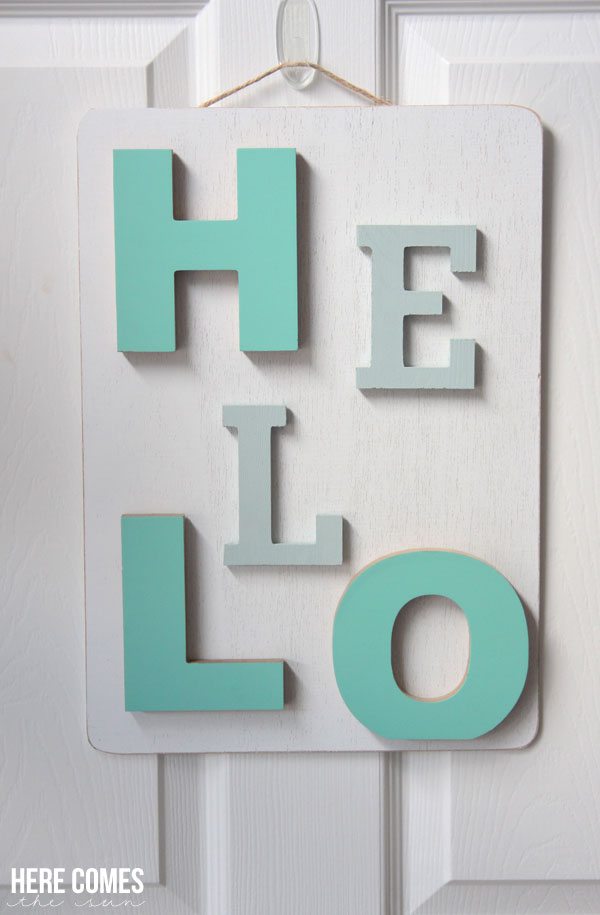
2. After the painted letters are dry, position them onto the board. If you have a different saying other than “hello”, your positioning may be different. The bottoms and inside of some of the letters weren’t painted. I just left them as they were but you can definitely paint them if you want. I think a contrasting color would look great!
3. Once in position, glue the letters down with hot glue.
4. Let the hot glue dry and hang up your sign!

Such a pretty Welcome sign for an entry way! Mine will stay up all year because the blue hues that I chose match with my other decor colors.
It’s Spring’s wake-up call and I hope Mother Nature is listening.
CHECK OUT THESE OTHER BEAUTIFUL SPRING PROJECTS! AND FOLLOW ALONG WITH #DIYMYSPRING
This is cool! It really catches your eye, even on the computer!
Thank you Jeanette! It really pops in my entry way!
What a super cute sign!
Thanks Brooke!
Oh my – I love this! It speaks to my letter-lovin’ heart! Pinned it!
Thank you so much, Angie!
What an adorable door hanging!! I love it! 😉
Oh this is so fun! Love it!
I bought the very same blue color chalk paint 🙂
visiting from the Blog hop
Cheers!