
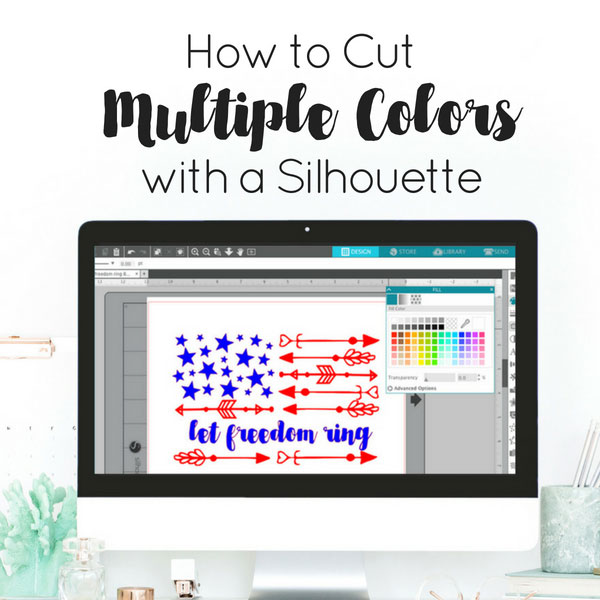
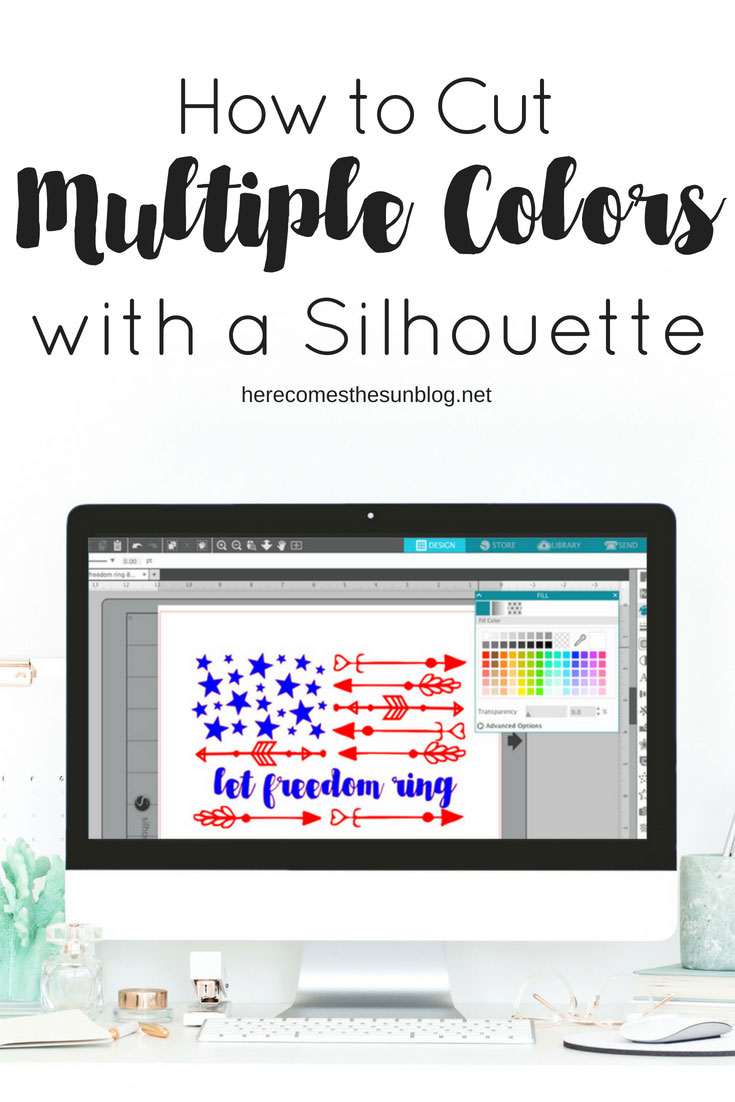
How to Cut Multiple Colors of Vinyl with the Silhouette
Learn how to cut multiple colors of vinyl with the Silhouette in this easy tutorial.
Creating projects using my Silhouette is one of my favorite things to do. But for the longest time, I did not know how to cut multiple colors of vinyl with the Silhouette for my projects.
HOW TO CUT MULTIPLE COLORS OF VINYL WITH THE SILHOUETTE
I’ve created several projects with multiple colors of vinyl including this cactus shirt and this patriotic sign. Before I learned how to cut multiple colors of vinyl with my Silhouette, these projects would not have been possible. Maybe you’re wondering how to do this too. If you are, you’re in the right place.
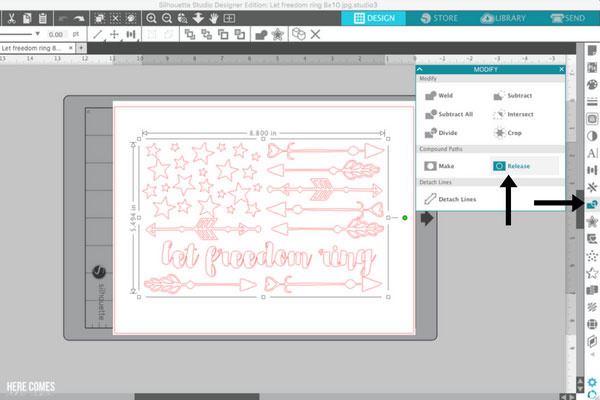
The easiest way to cut multiple colors of vinyl with the Silhouette is to use the “cut by fill” function. To use this function, first fill each portion of your design with the color vinyl that is corresponds to. You may have to ungroup your design to do this. To ungroup the design, select the MODIFY tool and then click “RELEASE”. Your design will now be broken up into individual elements.
For my project, I want the stars and lettering to be blue and the arrows to be red. After I ungroup everything, I have to select the stars and the text and group them together (Make compound path) and also do the same thing for the arrows. Now I can fill them with the appropriate color all at once.
To fill your design, simply open the FILL menu, click on a portion of your design and choose the appropriate fill color. 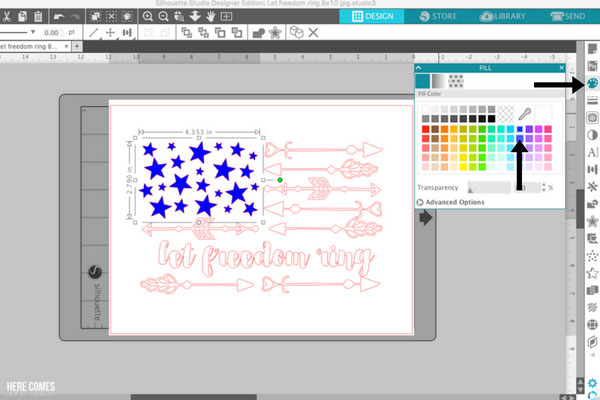
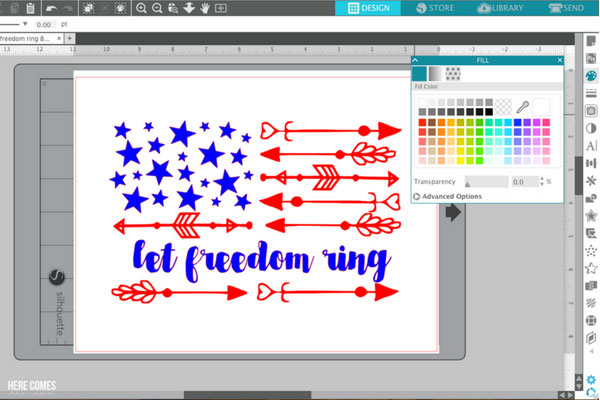
Once you have your design filled with the corresponding vinyl colors, click the “send to Silhouette” button. In the upper right, there will be different cut options. Choose the ” fill” option. You can drag and drop the colors in the order that you want them cut. Add a “pause” after each color to allow you to switch out the vinyl on your machine. You can also uncheck all the color boxes that you don’t want to cut instead of adding in a “pause”. For example, if I wanted to cut the blue first, I would uncheck the red box and send it to cut. Then, I would check the red box and uncheck the blue and send it to cut again.
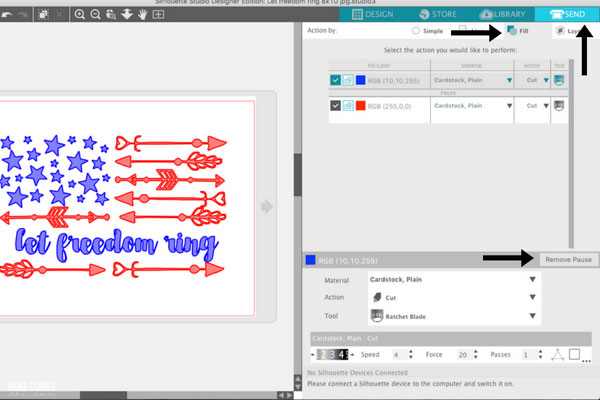
After you have everything set, simply place your vinyl onto the cutting mat and click SEND. After the first color is cut, the machine will stop, allowing you switch out your vinyl for the next color and proceed to the next cut. This tutorial will show you how to line up the vinyl perfectly on your final project.
HOW TO CUT MULTIPLE COLORS OF VINYL WITH THE SILHOUETTE VIDEO TUTORIAL
LOVE IT? PIN IT!
YOU MAY ALSO LIKE
HOW TO USE SVG FILES
HOW TO CONVERT A JPEG OR PNG TO CUT FILE
I have a word that is in cursive and was wondering if there is a way to print each letter a different color?
Hi Candace! In order to cut each cursive letter out in a different color, you need to first ungroup the word so all the letters are separate. Next, fill each letter with a different color and then cut by fill.
What if it is a image that has two words already and the other word has different color letters how would I cut that
Once you trace the image in the Silhouette, you can group the letters/words together depending on what you want to cut. For example, if you want the two words to be cut out of the same color vinyl, fill the words with the same color. If you want to cut the words out of two different colors of vinyl, fill each word with a different color and cut by color.
I appreciate this tutorial. I find that Silhouette has not done a great job with it’s manual to explain these things. It worked out quite well. Thank you
You’re welcome, Amy. Glad it helped.
I tried to separate an image with two colours but it don’t work
Hi Grace! Make sure to ungroup the image and also use the release compound path tool if ungroup does not work.
Hello Kelly,
You explained very well how to do all this on the Silhouette. I have a Scan N Cut and I work in canvas workspace is it the same process? I am beginner and need help that was why I signed up for the VIP classes last week hoping I would find help in your classes.
Thank you