DIY Christmas Card Tutorial {25 Days to an Organized Christmas}
This post may contain links to affiliate websites, such as Amazon and we receive an affiliate commission for any purchases made by you using these links.
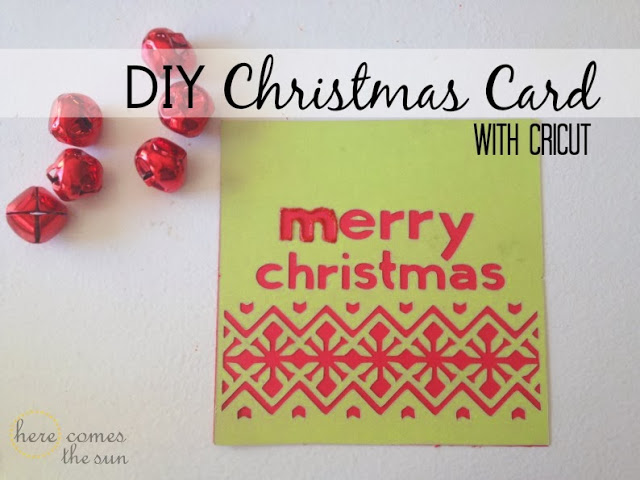
How are you liking the series so far? Do you feel a bit more organized? I sure do. Yesterday I showed you how to organize everything you need for your Christmas cards. Today, I’m switching gears and showing you a simple DIY Christmas Card tutorial.
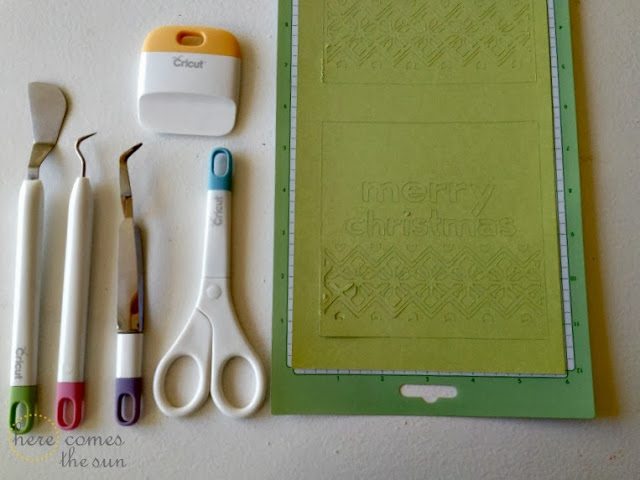
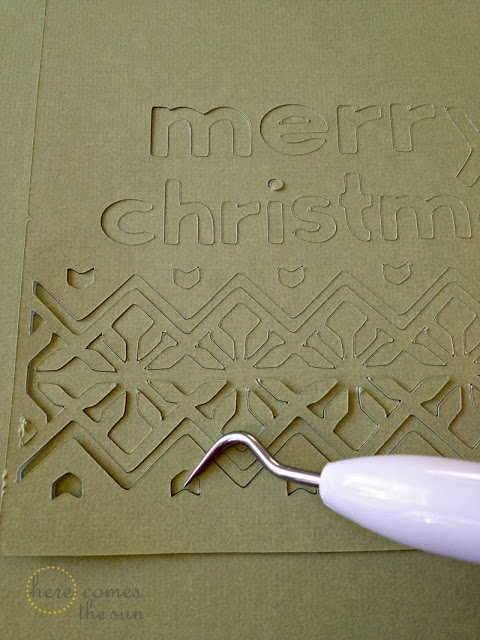
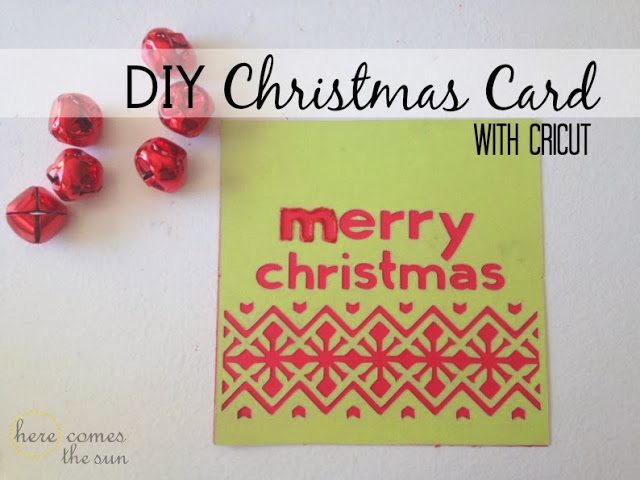
How many of you have a Cricut? I do and have just started to use the Cricut Craft Room feature. This feature allows you to work digitally and move your images/fonts around on the screen. You can also combine items from different cartridges. For my DIY Christmas card, I used the Cricut Craft Room basic cartridge (which comes with the software) for the text and also the Holiday Card cartridge. First, I cut out my design on green cardstock. Cricut offers a new tool kit which allows you to easily remove your craft from the mat. It really helps you to punch out all the little details.
The tweezers are ah-mazing for picking up tiny pieces like the little sliver from the “e” that I needed to place onto the card.
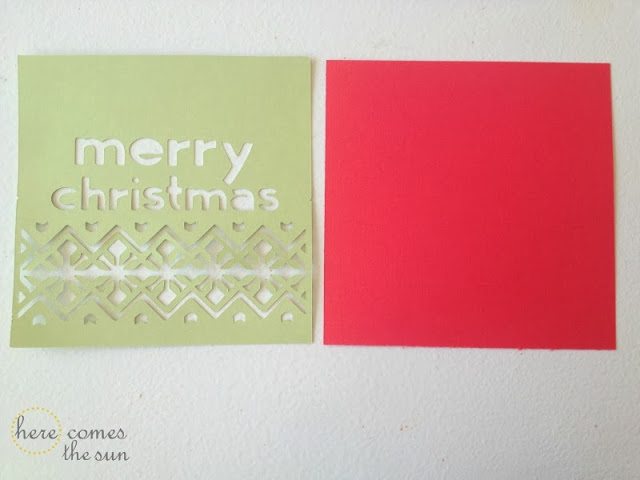
After removing my card from the mat, I cut out a piece of red cardstock to go behind it.
I assembled my card using spray adhesive. If you use this method, make sure that you don’t get any adhesive on the front of the card as the spray will discolor the paper. I also added some glitter gel to the “m” for decoration.
This type of Christmas card is a little bit time consuming to make for everyone on your list but it is perfect to give out to your child’s teachers or a neighbor. I plan on making a few more and giving it to the teachers along with a small gift.
Do you make your own Christmas cards?
Lets Keep in Touch!
I received a complimetary Cricut Tool Kit but all opinions are 100% my own.


Bravo!!, I really love it, that was very cute and absolutely awesome.
Your such a creative person , keep it up!!
Kaila 🙂