
How to Make a DIY Graduation Banner
Make a DIY graduation banner in no time flat with this easy tutorial.
It’s getting to be that time of year again… graduation season. I don’t have any high school or college graduates yet but it is coming soon. My daughter finishes up elementary school this year and is off to middle school in the fall. YIKES! Creating a fun and festive graduation party doesn’t have to be difficult. A few easy graduation decorations and you are good to go. Lucky for you, I’ve got everything you need to put together a fun party including this DIY graduation banner.
DIY GRADUATION BANNER SUPPLIES

- 8.5 x 11 or 12×12 cardstock in your color of choice. The amount of cardstock will depend on how big you make your banner. I used 4 pieces (8.5×11) each of black and gold for my banner.
- Silhouette Portrait, Cameo or Cricut Amazon | Cricut
- Scissors
- Tape roller
- Bakers twine
- Graduation banner template. You can access it in the resource library, available to my email subscribers.
HOW TO MAKE A DIY GRADUATION BANNER

- Download the graduation banner template. This template is an SVG file so it will work with both Cricut and Silhouette machines. I’ve also included a Silhouette Studio file. I use a Silhouette machine so the instructions here refer to that machine but I am assuming that you can achieve the same results with a Cricut.
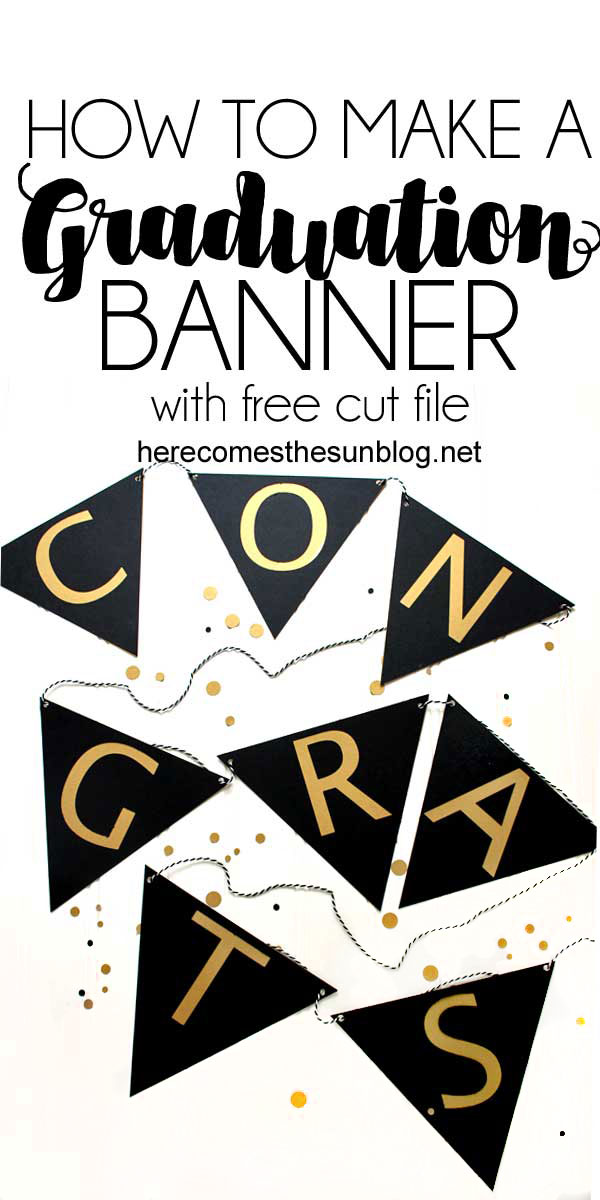
- Open up the graduation banner design in your cutting machine software. Size the pennant flags as big or as small as you want but make sure that you keep them grouped when sizing them so they all stay proportionate. Cut out the design on black cardstock.
- Next, we are going to use the same template, but set the letters to “no cut”. This will make it so the only thing that cuts is the pennant banner shape. Cut out the pennant banner onto gold cardstock.
- After you cut out all the pieces, you’ll have two pieces for each banner flag, as shown below. Use a roller adhesive to run a line of tape around the gold flag. Place the gold cardstock pieces behind the black cardstock pieces, lining up the two holes at the top of each pennant. Place the inside of the letters “O” , “A” and “R” onto the gold cardstock and attach them with a roller adhesive.

- Thread some bakers twine through the holes and hang! I specifically left the date off this banner so you can use it any year you want.


Creating a fabulous graduation party doesn’t have to cost big bucks. A few simple DIY projects and you’ll have a festive set-up in no time that your guests and your graduate will love.
MORE GRADUATION PARTY IDEAS
DIY Streamer Tassel Garland
Tissue Paper Pom Poms
Graduation Party Decorating Ideas
Graduation Cap Water Bottles
LOVE IT? PIN IT!