
DIY Holiday Serving Tray
This DIY holiday serving tray will add a fun and festive element to your holiday parties and will wow your guests!
I love hosting get-togethers. I love putting together all the details… the food, decorations, and of course the drinks! And I love having friends fill our home. I like to add a few new items to my holiday decor each year and this year I decided to make a DIY holiday serving tray.

DIY HOLIDAY SERVING TRAY SUPPLIES
- Wooden tray
- White acrylic paint
- Cut file
- Silhouette or Cricut
- Vinyl green glitter, gold and black (Cricut | Expressions Vinyl)
- Transfer tape (Cricut brand | Silhouette brand | Oracle brand)
- Weeding tools
HOW TO MAKE A DIY HOLIDAY SERVING TRAY
First, you’ll need a serving tray. Any tray will do as long as it has a flat surface to adhere your vinyl to. The tray that I used was an old brown tray probably used to sort mail. Since brown wasn’t the look I was going for, I gave it a couple coats of white acrylic paint. If your tray is already white or is already the color that you want, you can skip this step.
The cut file that I used is free at Love SVG. I love to make my own cut files but sometimes I just need one that is already made. Love SVG has TONS of cute free files for personal use. Download the cut file and open it up in your cutting software. These directions are specifically geared toward the Silhouette because that is the machine I have. The Cricut can perform the same functions.
Ungroup the cut file so each item can be moved separately. Then, click on all the text and group the text together. Next, click on all the circles (ornaments) and group them together. Finally, click on the tree pieces and group those pieces together. You should now have a file that is composed of 3 groups.
A festive and fun holiday serving tray. Get the easy tutorial!Scale the file to fit the bottom of your tray. My tray was an old letter tray sized to fit an 8.5×11 sheet of paper so I scaled according to that. When scaling, make sure to grab all 3 layers and scale at the same time to keep them proportional.
In order for each layer of the vinyl to line up perfectly, you’ll need to create registration marks for each group. Read this post to learn how to layer vinyl perfectly.
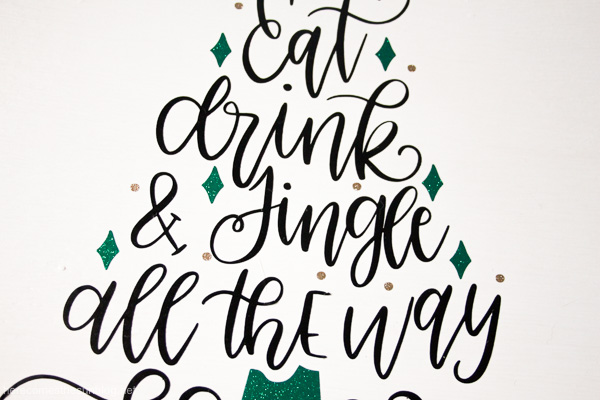
Cut out each layer of vinyl separately using the corresponding color… black for the text, green for the tree and gold for the ornaments. Here is a close-up of each color.
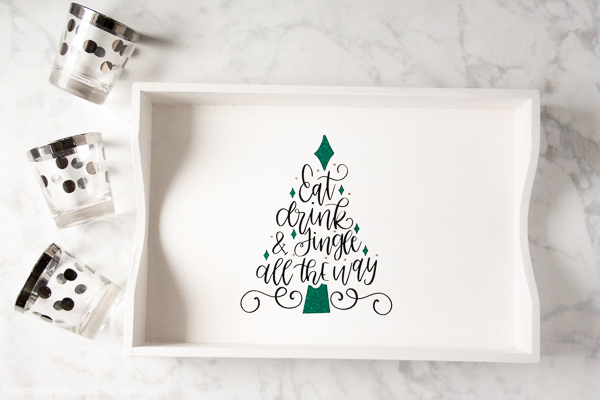
After you are done cutting, weed the vinyl and apply transfer tape to the design. Place the design in the center of the tray and burnish to adhere the design to the tray. Peel off the transfer tape to reveal the finished product.
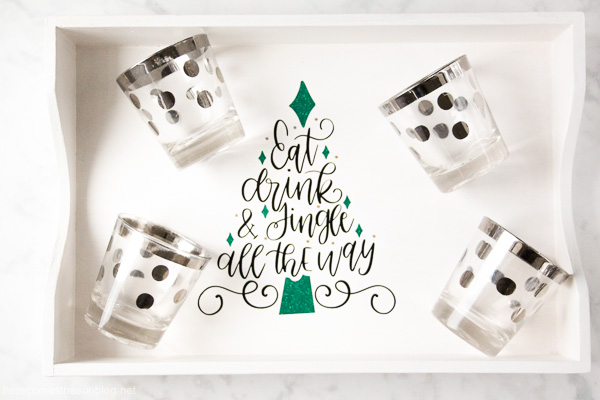
These fun cocktail glasses are from my grandparents. I remember my grandpa using them every summer and am so happy to have them in my collection now. They are the perfect party glass. I can’t wait to fill them with my slow cooker cranberry punch for the holidays.
LOVE IT? PIN IT!

MORE HOLIDAY PARTY IDEAS: