
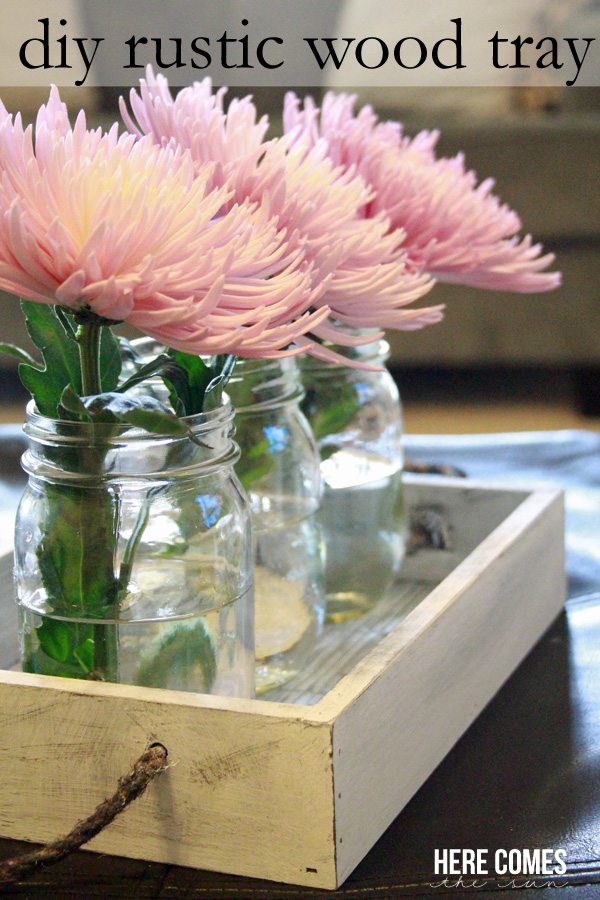
DIY Rustic Wood Tray
Create this beautiful DIY Rustic Wood Tray for your home!
My house is the furthest from a farmhouse as you can get. It’s a rental and is about as builder grade as you can imagine. Beige carpet, off white walls, ugly tile. I have a few blogging friends who have amazing farmhouses and I swoon at their room makeovers. But until I own a home that has hardwood floors, big floor to ceiling windows that let in lots of natural light and the obligatory white kitchen that I can customize to my liking, I will continue to add the farmhouse touch to my house via accessories. My newest project is this DIY Rustic Wood Tray and I’m going to show you how easy it is to make.
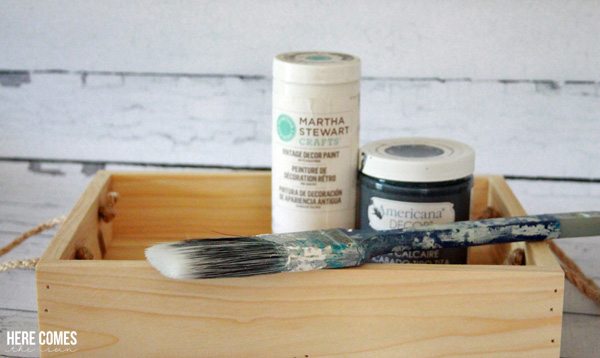
Here are the supplies you will need:
Wooden tray (any type will do. I got mine from Target dollar bin but a flea market tray will work well too)
Chalky Finish Paint (white and a darker color of your choice)
Paintbrush
120 grit sandpaper (not shown)
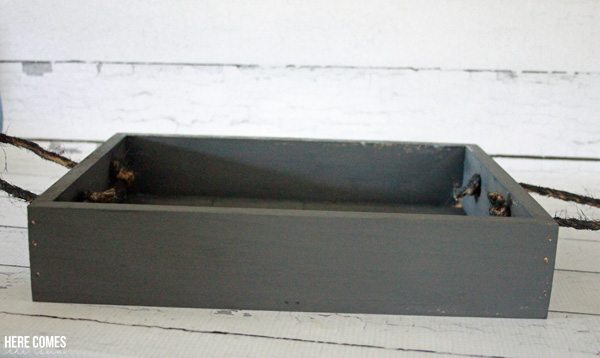
First, paint your tray with the dark colored chalky finish paint. The great thing about this paint is that there is no prep work needed. It sticks to just about anything.
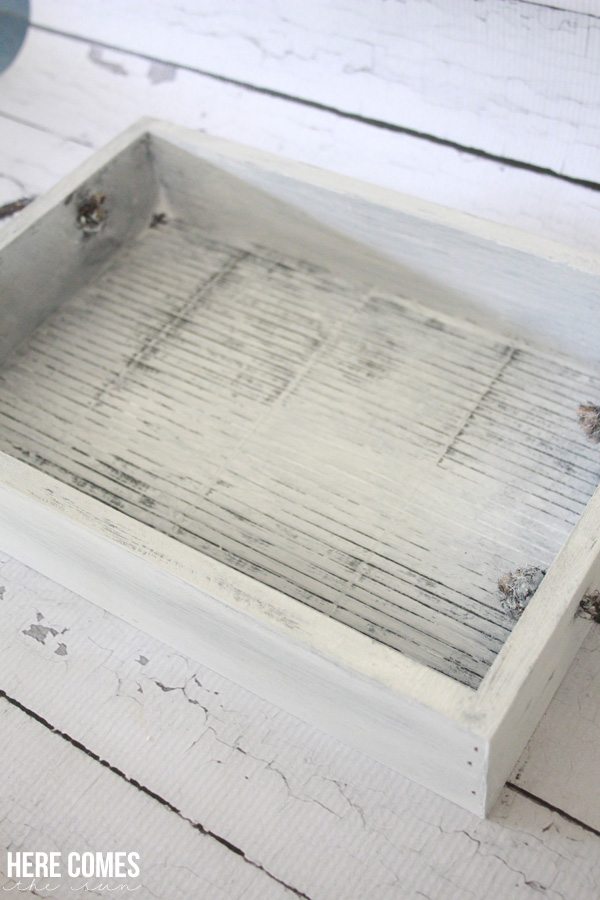
Let that coat dry and then go over it with a coat of the white paint. To get the rustic look, you’ll want to put this coat on lightly so some of the dark color shows through. Once your piece is dry, take the 120 grit sandpaper and sand along the edges and anyplace that would get naturally worn. Also sand the inside bottom. A light sanding will let the darker color show through. A heavier sanding will take it all the way down to the original wood. You can’t really mess this step up. Just sand until you get the look you want. It’s not supposed to look “perfect”. The whole point is for it to look old and aged
 .
.
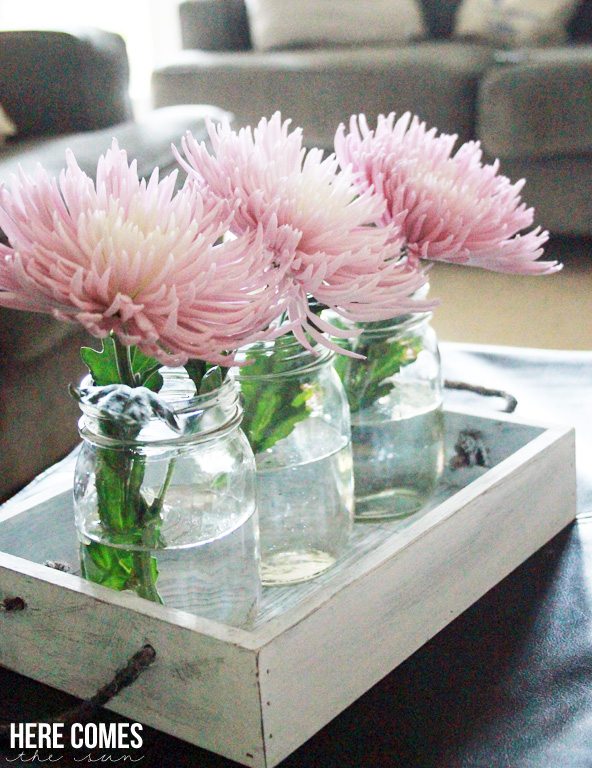
You can use this wood tray for so many things. A table centerpiece, a serving tray for summer parties, an accessory on a shelf.
What type of home do you have? Do you like the farmhouse look? I would love it if you would share your farmhouse inspired projects on Instagram and tag me @herectsun so I can see them!