
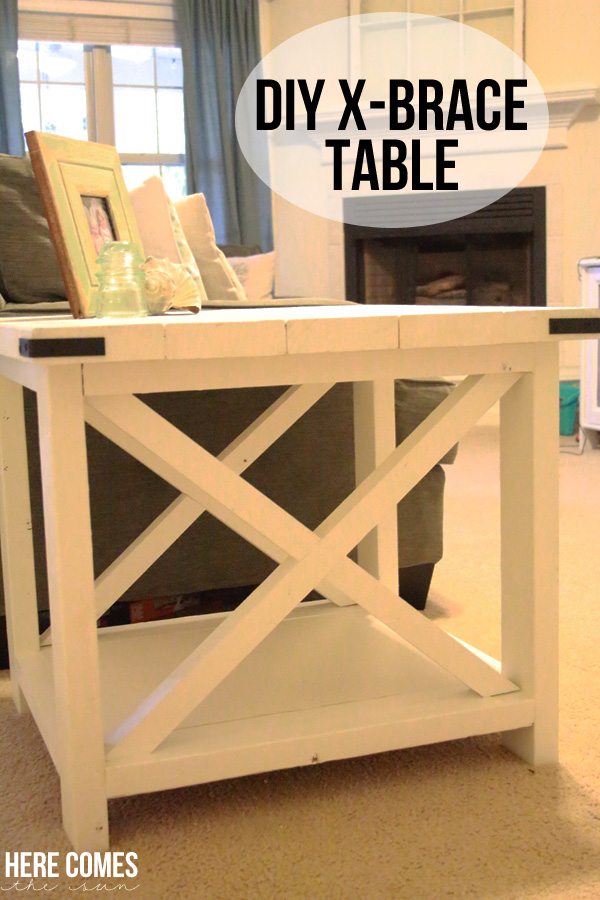
DIY X-Brace Table
I have wanted an X-Brace table for quite some time. I’ve scoured online to find one to fit my style but have never found one that is quite right. And most were way expensive. So what do you do when you can’t find what you are looking for? You make it, of course! Now, I finally have a perfect X-Brace table for my living room and I am in love. And it cost less than $50.00.
I can’t take credit for the plans that we used to build the table and I definitely can’t explain them better than Ana White. So here is a link to her set of plans for this table. We made the table to the exact specifications as the plans.
I would characterize this project as intermediate. Just a few things that may help you:
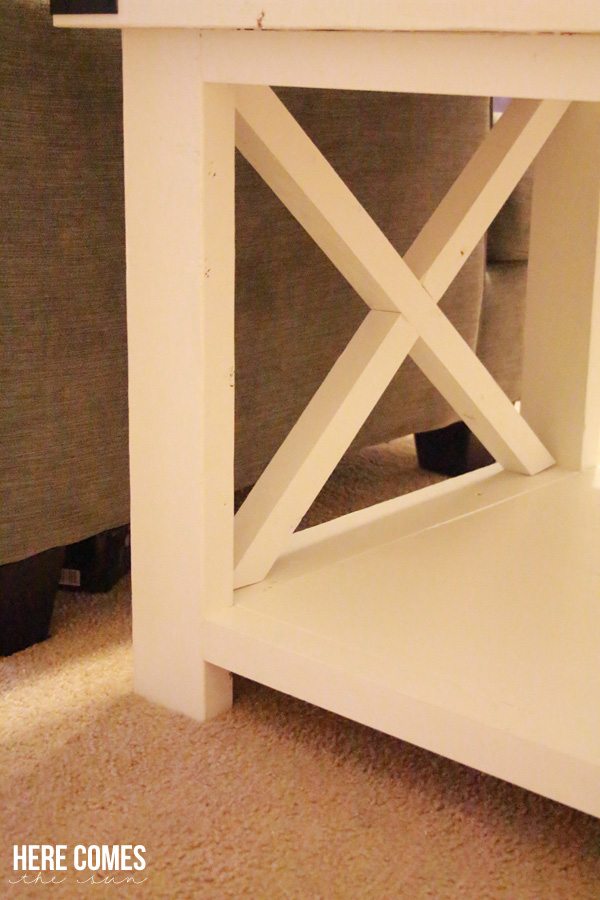
When creating the “x” braces you may be better off using the tracing method that Ana describes instead of trying to measure and cut the angles exactly. At first, we measured and measured again and measured a third time and even watched some videos to make sure we were measuring and cutting correctly. And it still came out way off. So then we held the piece of wood up, traced the angle, cut it and it fit. As you can see below, we still didn’t get a perfect fit but for our first try at this type of furniture I think it’s pretty darn good.
The bottom shelf is a tight fit. If it doesn’t fit for you at first, use 120 grit sandpaper to sand the edges down a bit until you can slide it it.
We used a Kreg Jig to create pocket holes for this table. It was the first time that we had used a Kreg Jig and I am in love with that tool! If you don’t know what a Kreg Jig is, it lets your create what are known as pocket holes and you can hide your screws without countersinking them. It also lets you create very strong joints. We did not have to fill any holes because they were all hidden on the underside. However, if you do need to fill your pocket holes, you can use special “plugs” that fit perfectly into the holes to make a smooth finished surface.
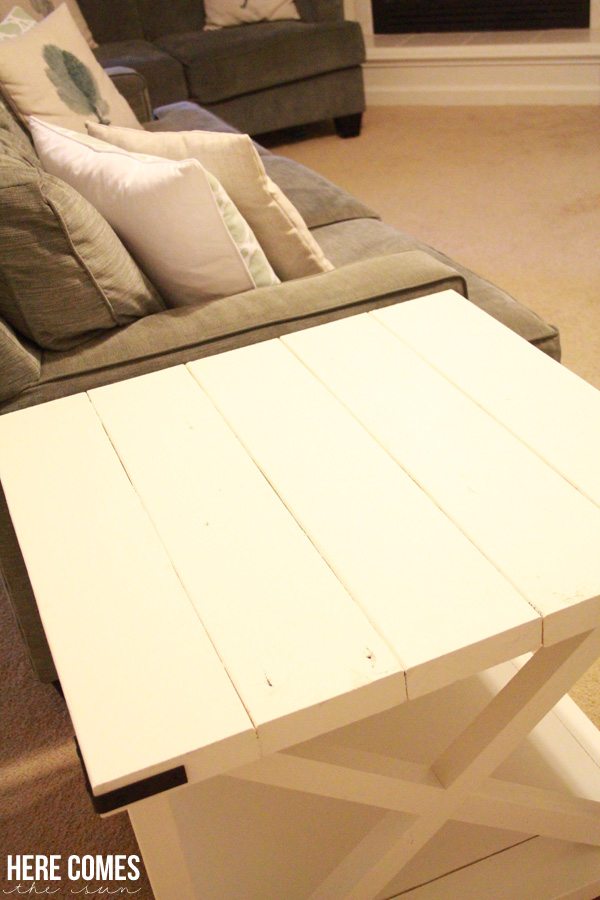
We painted the whole thing white and I love how the table turned out. It’s got the perfect rustic touch to it and goes great with my decor. We’re planning on making another one to go next to our other couch.
Want another DIY furniture project? Check out our DIY Hammock Stand
