
How to Use Transfer Tape with Vinyl
Learn how to use transfer tape with vinyl to create beautiful projects with ease.
I use cut files a lot in my crafting and I have to say that up until recently, I didn’t really use transfer tape all that much. I don’t know why I didn’t use it because it is a game changer when it comes to crafting with vinyl. If you’re confused on how to use transfer tape with vinyl then read on because I’m breaking it down step-by-step.
WHY YOU NEED TO USE TRANSFER TAPE WITH VINYL
When you are designing with vinyl, transfer tape allows you to “group” your design together and place it onto your craft surface in one easy step. Many times SVG cut files with have lots of pieces and if you don’t use transfer tape, you can spend hours trying to line up each individual piece perfectly. Transfer tape takes the guesswork out of this and you end up with a perfectly straight and aligned project every single time.
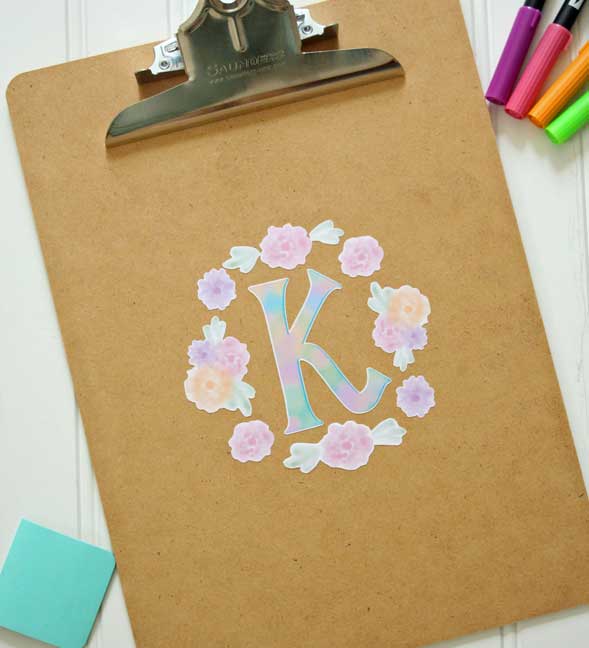
EXAMPLES OF PROJECTS WHERE I USE TRANSFER TAPE


HOW TO USE TRANSFER TAPE WITH VINYL
Using transfer tape with vinyl is a fairly easy process. Here are some free SVG files to work with. Cut them out onto vinyl to practice.
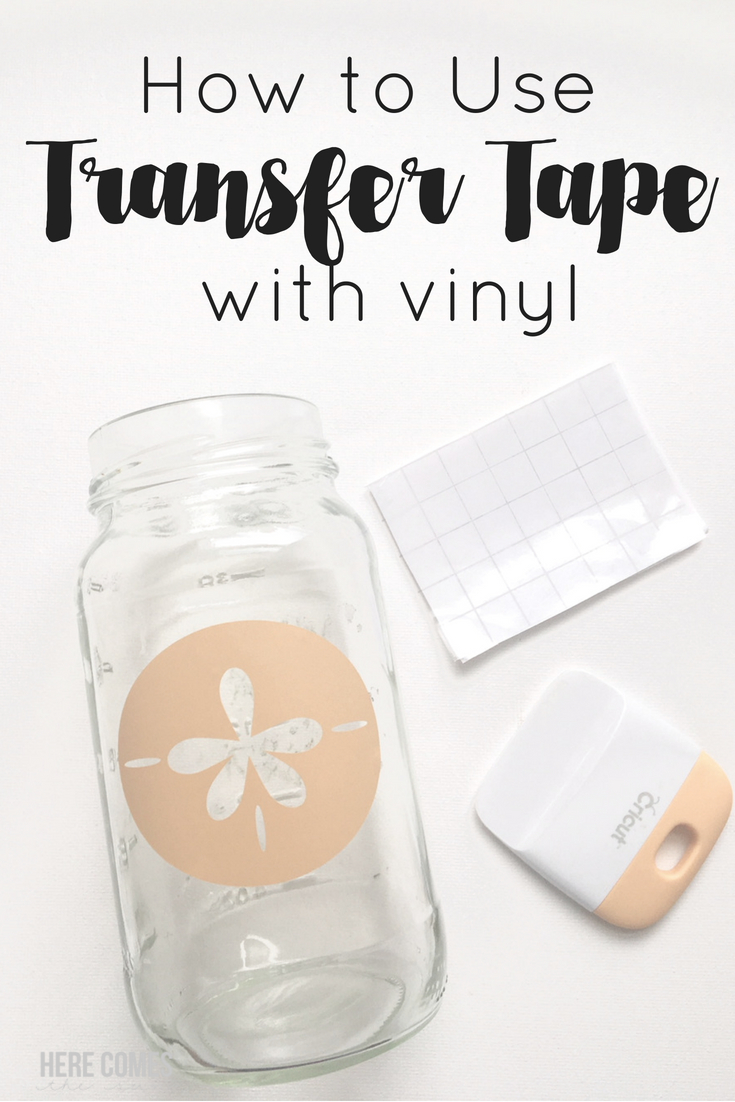
First, you need to get ahold of some transfer tape. I have found that Cricut vinyl transfer tape works well.
Next, cut a piece of transfer tape that is big enough to cover your entire vinyl design. Peel off the transfer tape backing and apply the transfer tape to the vinyl design. Using a scraper tool, rub back and forth to adhere the vinyl transfer tape to your design.
Turn the design over so the vinyl backing is facing up. Peel the vinyl backing away until you are left with just the vinyl design stuck to the transfer tape. If the design is not sticking to the transfer tape, you will need to use the scraper tool to rub a bit harder to adhere the design.
Once you have the vinyl attached to the transfer tape, you are ready to place your design onto your project. One of the reasons that I like Cricut vinyl transfer tape is because it comes with a grid pattern so you can really make sure your design is lined up straight.
Place the transfer tape onto your surface, sticky side down, use the scraper tool to rub back and forth and then slowly peel up the transfer tape. You should be left with your vinyl perfectly placed on your project.
HOW TO USE TRANSFER TAPE TUTORIAL VIDEO
I hope this tutorial takes the guesswork out of using transfer tape. It’s really a magical tool once you get the hang of it!
LOVE IT? PIN IT!
YOU MAY ALSO LIKE