
Learn Hand Lettering: The Basics
Learn the basics of hand lettering and start your hand lettering journey. Tips, tricks and resources to learn hand lettering and get you started.
Hand lettering has brought me so much joy over the past few years. It’s a skill that I really didn’t think I could learn but after a little (ok, a lot) of practice, I finally feel like I have mastered it a bit and found my hand lettering style. I love to create anything that has a hand lettered element to it whether that be printables or cut files or hand drawn signs. I want you to be able to learn hand lettering to so today I’m going to go over the basics.
I have many free hand lettered prints available on the blog and offer a new hand lettered print to my email subscribers each month (that you should definitely sign up for !) When I surveyed my email subscribers, many of you requested hand lettering tutorials. Today is the day, my friends! I’m going to start at the beginning with hand lettering 101.
HAND LETTERING SUPPLIES
In order to start your hand lettering journey, you’re going to need a few supplies. These are the supplies that I recommend:
HAND LETTERING PENS
First and foremost, you will need a proper hand lettering pen. I recommend Tombow Dual Brush Pens and also the Tombow Fudenosuke. There are many different hand lettering pens on the market but these are the brand that I use and I feel most comfortable with them.
PAPER
You will also need some high quality paper. Some people use regular copy paper but I have not had good luck with it. My markers seem to bleed more on copy paper and sometimes there is a “pilling” effect on the paper. I recommend Canson Mixed Media Paper.
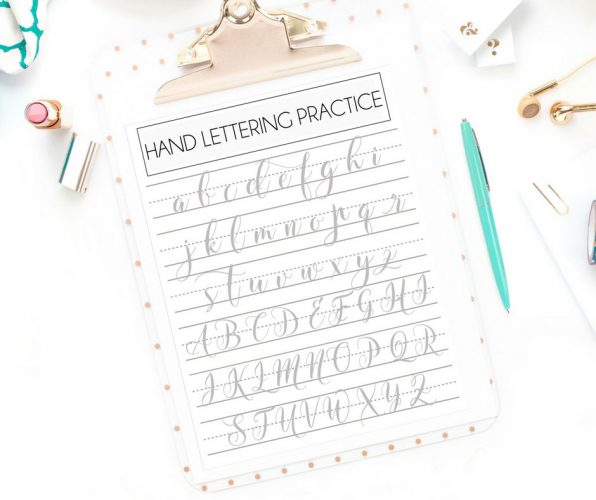
HAND LETTERING PRACTICE SHEETS
I offer several hand lettering practice sheets for free on the blog. You can find them here. Print these out on your mixed media paper to begin practicing.
LEARN HAND LETTERING: THE BASICS
- Hand lettering (or brush lettering) consists of thick downstrokes and thin upstrokes. In order to get a thick downstroke, put more pressure on your brush pen and “pull” the pen down the page. For the upstrokes, place very little pressure on the pen and drag your pen as lightly as possible up the page.
- When you are just starting out, you need to practice basic strokes. Once you get comfortable with the basic strokes, you can learn how to use these strokes to create letters. This practice sheet contains some basic strokes.
- Go slow. There is no need to rush. When I first started to learn hand lettering, I would watch all the videos and think that people were writing super fast. Guess what? No…good hand letter-ers are not speed demons. A lot of those videos are just sped up to condense the process. Do not be fooled. The more time you take with your lettering, the higher quality work you will have.
- If you happen to have a iPad Pro, there is an app called Procreate that allows you to hand letter with an Apple pencil. I’m not recommending you go and and buy an iPad Pro and Apple pencil if you don’t have one because they are quite pricey. But just in case you do already have one, I wanted to let you know of this option. I love hand lettering on my iPad Pro because since it’s digital, I can easily undo a stroke if I make a mistake. I give some basic tips on iPad Pro hand lettering here.
- Once you feel comfortable with the basic strokes and have done some alphabet practice sheets, it’s time to start writing simple phrases. My biggest advice here is to sketch out your work lightly in pencil to make sure it all fits your page and is spaced correctly. When you are done sketching, go over your pencil lines with your brush pens using thick downstrokes and thin upstrokes. Now sit back and take a look at your work. What do you like about it? What don’t you like? Hand lettering is a process and your technique and style will change over time. 6 months from now you may not even recognize your early work as your own. Keep your early work so you can see how much you have improved over time. I made the mistake of getting rid of my very early work because I was pretty disgusted with how my lettering looked. I wish I would have kept it as a reminder of how far I’ve come. And remember, there is no “perfect” when it comes to this skill. One of the best quotes I’ve heard is “Practice Makes Progress”
MORE HAND LETTERING PRACTICE SHEETS
LOVE IT? PIN IT!

YOU MAY ALSO LIKE
HOW TO HAND LETTER ON THE IPAD PRO
HAND LETTERING PRACTICE SHEETS
HAND LETTERING PRACTICE SHEETS FOR BEGINNERS
SUMMER THEMED HAND LETTERING PRACTICE SHEETS