My children LOVE to do any sort of craft or art project. My oldest really loves to color. My youngest.. well let’s just say he likes to make messes and harass his sister while she is creating her masterpieces. My dining room table is getting eaten alive by all their projects (and more importantly…mommy has no where to craft if they are using the table). I knew they needed there very own space so I made them a Pallet Art Table. Well, my husband made it and I painted it. The inspiration for this project came from the kid’s pallet table at Shabby Love. She made and AMAZING table out of pallets and it looked pretty simple to do. Guess what? It was SUPER simple.
Here is how I did it….
MATERIALS
Deck boards (or pallets)
Boards for the base
Stair spindles for the legs
Wood putty
Sand paper
Primer
Paint
Screws
Drill
DIRECTIONS
Cut the deck boards(or pallets) to the size that you want the table
I used deck boards instead of pallets because that is what had on hand
Cut the legs down to the size that you want.
We could not find actual table legs so we used stair spindles instead.
We had to cut the spindles down so they were short enough for the height of the table that we wanted.
Build your base like so…
(this pic was taken after the top had been screwed on because I forgot to take one before)
My table is 22″x30″ and 29.5″ tall
The measurement is for the table top, which overhangs the base a little, as you can see above.
Screw the legs into the base and counter sink your screws.
Screw the deck boards down to the top of the base and counter sink your screws.
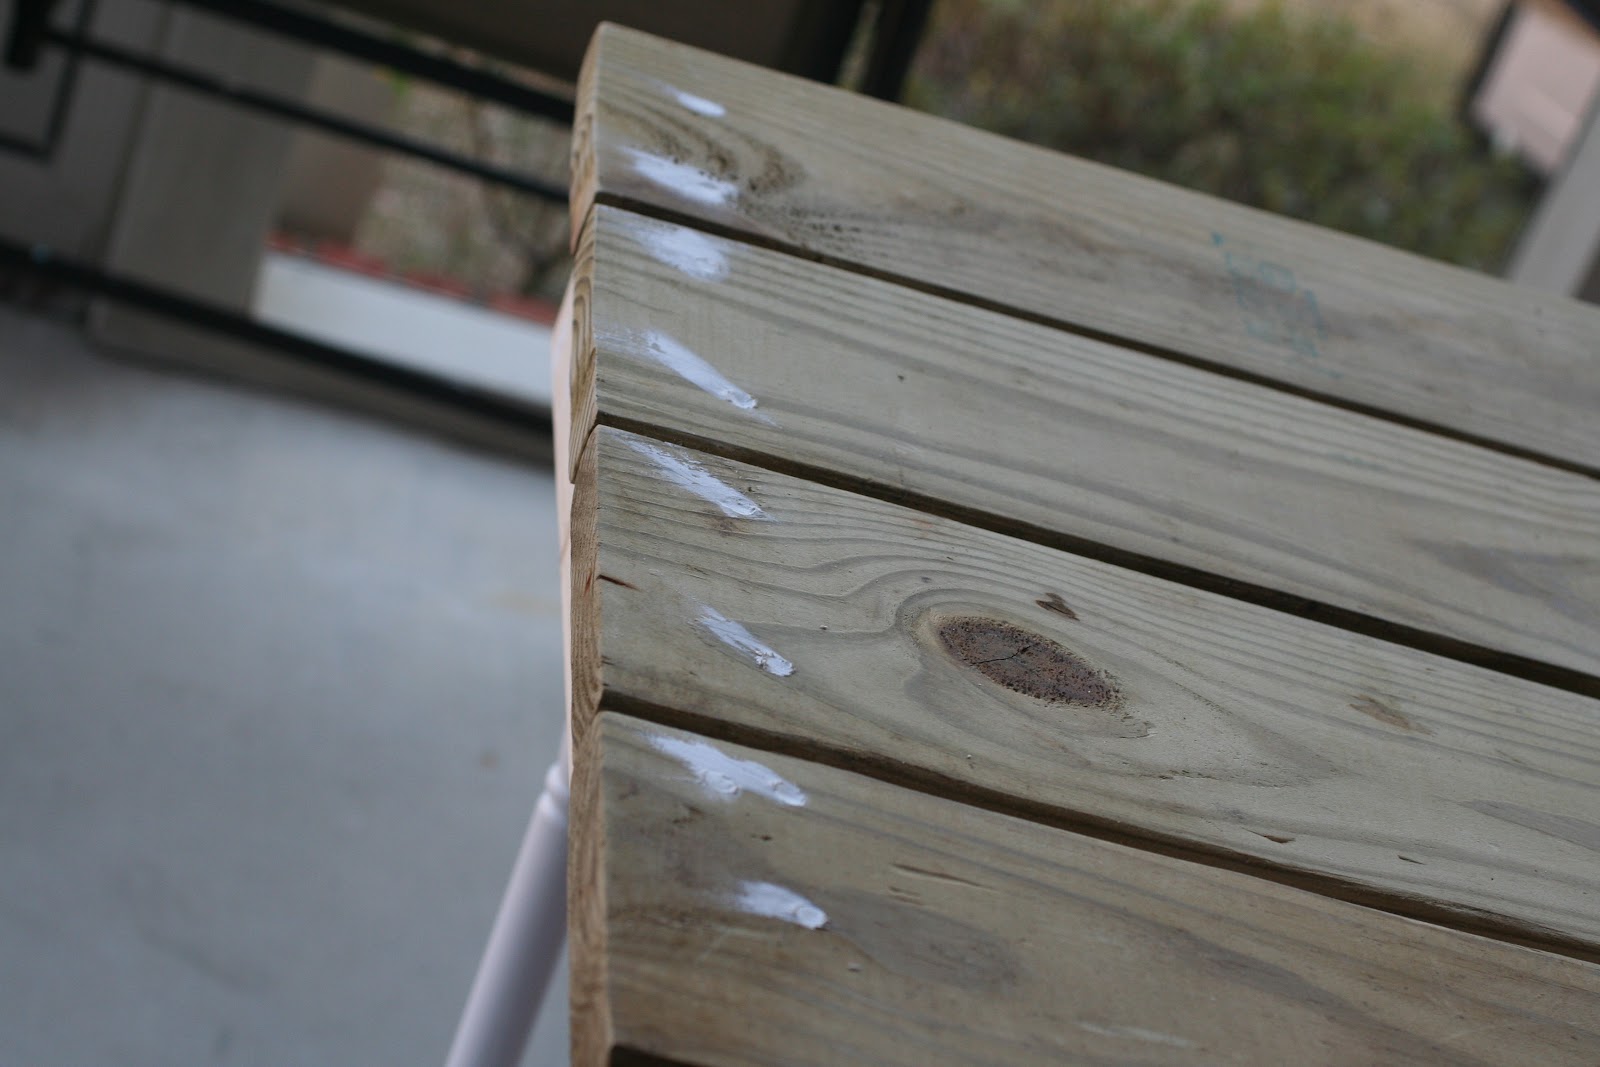
Fill all holes with wood putty and sand with a low grit sand paper.
Since we used pressure treated wood, I had to prime the top with an old based primer in order for the paint to stick. Normally, I HATE priming but you can buy spray paint primer that makes the process sooo much quicker.
I sprayed two coats of Kilz interior oil based primer.
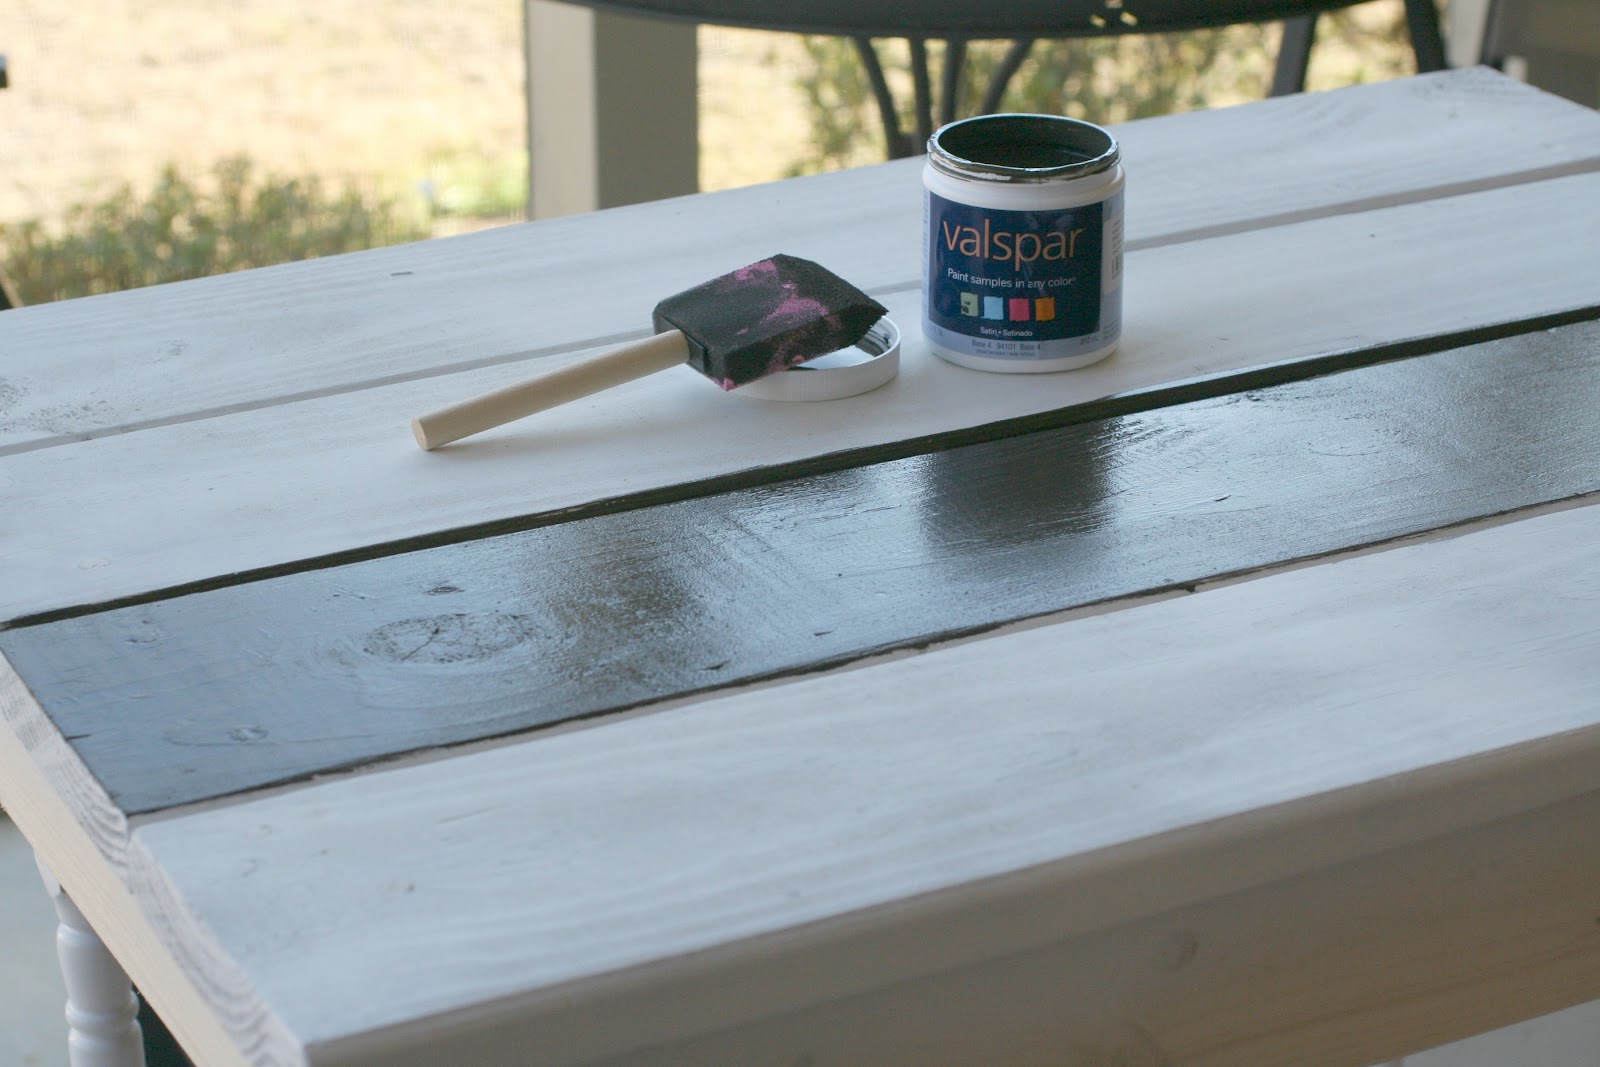
I purchased a sample jar of Valspar paint in “Fired Earth” for a couple bucks since I knew I didn’t need an entire can.
You can see the white primer and the paint color in the picture, above.
After the primer dried, I painted the top with 2 coats of paint. Then I let it dry outside and it got covered with yellow pollen that got down into every crevice. Soooo… I put a third coat on and brought the table inside very soon after it dried.
I painted the base with white that I had on hand from when I painted my dining room table.
The legs were already white so I did not paint them.
Now I have a custom art table for just under 20 bucks.
($12 for the legs, $5 for the primer and $2 for the paint sample)
Have you built any furniture lately?


Oh, I LOVE how this turned out!! 😀 Great job!
this is such a great table! i would love for you to link this post up to my weekend wrap up link party: spread the love.
there are no rules, just link up and share your fun things with others! http://lovenotesbylauryn.blogspot.com/2012/03/spread-love-2.html
stop by if you are interested!
{love} lauryn
What a great project!!
Jess from A Winding Road
Oh my goodness, this is aaaaamazing!!!! Would LOVE for you to come link up to our Fave Furniture Fridays going on now!
http://sugartotdesigns.blogspot.com/2012/03/new-series-fave-furniture-fridays.html
This comment has been removed by the author.
Love, love, LOVE it! I have 2 pallets that I was going to get rid of…I am pretty sure that I am going to make a new entry way table! New follower from “Made in a Day” Linky party!!
Jen
http://oksoitsjenn.blogspot.com/
Love your table Kelly! I featured you today on Homehappyhome if you would like to come grab a button! thanks for linking up!
What a great table!! I love the look of it! 🙂
I hope you’ll share this at my “Unveil Your Genius” Link Party!
http://taylornorris.blogspot.com/2012/03/unveil-your-genius-link-party_15.html
Happy Weekend!
New linky follower from party. I have two pallets outside to make a project! Would love a follow back, [email protected]
This is really great!! You did such a fantastic job on it!
I would love to have you link it up to Fantabulous Friday going on now. http://littlebeckyhomecky.blogspot.com/2012/03/fantabulous-friday-4.html
Hope to see you there!!:)
this is beautiful! great use of pallet wood!
Wonderful little table. You did a great job with it. And, it does look easy. Thanks for sharing.
I {heart} this inexpensive, yet fabulous table, Kelly. Thanks so much for linking up at Live Laugh Rowe. Cheers!
So cute!!! I’ve been trying to hunt down pallets in my area for about a week now – I’m about to go swipe some that I’ve seen sitting kinda sorta by the road! LOL! Hope you come share this table at my Link Party!
This is great!
How fun!! What a neat idea!
The transformation is fabulous! Thanks for sharing at Whimsy Wednesdays at The Ny Melrose Family. I look forward to your projects for this week.
Wow! this looks so impressive–like an expensive piece from a store!
Gorgeous Table! Inspirational.
Love it! Wish it was easier to get my hands on a pallet. I’d love for you to link up and share: http://tutusandteaparties.blogspot.com/search/label/Link%20Party
This is fabulous!! I’m going to have to make one for my kitchen. Thanks for sharing at Shine on Friday. I will featuring this tomorrow at http://www.happygoluckyblog.com
I love the look of the pallet art and furniture these days. This is adorable! Thanks for sharing at Toot Your Horn Tuesday 🙂
I saw your table featured at Too Much Time on My Hands! It turned out amazing!!! Thanks so much for the link luv! 🙂
Melissa@Shabby Love
This is such a fantastic project! I love it! Thanks for linking it up!
–Katie
@ Creatively Living
This is beautiful! I would have never guessed it would be so simple to put together, either! Thanks for sharing!
Wow! That looks fanTAStic! I’m so intimidated by making furniture…lol. Great job; thanks so much for entering One Crafty Contest!
Kelly this is great! I love how you created this! It looks amazing, very pretty too!! Great great job!!