
Reversible Chalkboard Banner
Spring is here and I love all the colors of the season. I thought my mantel needed a bit more decoration so I took one of my favorite decor items, the chalkboard, and gave it a twist. Behold… the Reversible Chalkboard Banner.

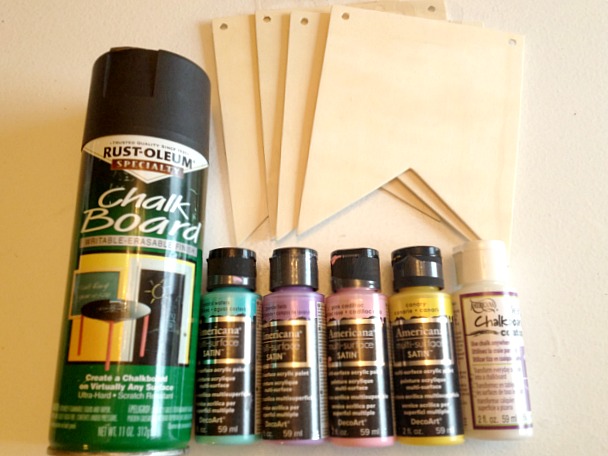
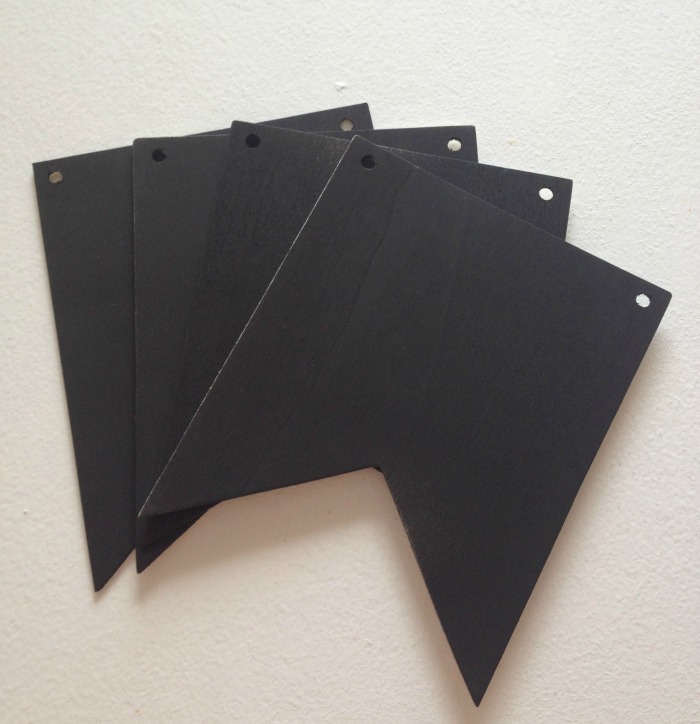
First I spray painted one side of my wooden shapes with chalkboard paint. They only needed one coat and they dried really quick.
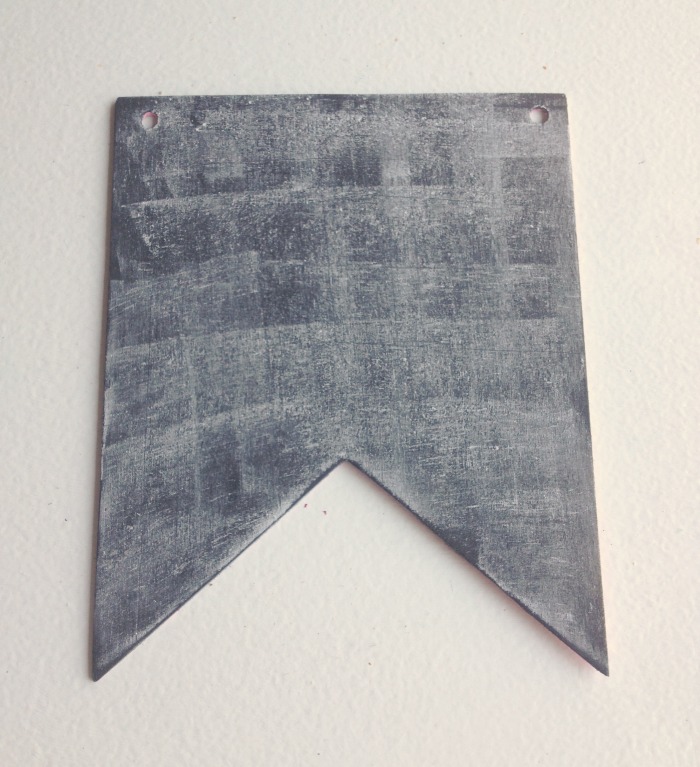
Then I painted the other side with acrylic paint. After the acrylic paint dried, I added two coats of clear chalkboard coating. If you have never used clear chalkboard coating, you have to! It’s amazing. It will turn any surface into a chalkboard. Make sure to “season” your chalkboard before writing on it. To do this, take a piece of chalk and place it on its side. Rub the chalk on the wooden surface up and down and then side to side. This prevents any “ghosting” which is when you can still see words after you erase them. By seasoning the chalkboard, it is less likely that old erased writing will show through.
I threaded a ribbon through the holes in the shapes and added the word Spring with different colored chalk.

So if I want the classic chalkboard look, I can use the black side and if I want a pop of color I can just flip it over! Or mix and match. The wooden shapes were .99 each and I had everything else on hand so this project was pretty inexpensive. I love my new decoration and think it adds just the right touch to my mantel ! I can’t wait to use it for other occasions.
Where did you buy the wooden banner pieces?
I purchased them at Michaels.