
Ruffled Camera Strap Cover
This momma got a new camera lens (and new camera) for Christmas. Well, not brand new but new to me. And what better to go with a new camera then a Ruffled Camera Strap Cover.

I have wanted to make one of these forever and am so glad that I finally got around to it. It adds a little flair to the camera and also cushions my neck a bit as I run after my kids in unsuccessful attempts to get non-blurry photos. This was also my first attempt with ruffles and I am amazed at how easy they are!
I followed this tutorial but I modified it to include one ruffle and not two.
MATERIALS
1/2 yard camera strap fabric
1/2 yard ruffle fabric
coordinating thread
DIRECTIONS
Measure the length and width of your camera strap and add 1 inch to each.
For the length, I measured from the middle of the X’s on the leather part of the strap. For the width, I measured from the widest part of the leather.
Cut two strips of fabric to dimensions that you measured.
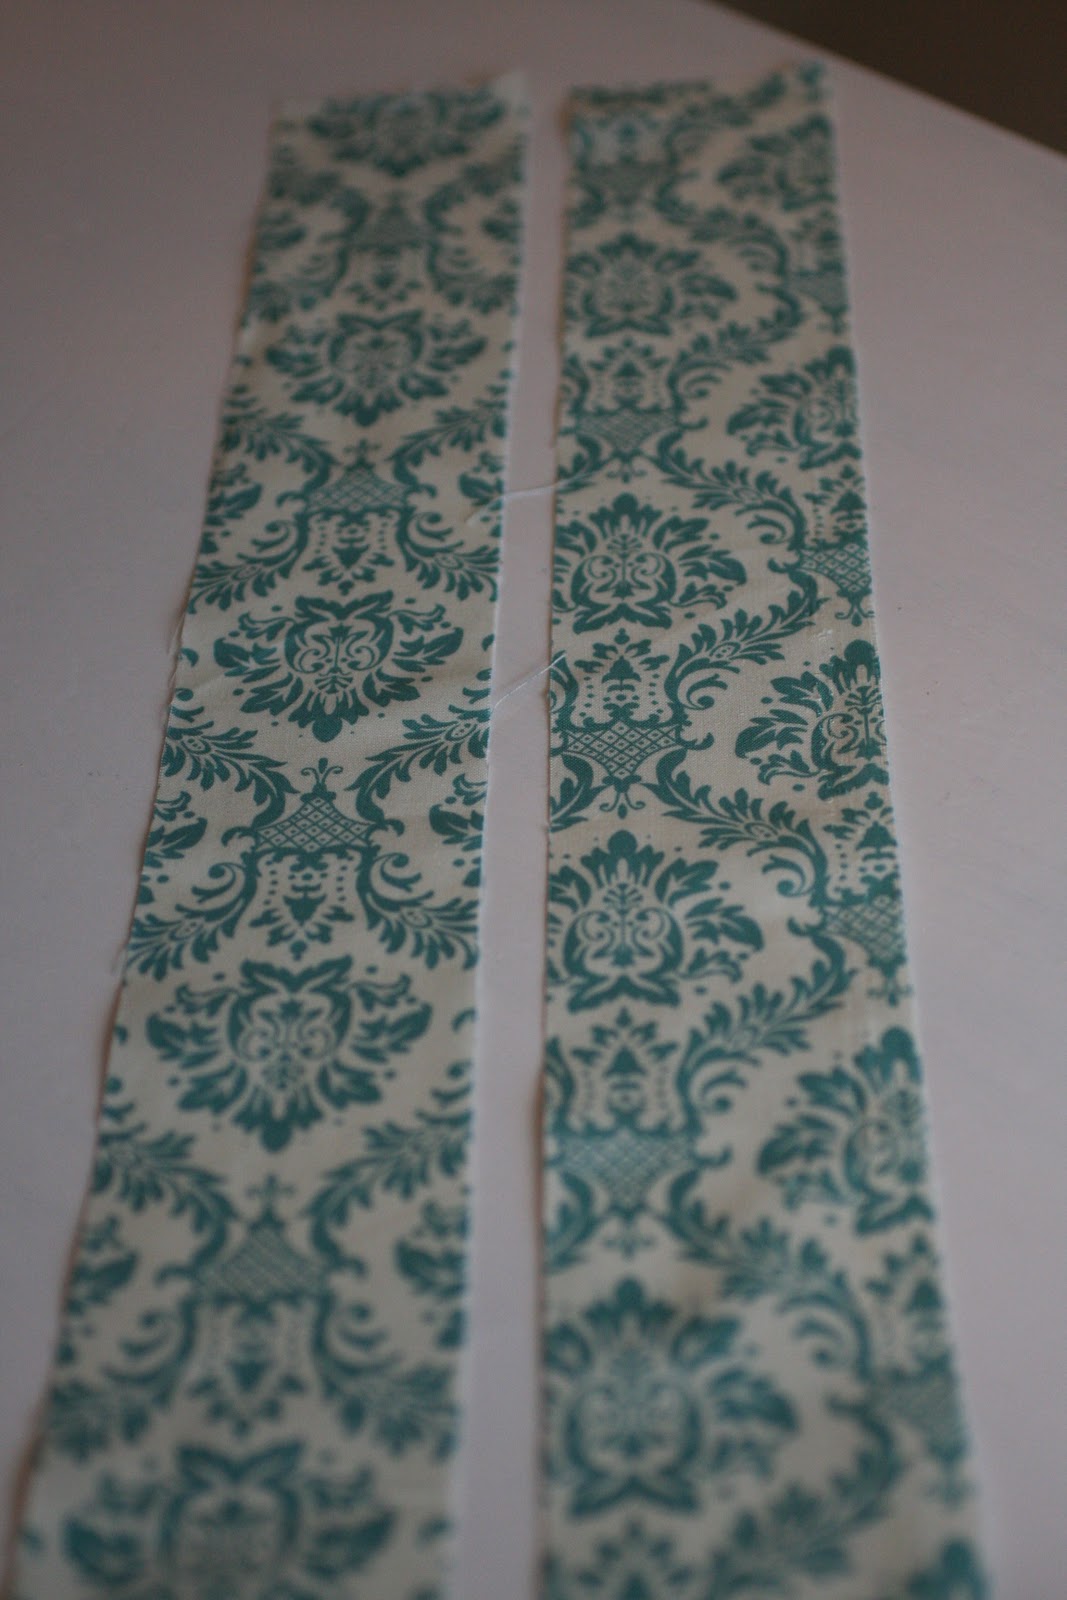
Fold over the short end of each strip 1/4 inch and press. When pressing the second strip, line up your fabric strips and make sure they are the same length. Sew with a straight stitch, backstitching at each end.

Pin the strips right side together.
You want your slipcover to be approximately 1/4 inch wider than your camera strap. Therefore, if your strap is 1.75″, you want the width of the slipcover to be 2 inches. Using a ruler, make a pencil mark on your fabric so that you have 2 inches in the middle when you hem down both sides. Hem ONE side of the strap, backstitching at both ends.
Now we are going to move on to the ruffle (and I apologize for the lack of photos from this step)….
Cut your ruffle fabric to the same width and your camera strap fabric but double the length.
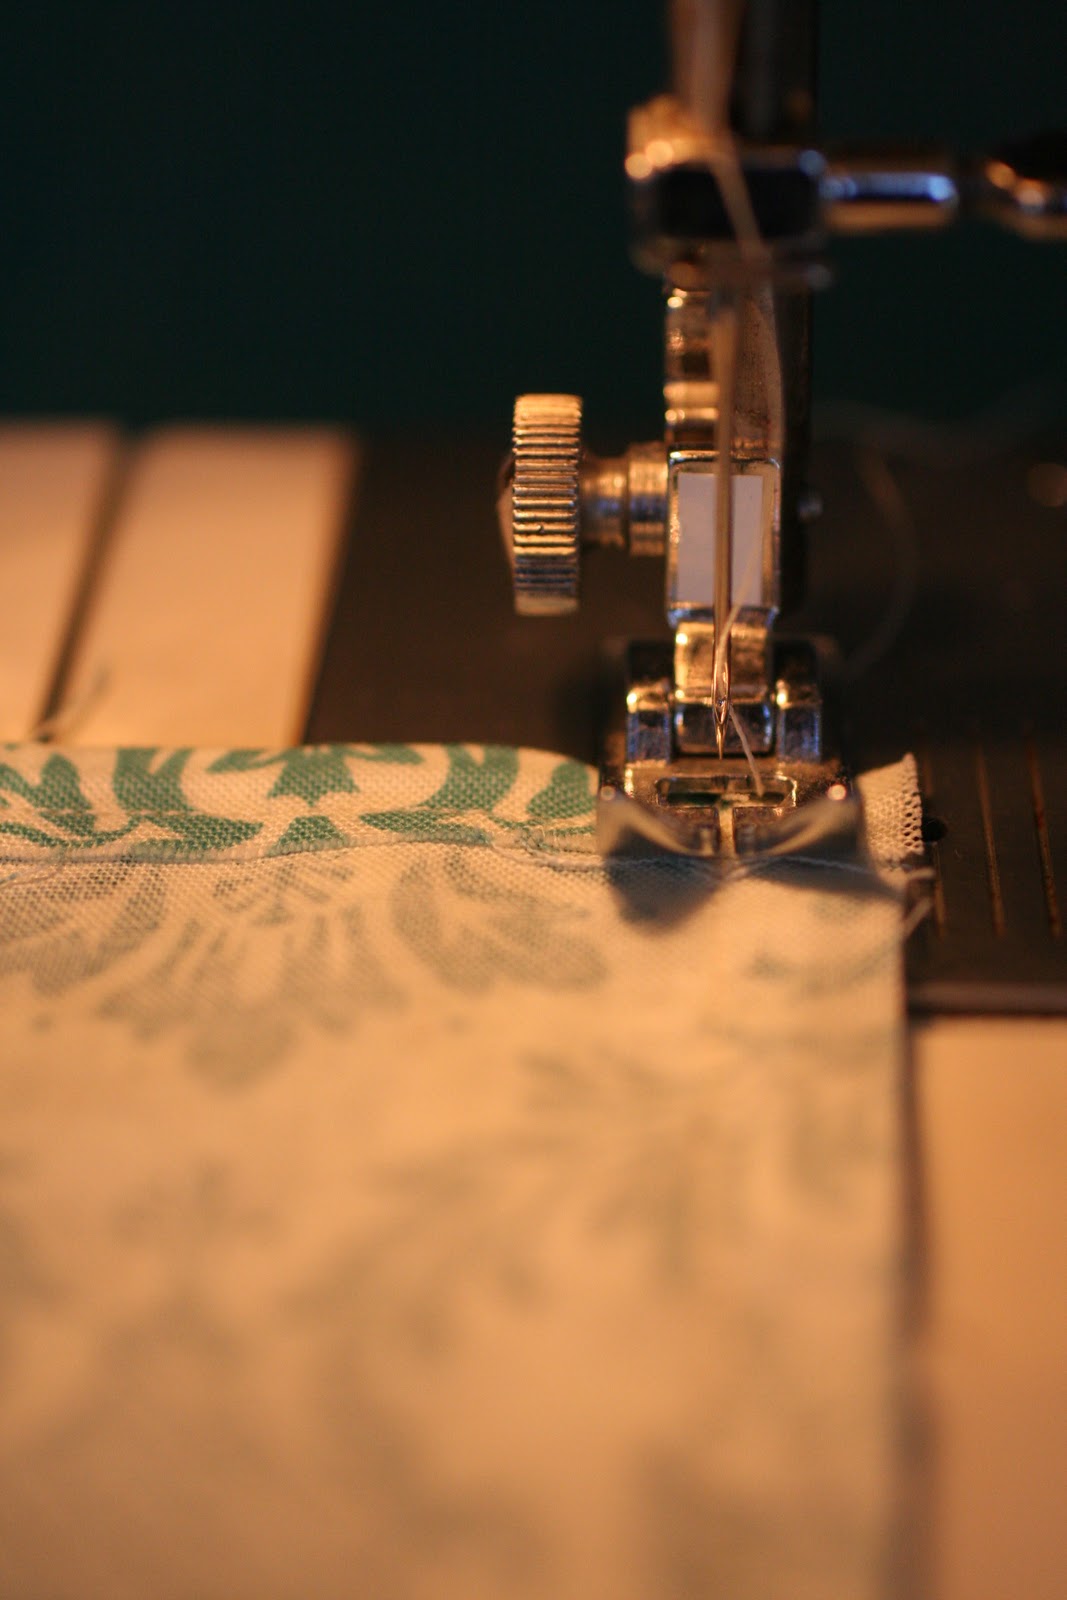
Fold over the long edges of the fabric 1/4 inch and press.
Hem the long sides of the ruffle fabric.
Sew a basting stitch down the middle of your ruffle fabric, leaving a long string at the end.
Now back to the camera strap fabric….
Open it up and pin your ruffle fabric to one end of your camera strap fabric on whatever side you want to be the top.
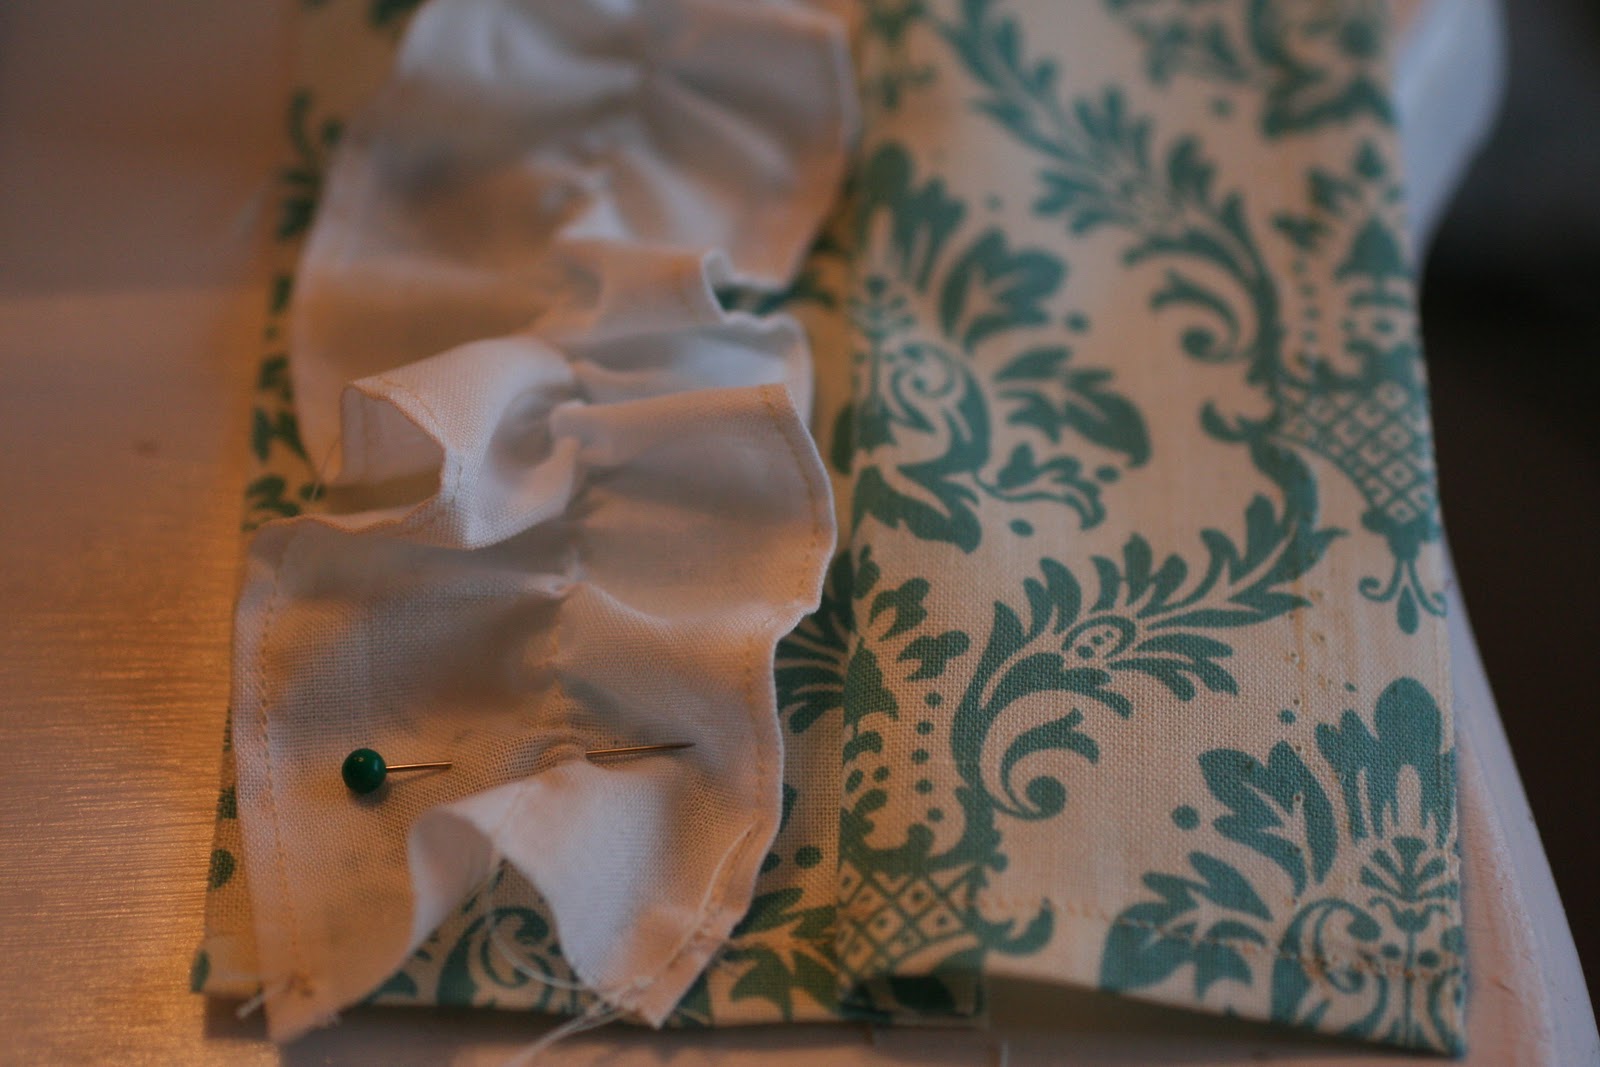
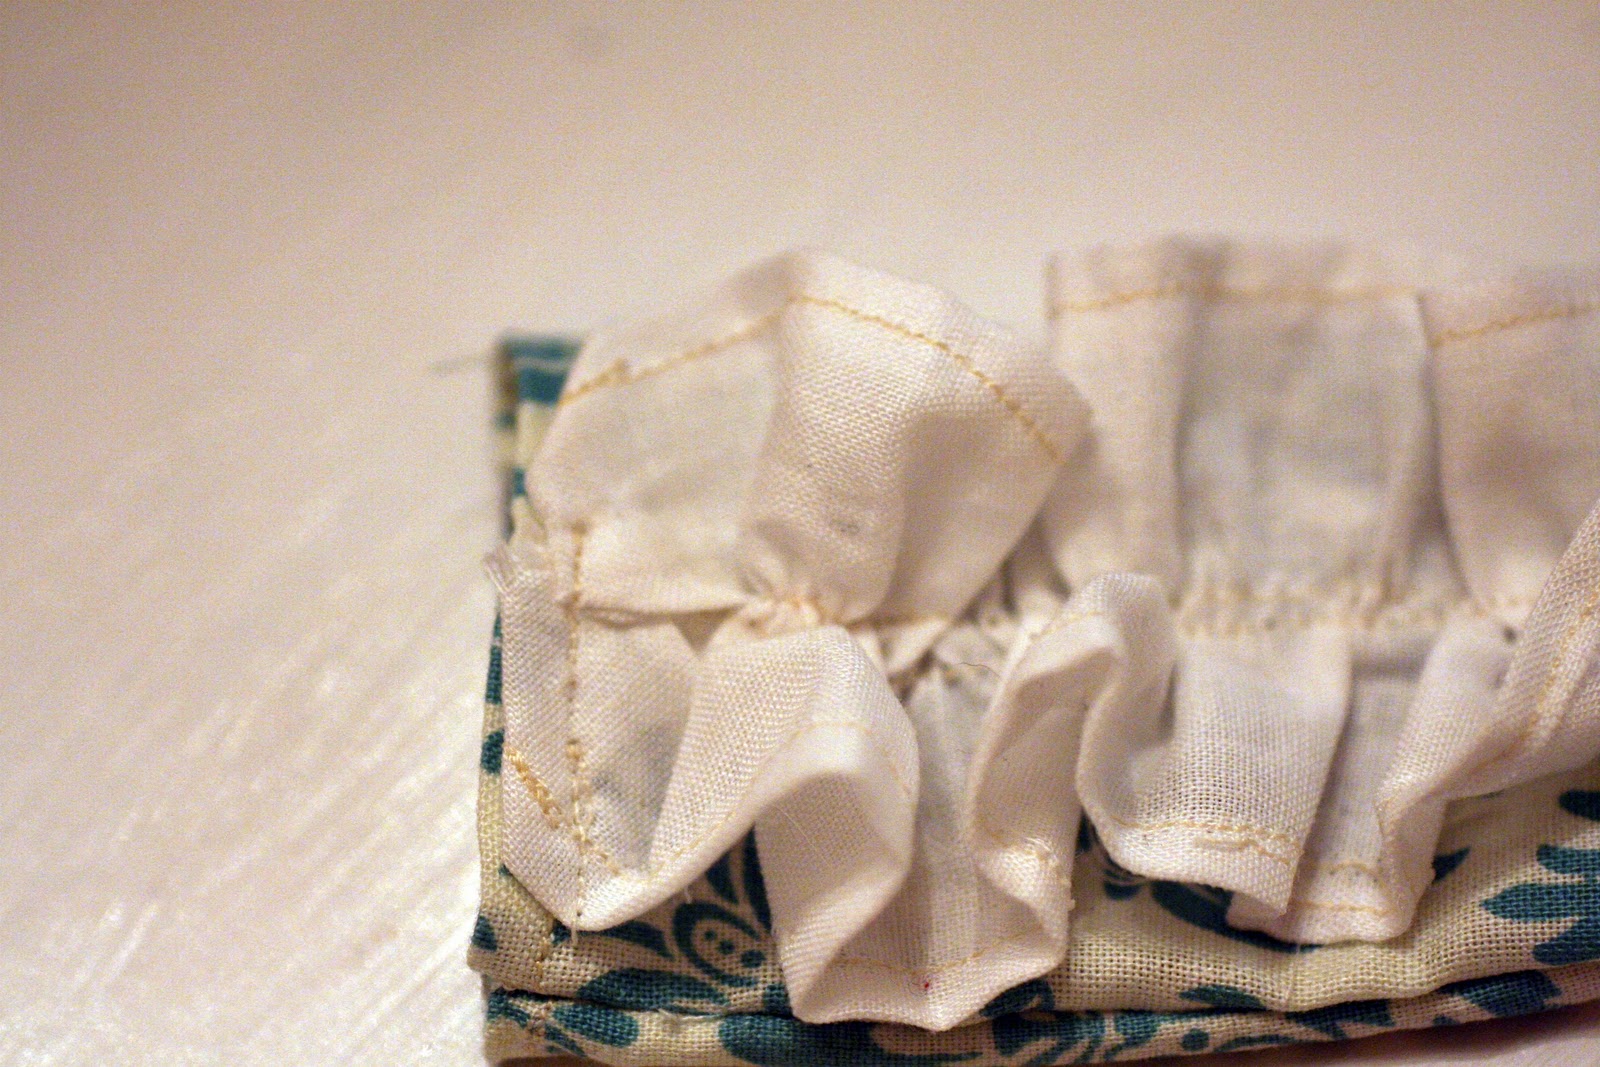
Starting at the end opposite the pin, grab a hold of the bottom thread on your ruffle fabric and gently pull it to gather the fabric into a ruffle.
Arrange your ruffle evenly onto your strap fabric and pin.
Sew a straight stitch down the middle of the ruffle fabric.
Remove the basting stitch by pulling the bottom thread. Mine did not come out all the way but I don’t think it really matters since you can’t see the basting stitch anyway.
Fold the ends of the ruffle fabric and secure them with a straight stitch.
Fold the camera strap cover, right sides together and pin. Make sure that the ruffle is tucked to one side so you don’t end up stitching it down (does that make sense?)
Find the other pencil mark that you made on your camera strap fabric. Sew a straight stitch down the long side of the fabric, backstitching at each end.
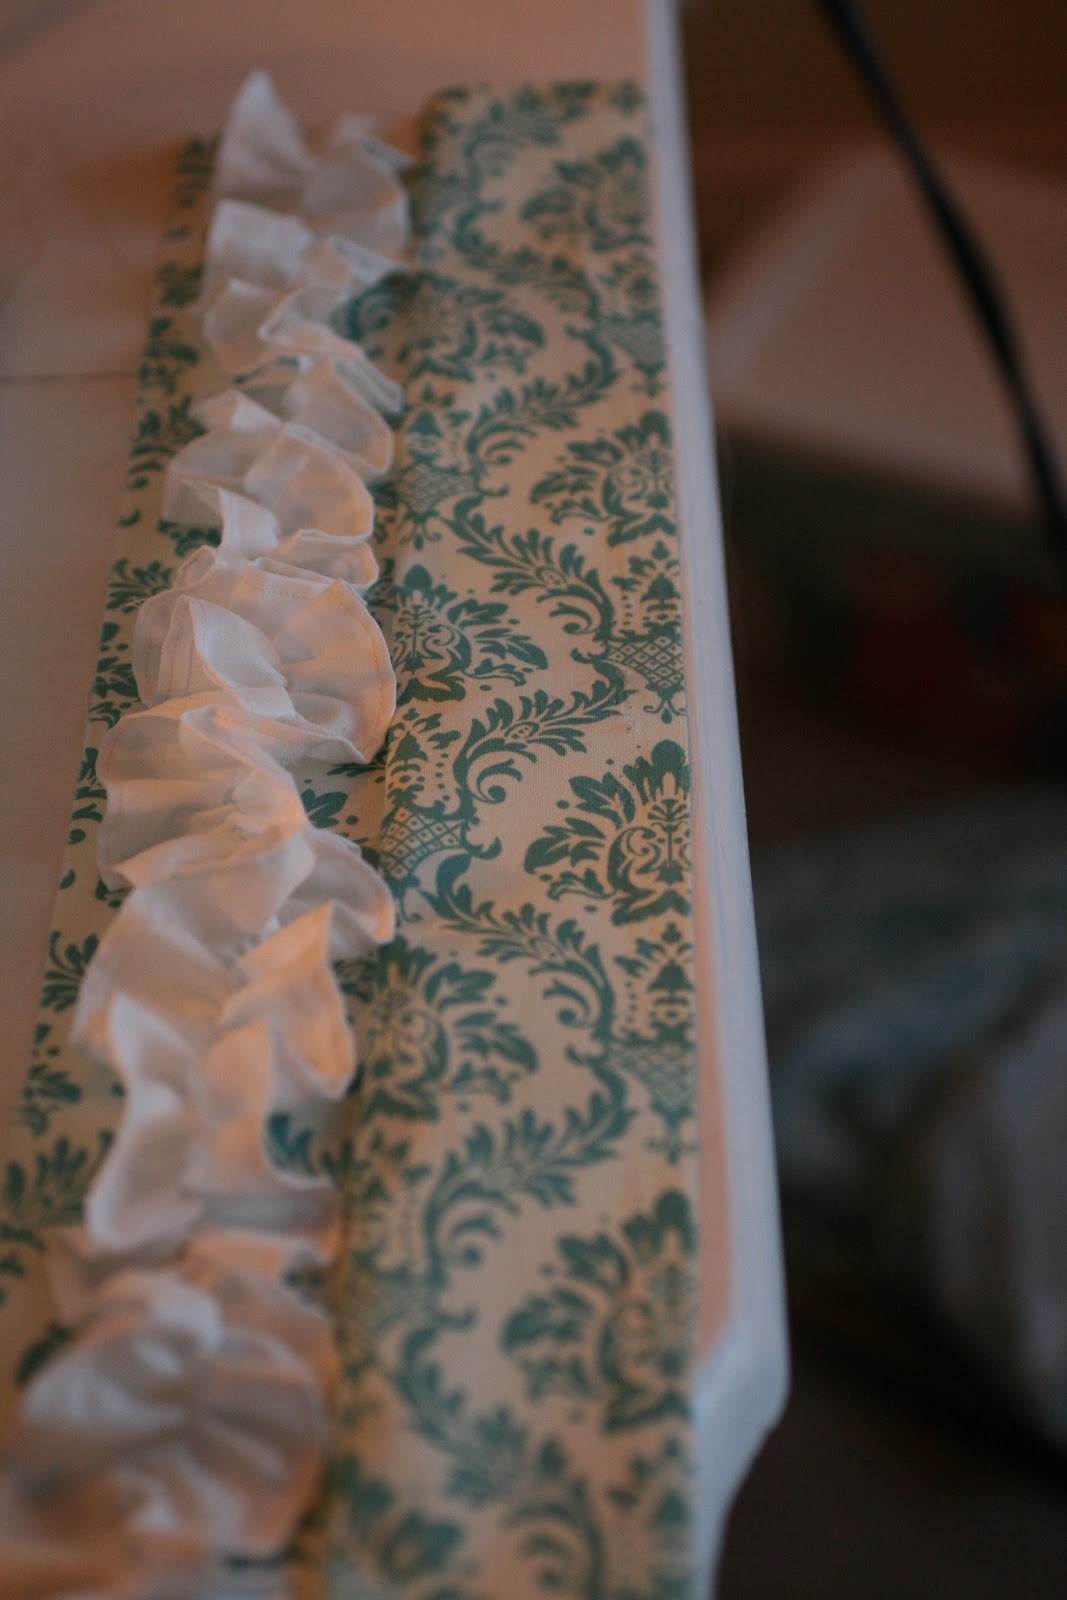
Turn your slipcover right-side out.
Thread your camera strap through your slipcover and enjoy!
Linking to these parties.
This is so great! I definetly need to make myself one of these!….and a camara bag, ….and a computer bag. (if only there was more time!)
Thanks for linking up to Tell it to Me Tuesday!
I’m following you now!
–Katie
Creatively Living
LOVE this!! And hoping you can link it up at my turquoise lovin’ party! I love yout site!! And sounds like you enjoy doing some of the same things I like to!! I love photography too. Glad to meet you!! http://www.sweetlittlegals.com/2012/01/turquoise-lovin-19.html
Sew cute! All I need is a camera =)
THANKS SO MUCH for linking this beauty last week, I will LOVE one of these for my camera, so crafty.. I love it.. Hope you are back again tonight to link up.. Totally cute.. :))