
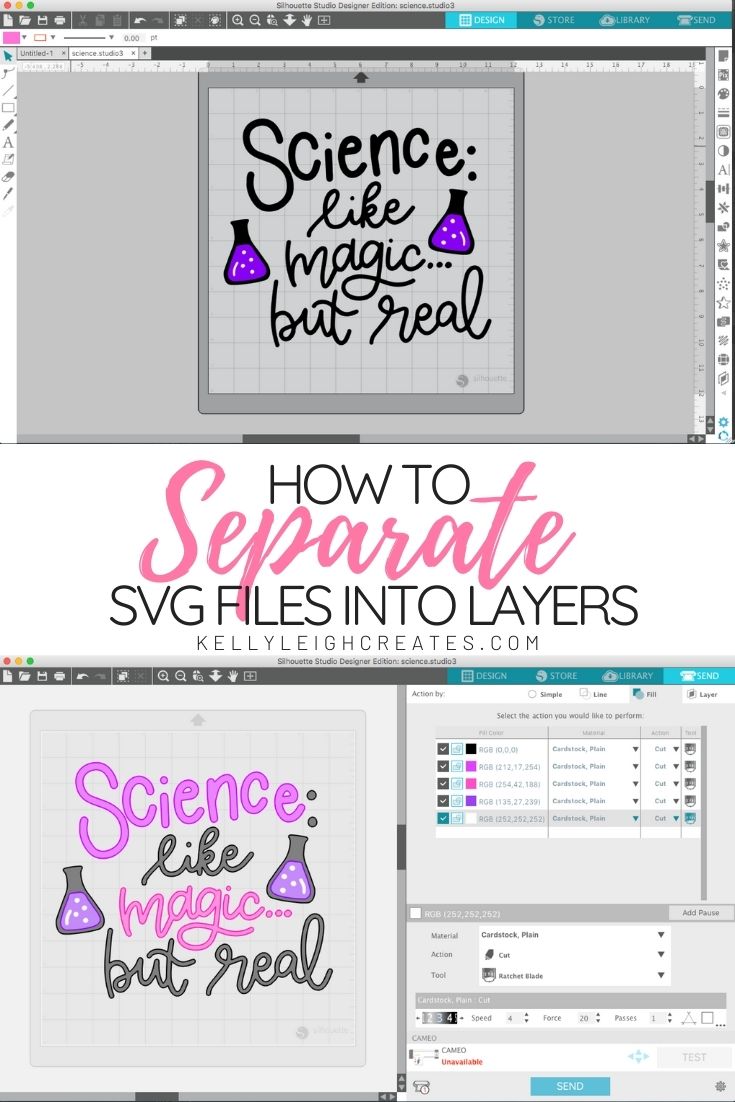
How to Separate SVG Files into Layers in Silhouette Studio
Learn how to separate SVG files into layers using Silhouette Studio.
Have you ever opened an SVG file in Silhouette Studio only to realize that you don’t know how to cut it out the way you want? How do you separate SVG files into layers? This is an issue that a lot of my readers struggle with so I’m going to show you how to do it. It’s an easy process so don’t be intimidated.
HOW TO SEPARATE SVG FILES INTO LAYERS
When you open an SVG file in Silhouette Studio, all the layers will be grouped together. If you select the file, it all moves as one piece. If you leave it that way, you will only be able to use one type of material to cut out the entire file. But what if you want to cut different parts of the design in different colors/materials? This is when you need to separate the svg file into layers.
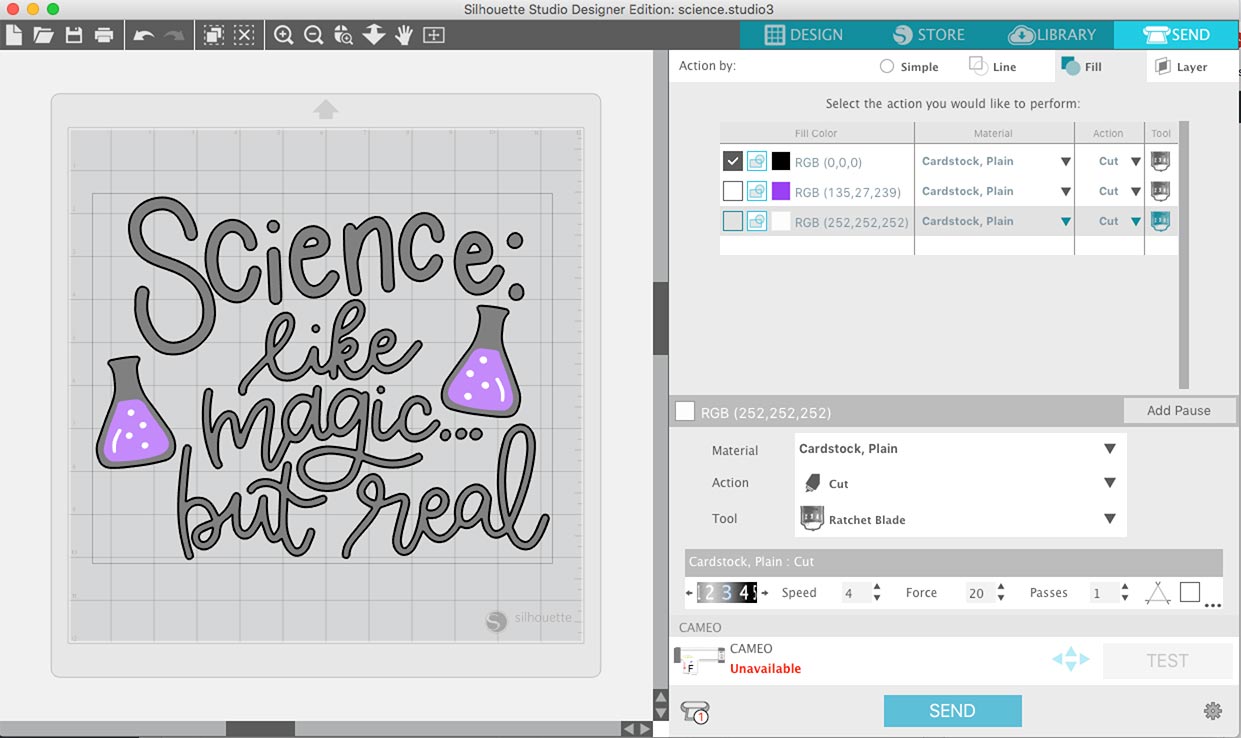
If the design is colored and you want to cut it out exactly as it is made, you’re in luck because there is an easy way to do that without manipulating the file. I’ll use my Science SVG as an example. You can get this file in my school-thermed svg bundle. I designed the file using 3 colors.

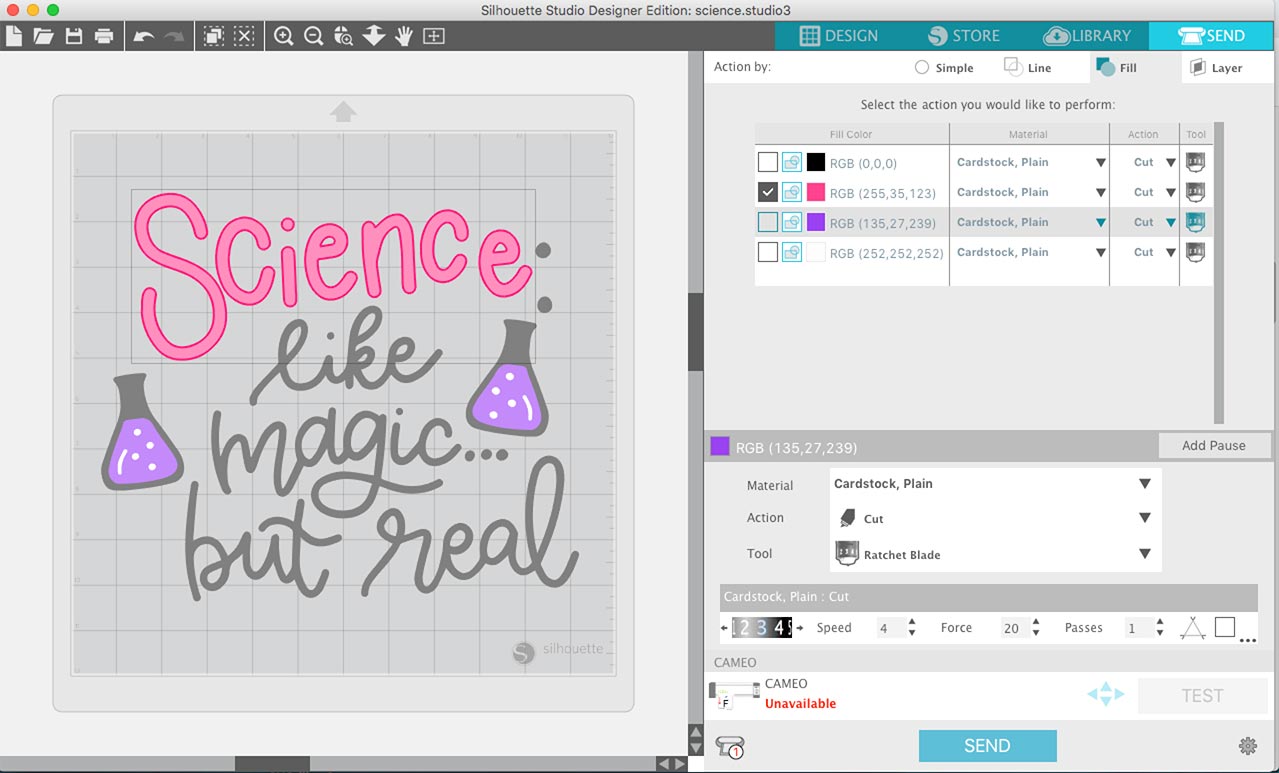
Let’s say you are using this file and want to cut out the text and flasks in one color, the liquid in a second color and the bubbles in a third color, just as it is shown in the photo above.
Since the design is already set up like this, all you have to do is go to the “SEND” panel and hit “FILL”. This will then bring up a list of all the colors in the design and you can check the box next to the color you want to cut. Repeat this process for each color.
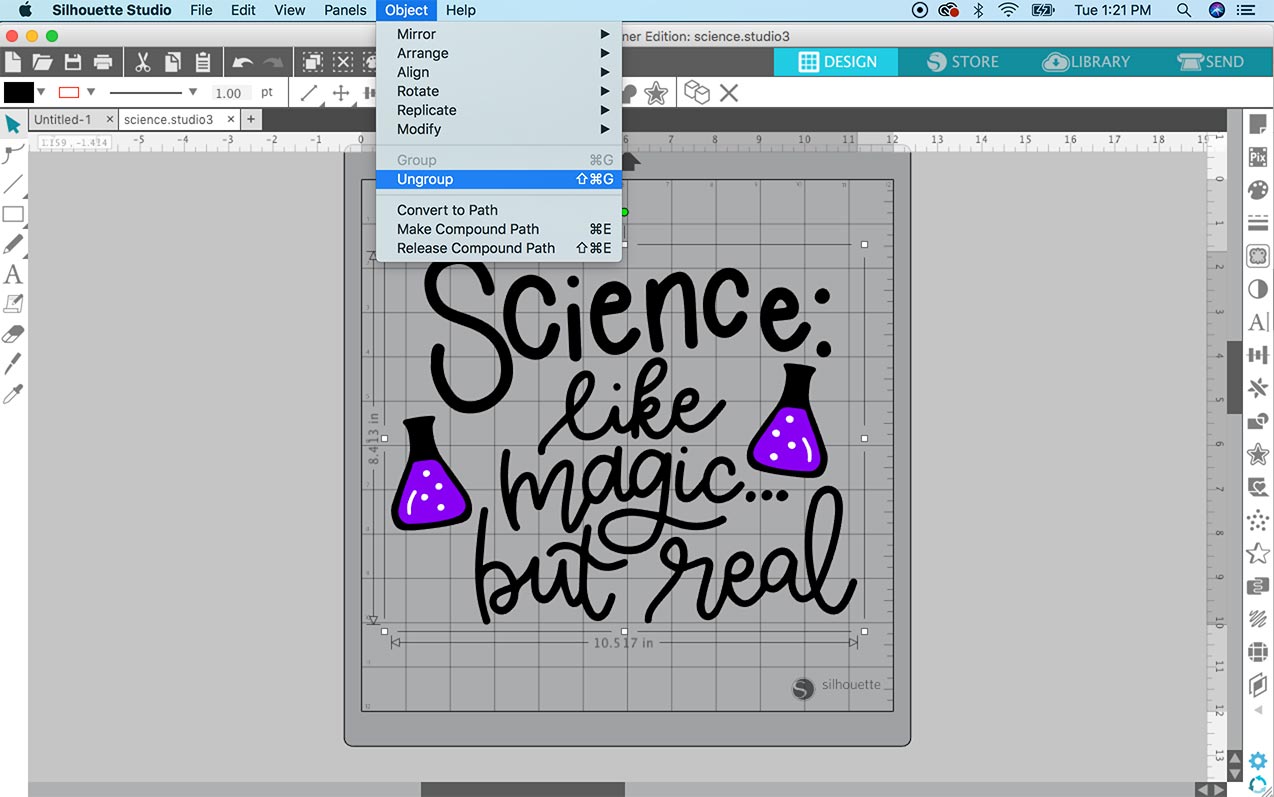
But what if you don’t want to cut the file out like it is shown? What if, for example, you want to cut the word “science” out in a different color. Then here is what you need to do:
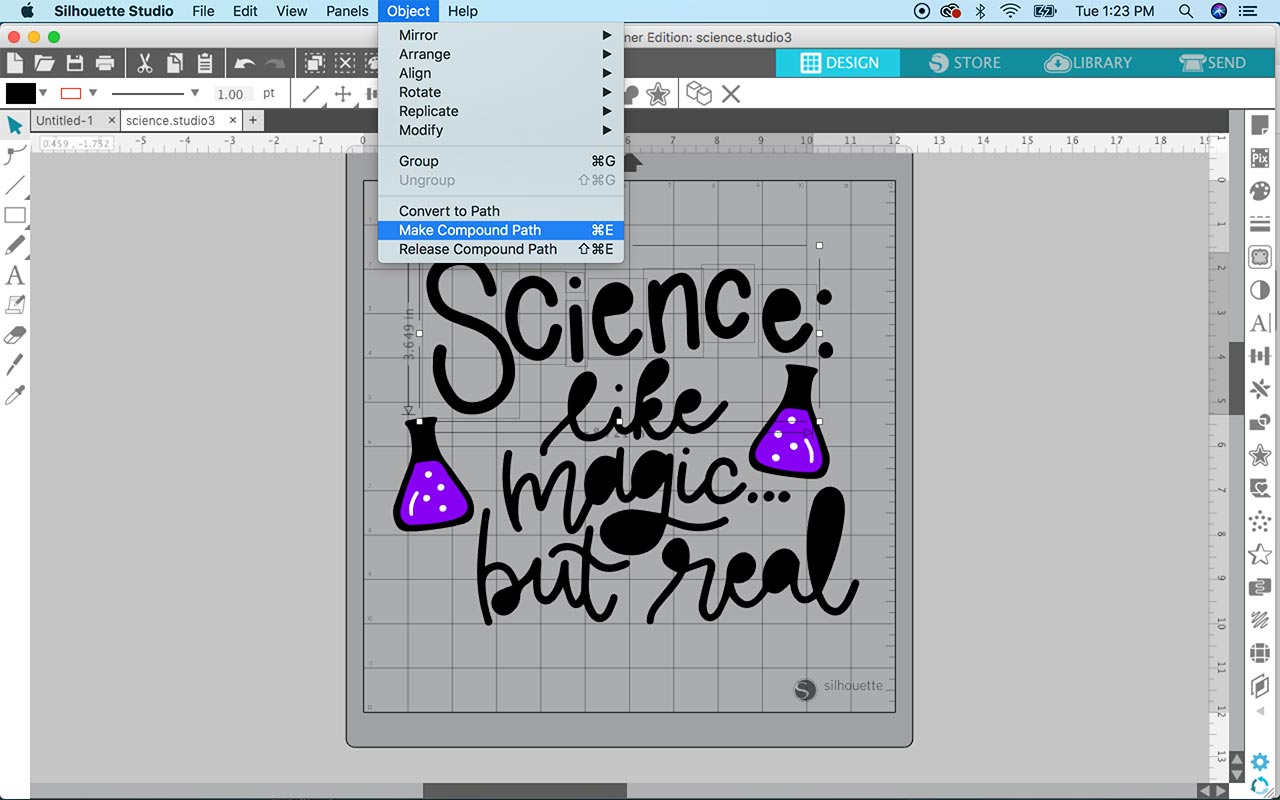
- Click OBJECT>UNGROUP. This will separate the file into layers based on how it was grouped together by the designer. In the science example, clicking ungroup separates the text, the flasks, the liquid and the bubbles into different layers.
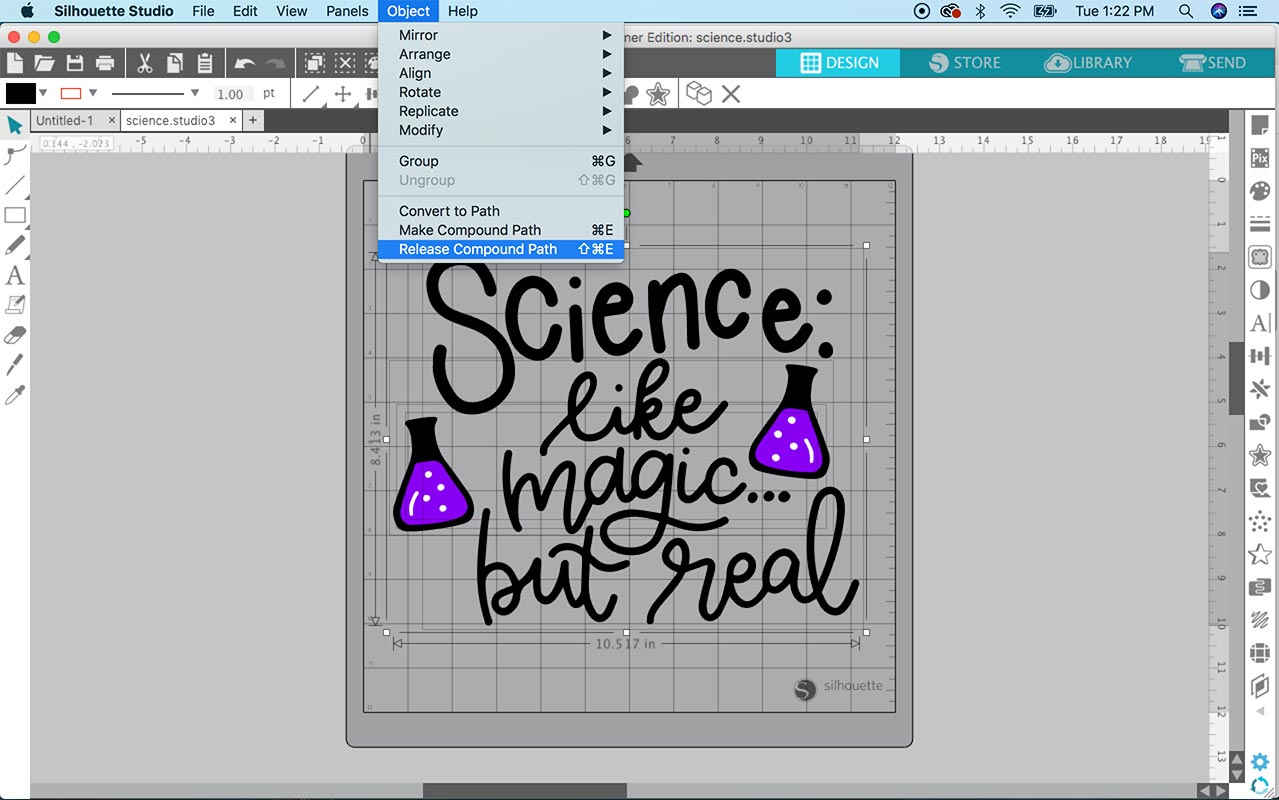
- Repeat the OBJECT>UNGROUP command until you can no longer ungroup anything. You’ll know because the UNGROUP option will be greyed out.
- Click OBJECT>RELEASE COMPOUND PATH. In this example, the text is a compound path. When that path is released, the negative space in the text gets filled in. However, each word and/or letter is now separate.
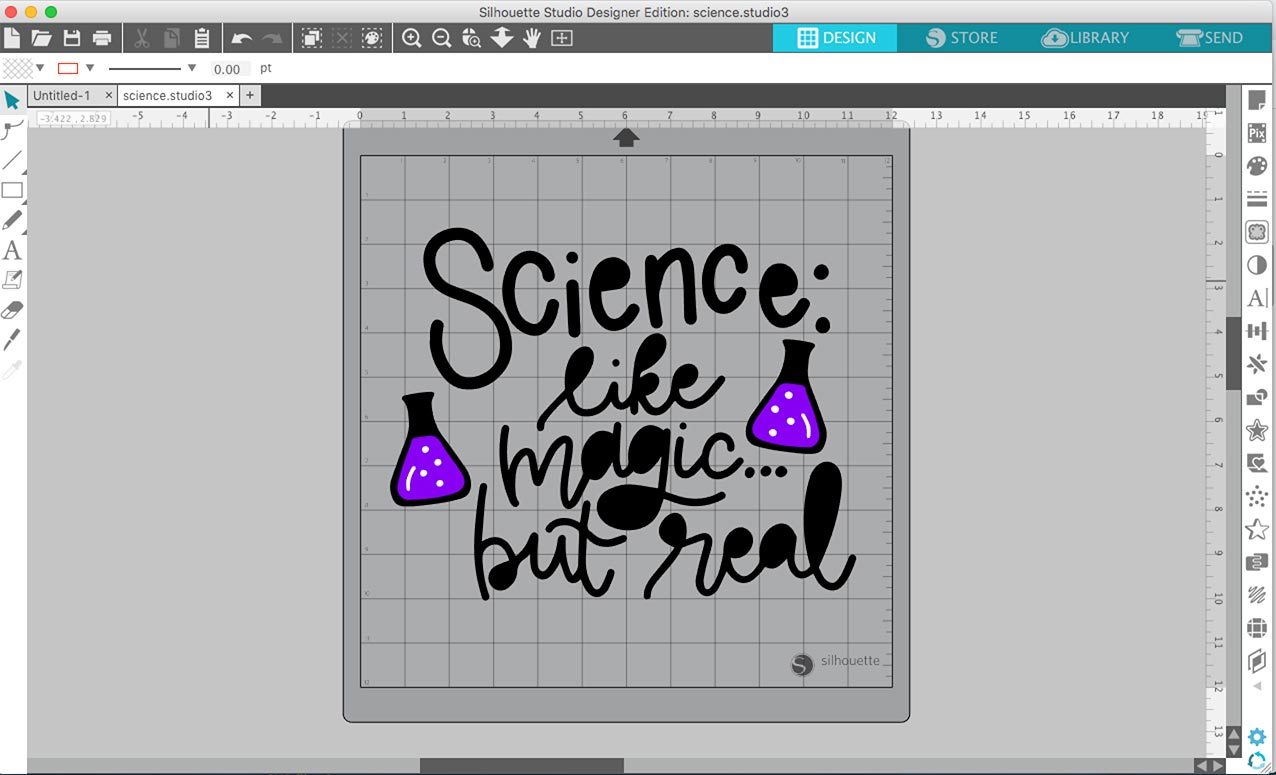
- Select each word separately and click OBJECT>COMPOUND PATH>MAKE. When the compound path is formed again, the negative space will reappear in each letter. Since each word is now separate from the others, each word is on a separate layer.
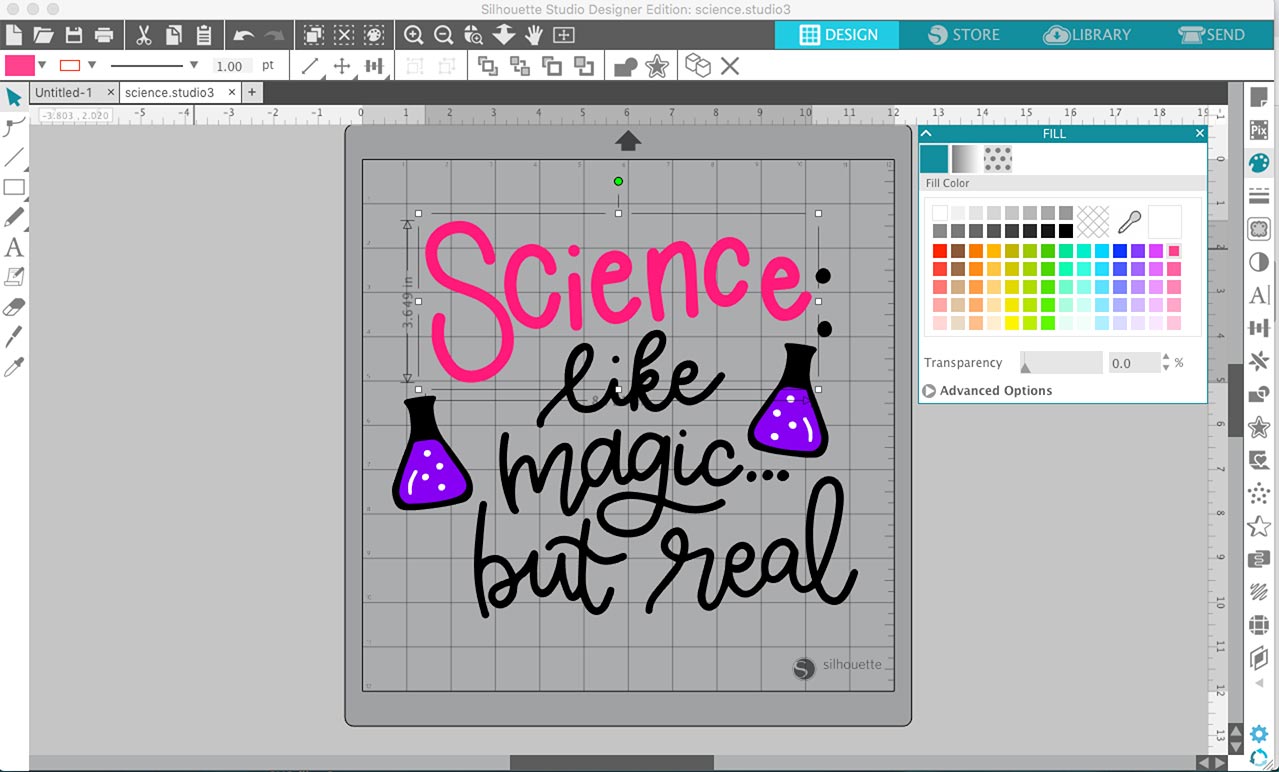
HOW TO FILL LAYERS WITH COLOR
Once you have the words separated, you can fill each one with a color by selecting the word, going to the fill panel, and selecting a color for each word/layer.
Now you can cut each layer out on a different color of vinyl using the cut by fill method mentioned above.
If you learn better visually, make sure to check out the video below.
SEPARATE SVG FILES INTO LAYERS VIDEO
LOVE IT? PIN IT!
Hi Kelly,
Thanks to your blog, I was able to make a beautiful text file in illustrator, and save my file as SVG/PNG. Thank you so much, from an Illustrator newbie! I was wondering if I could ask a question. I designed a text file in illustrator, and added an image that I drew myself in illustrator. Once I exported my file as a PNG for Silhouette, my drawn image wasn’t fully editable in Silhouette. My text was editable with no issues. I can fill in my image with different colors, but the outline function isn’t working as I’d expect. I was wondering if you had any advice to a step I might be missing in illustrator. I hope that’s not too confusing. Thanks so much, Kelly!! I love your blog.
Hi Michelle! Thanks for stopping by! I’m not sure what you mean by the outline issue. If you would like an outline around your design, I would create that outline in Illustrator as a separate layer, export as an SVG and open the SVG in Silhouette Studio. Hope this helps.
What do you do when you select the image you wish to convert and you go to Object and Ungroup is not highlighted so you are unable to select it?
Click Object > Release Compound Path