
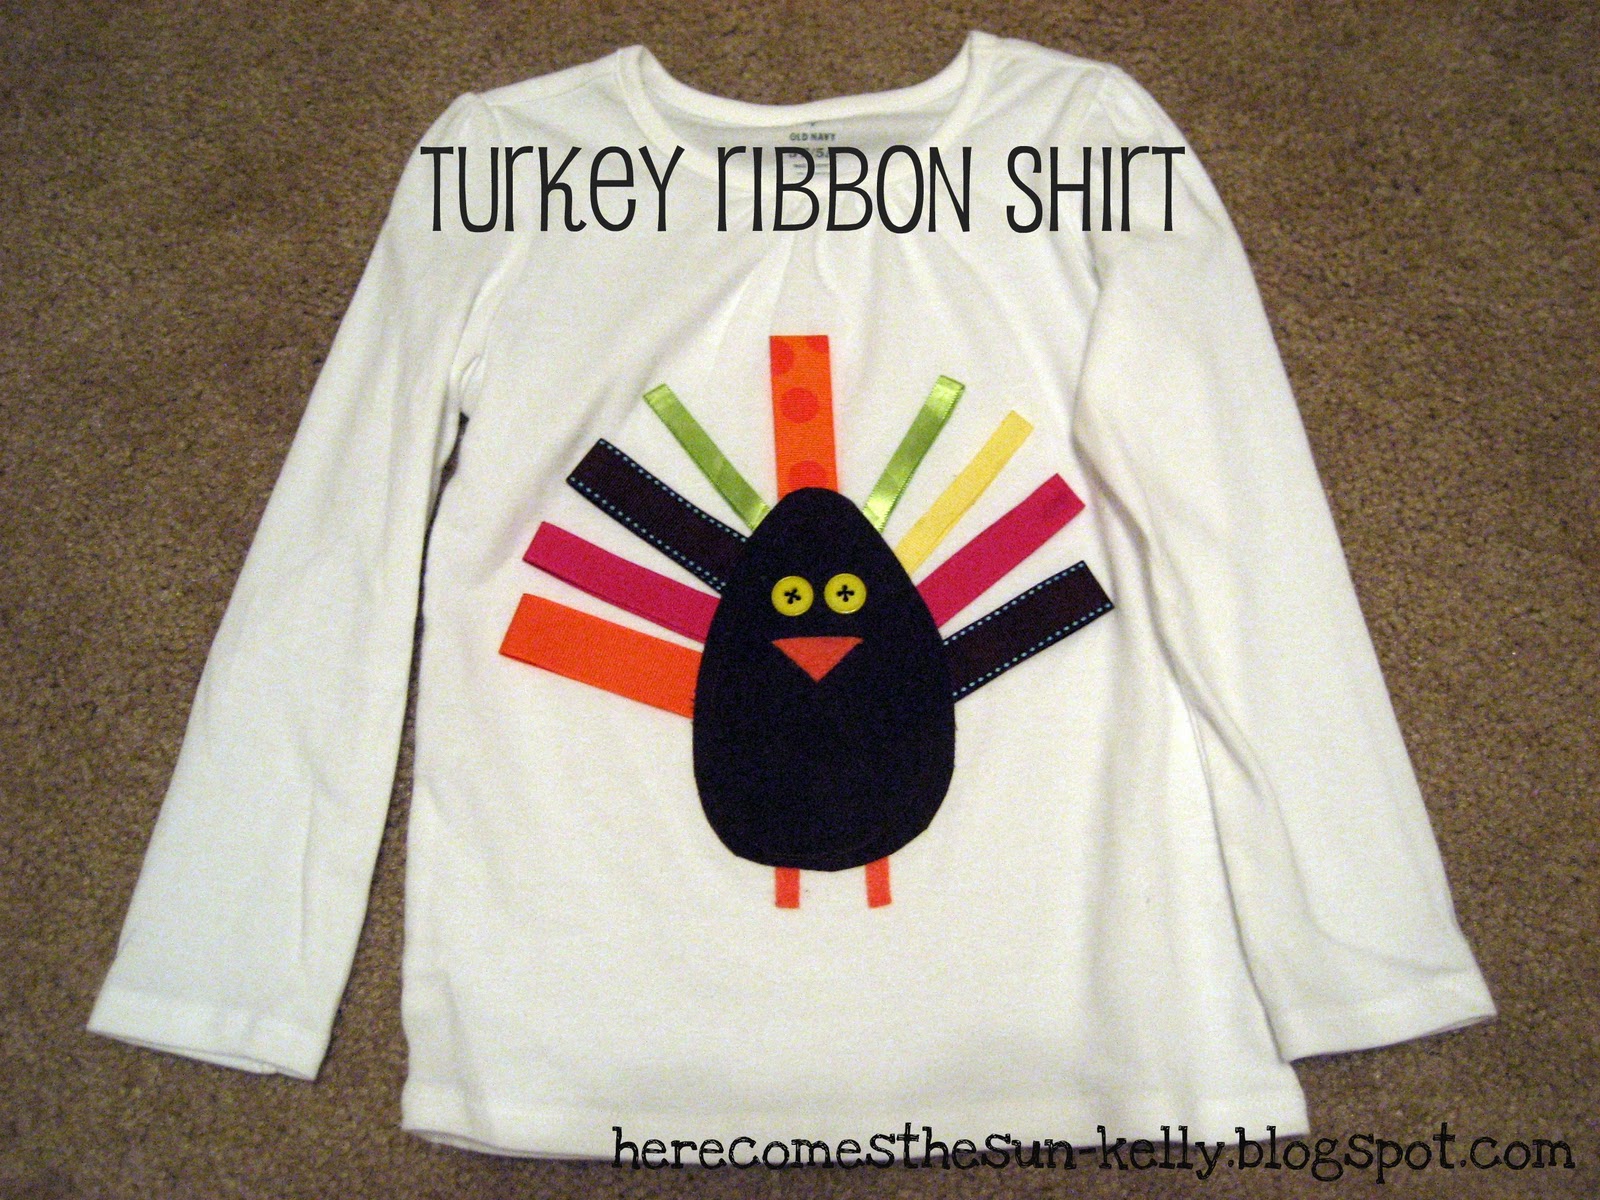
Turkey Ribbon Shirt
This post may contain links to affiliate websites, such as Amazon and we receive an affiliate commission for any purchases made by you using these links.
With the holidays quickly approaching, I dream of dressing my kids in matching outfits. Only problem…I’ve got a girl and a boy. This year, I was inspired by one of the links at my Fabulous Friday link party and decided to make my own turkey shirts. I can customize them and they look cute on BOTH boys and girls.
MATERIALS
Short/long sleeve white shirt
Ribbon
Buttons
Orange felt
Brown material
Steam-A-Seam
Fabric glue
Iron
Scissors
DIRECTIONS
Following the directions on the Steam-A-Seam, sketch the body of the turkey onto the paper. Adhere the paper onto your brown fabric and cut out.
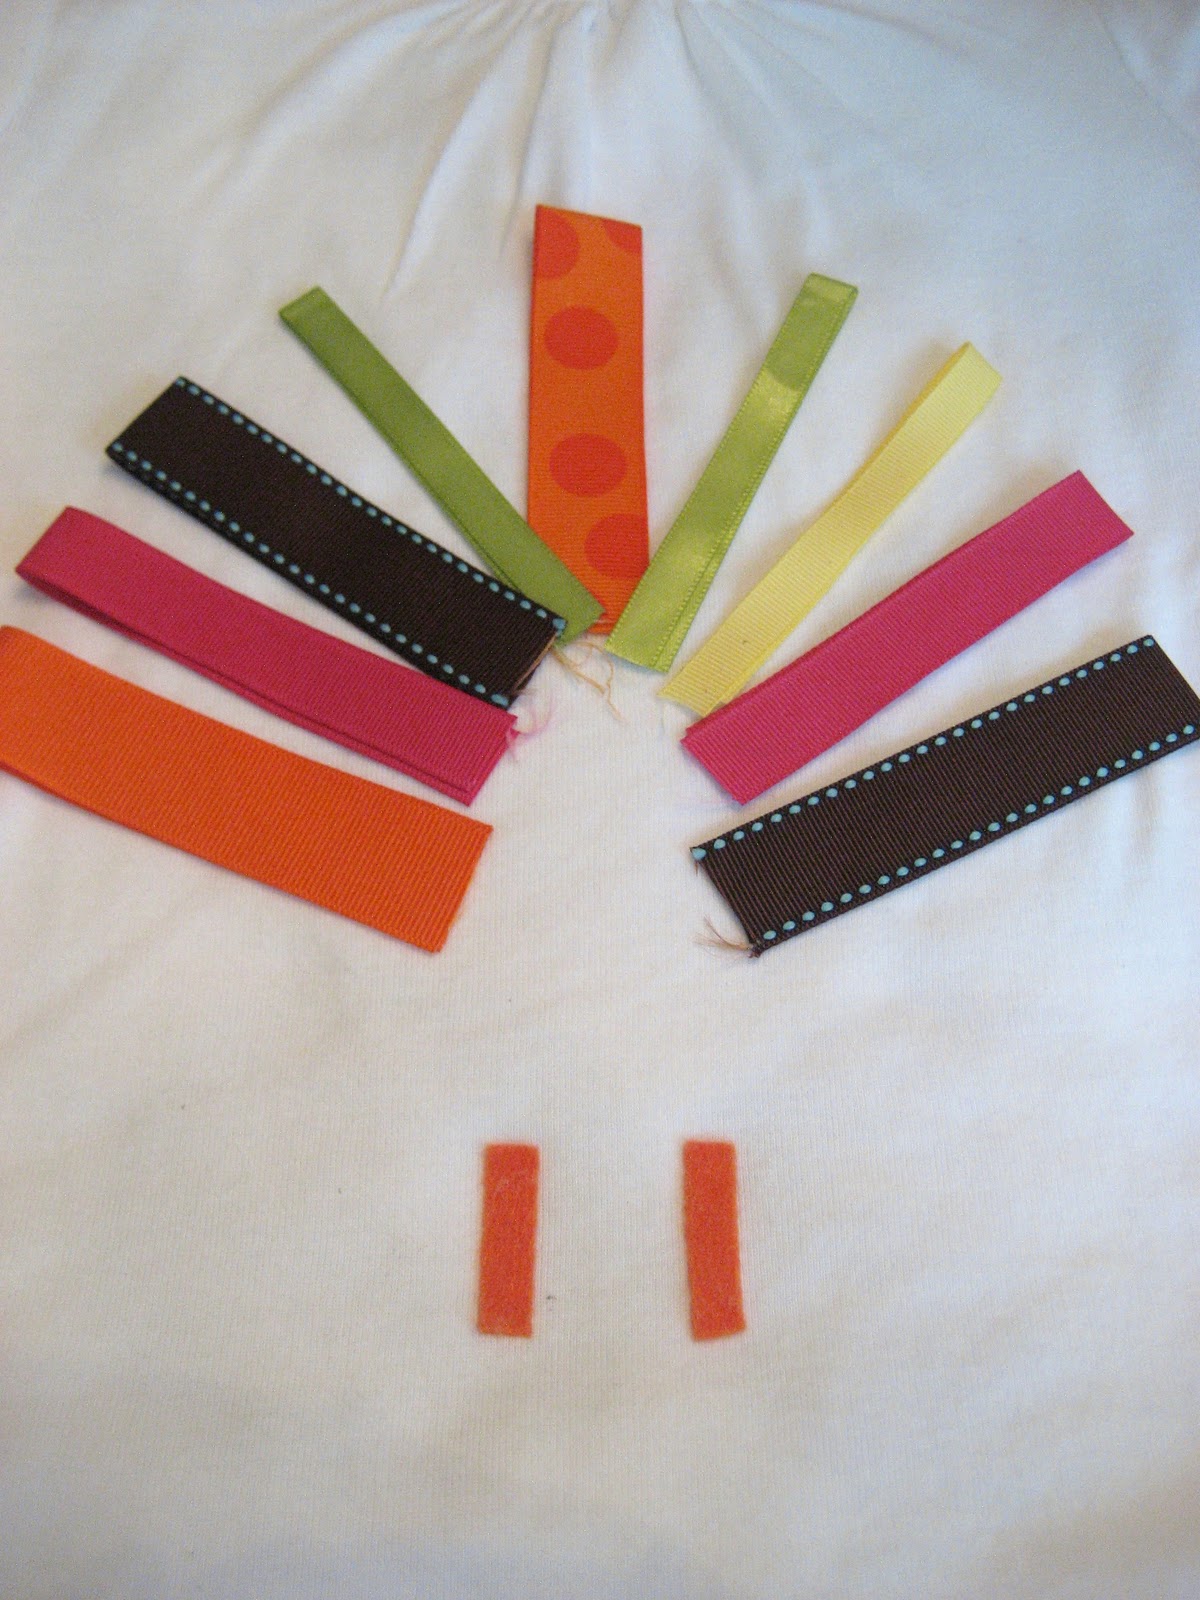
Cut your ribbon into 8 inch length segments, fold in half and press.
Cut a beak and legs from the orange felt.
Lay out your feather design on the shirt.
Glue the legs in place using the fabric glue.
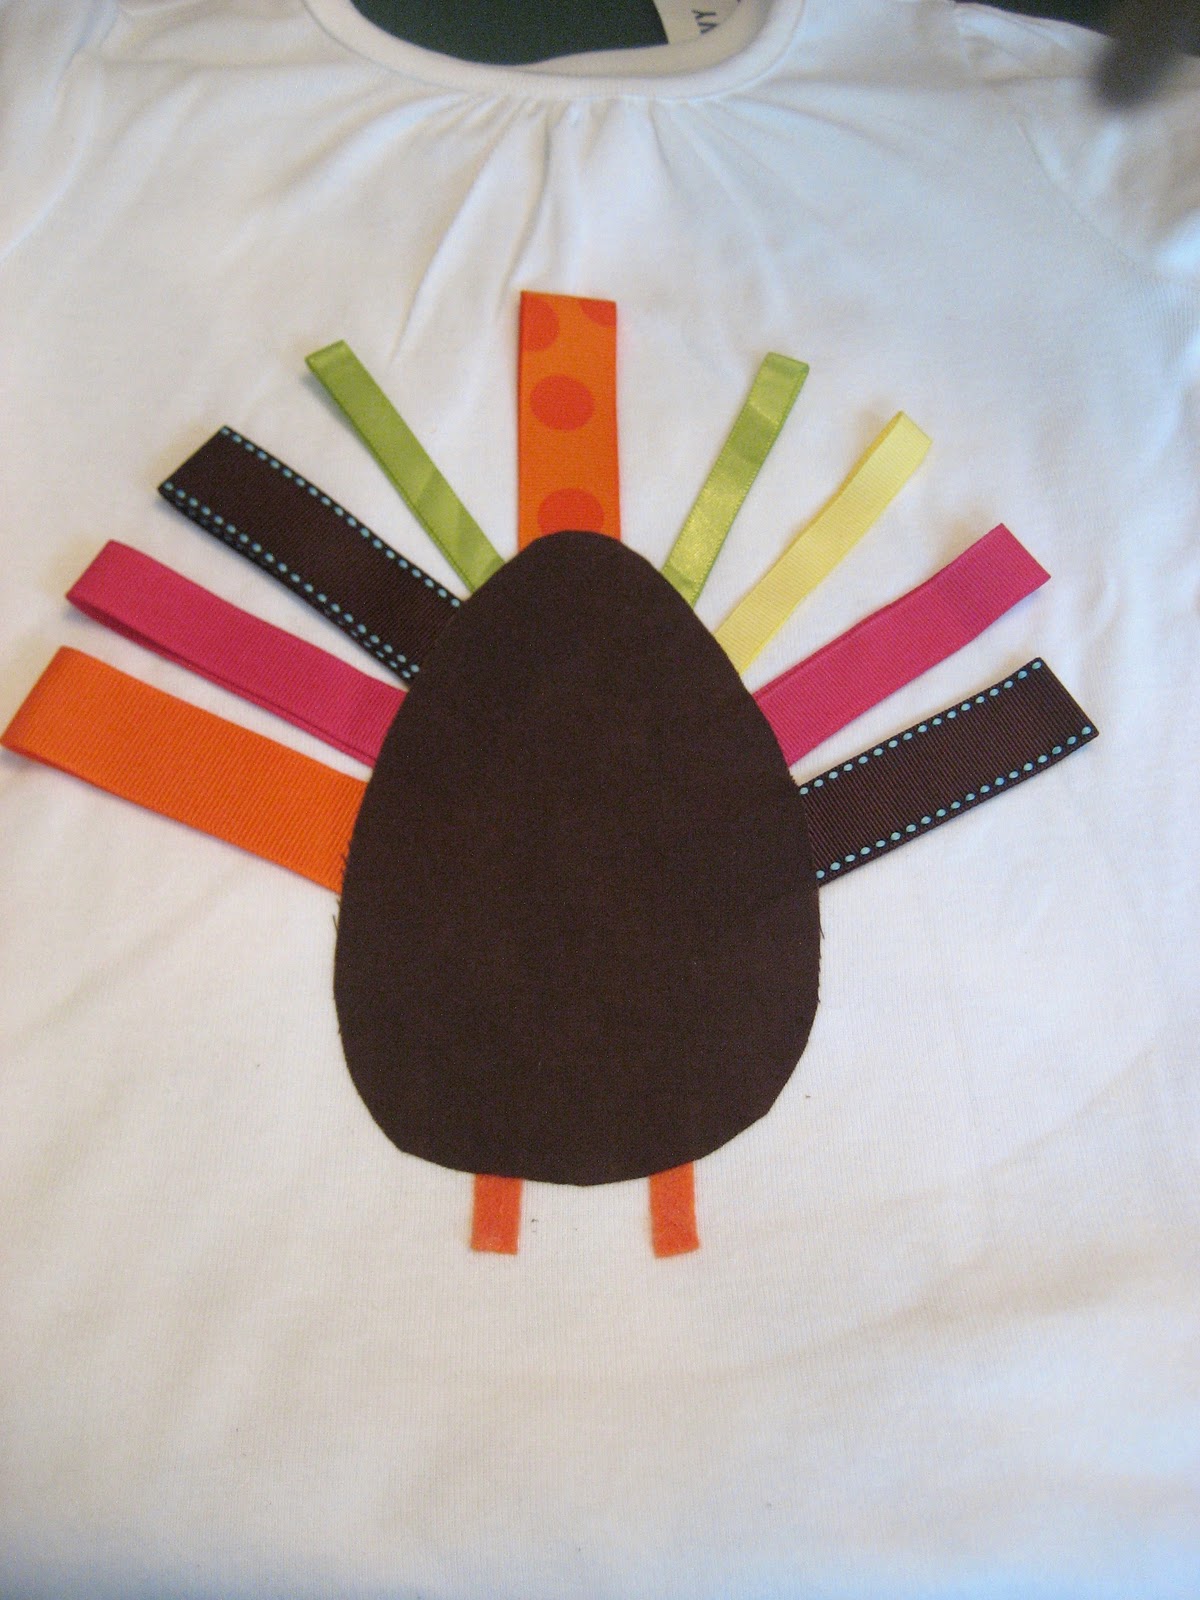
Adhere the body of the turkey to the shirt following the directions on the Steam-A-Seam.
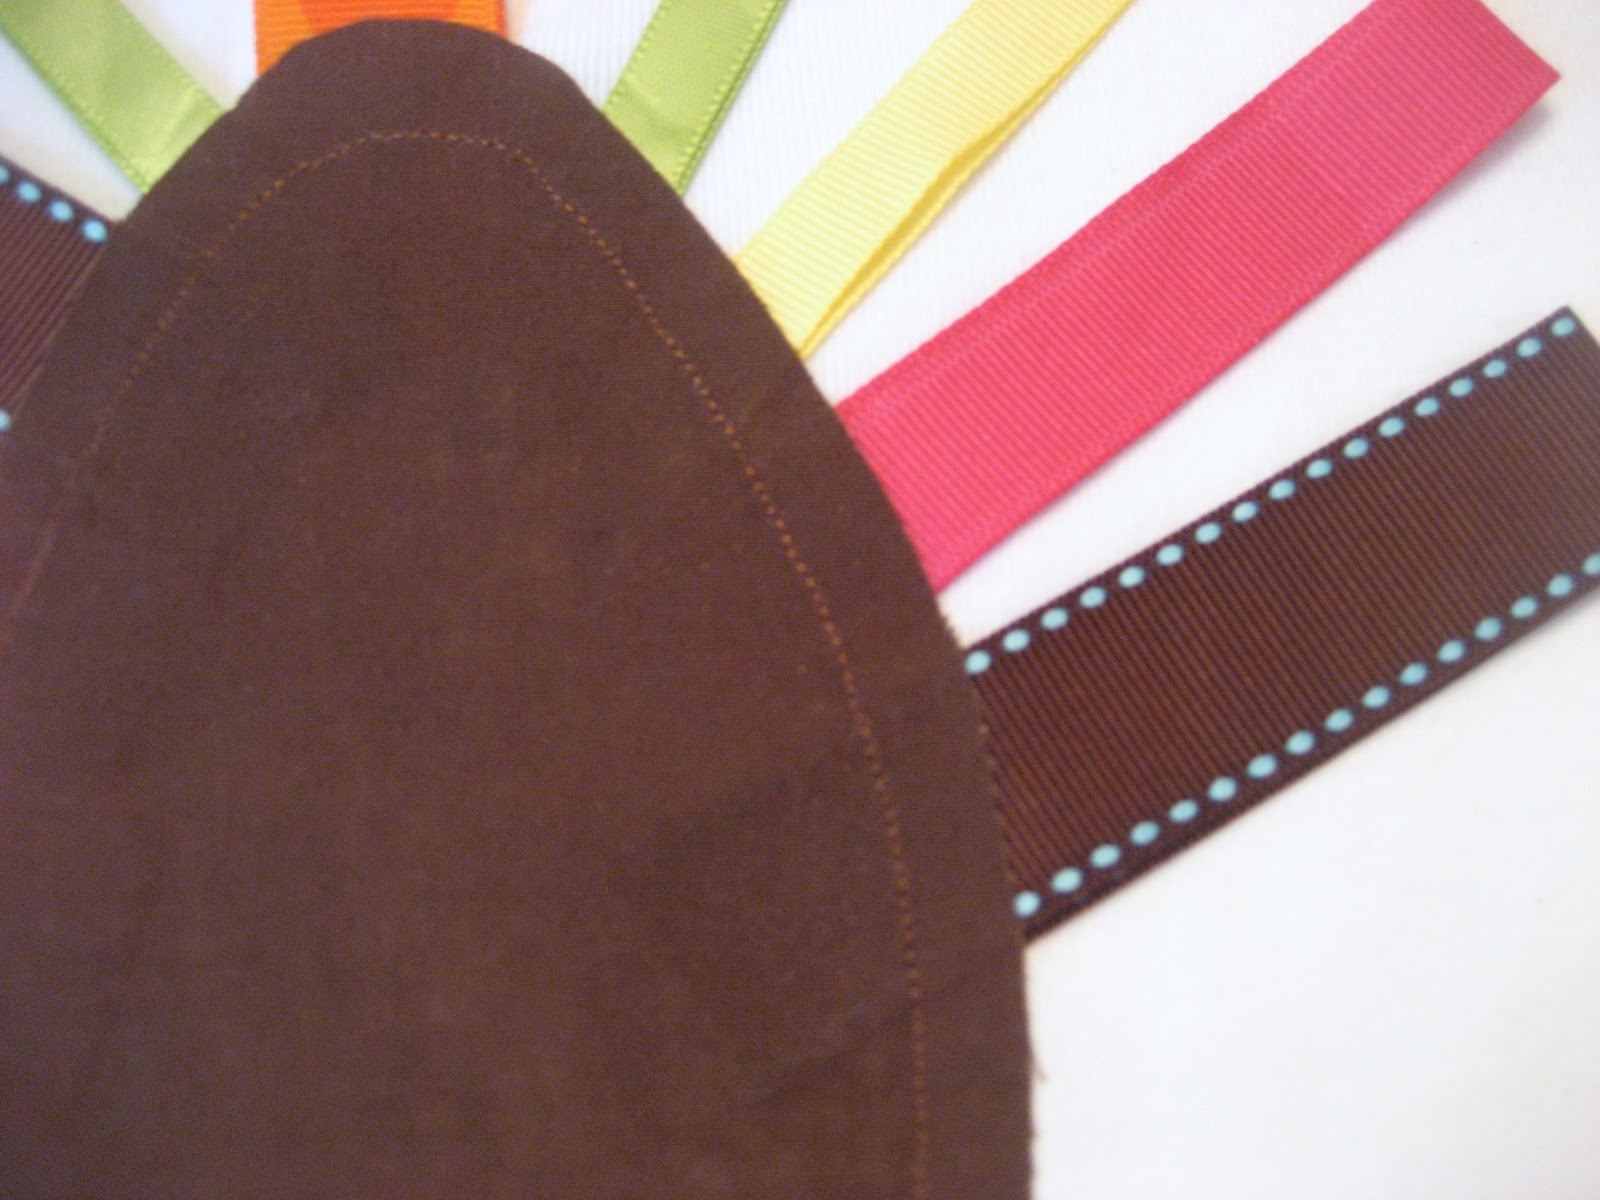
Machine stitch around the turkey body to make sure that the feathers are secured.
Glue the bottom layer of each piece of ribbon to the shirt. This is so the ribbon does not flop forward when you put the shirt on. Place a piece of cardboard between the layers of the shirt so the glue does not bleed through and stick the shirt together.
Sew the buttons on as eyes.
Glue the beak on.
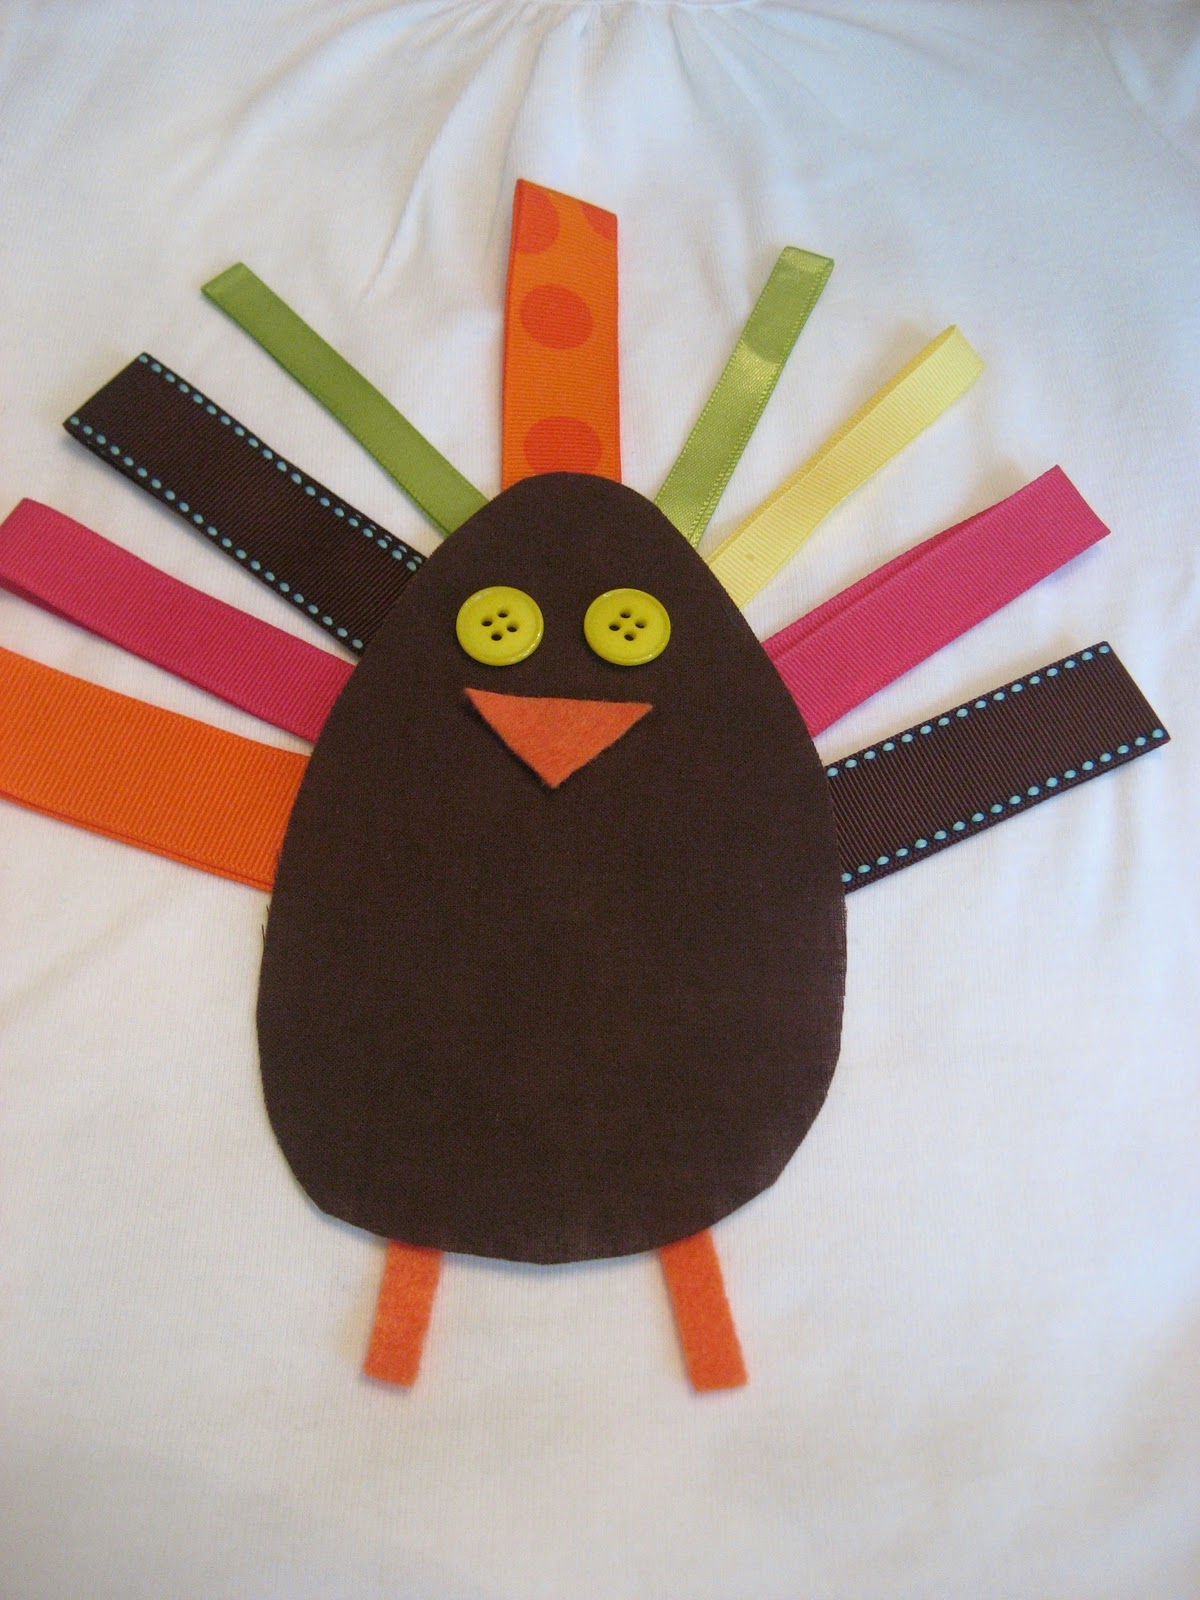
(nothing is actually glued or sewn in this pic. This one was taken while I was laying out the design. But you get the idea)
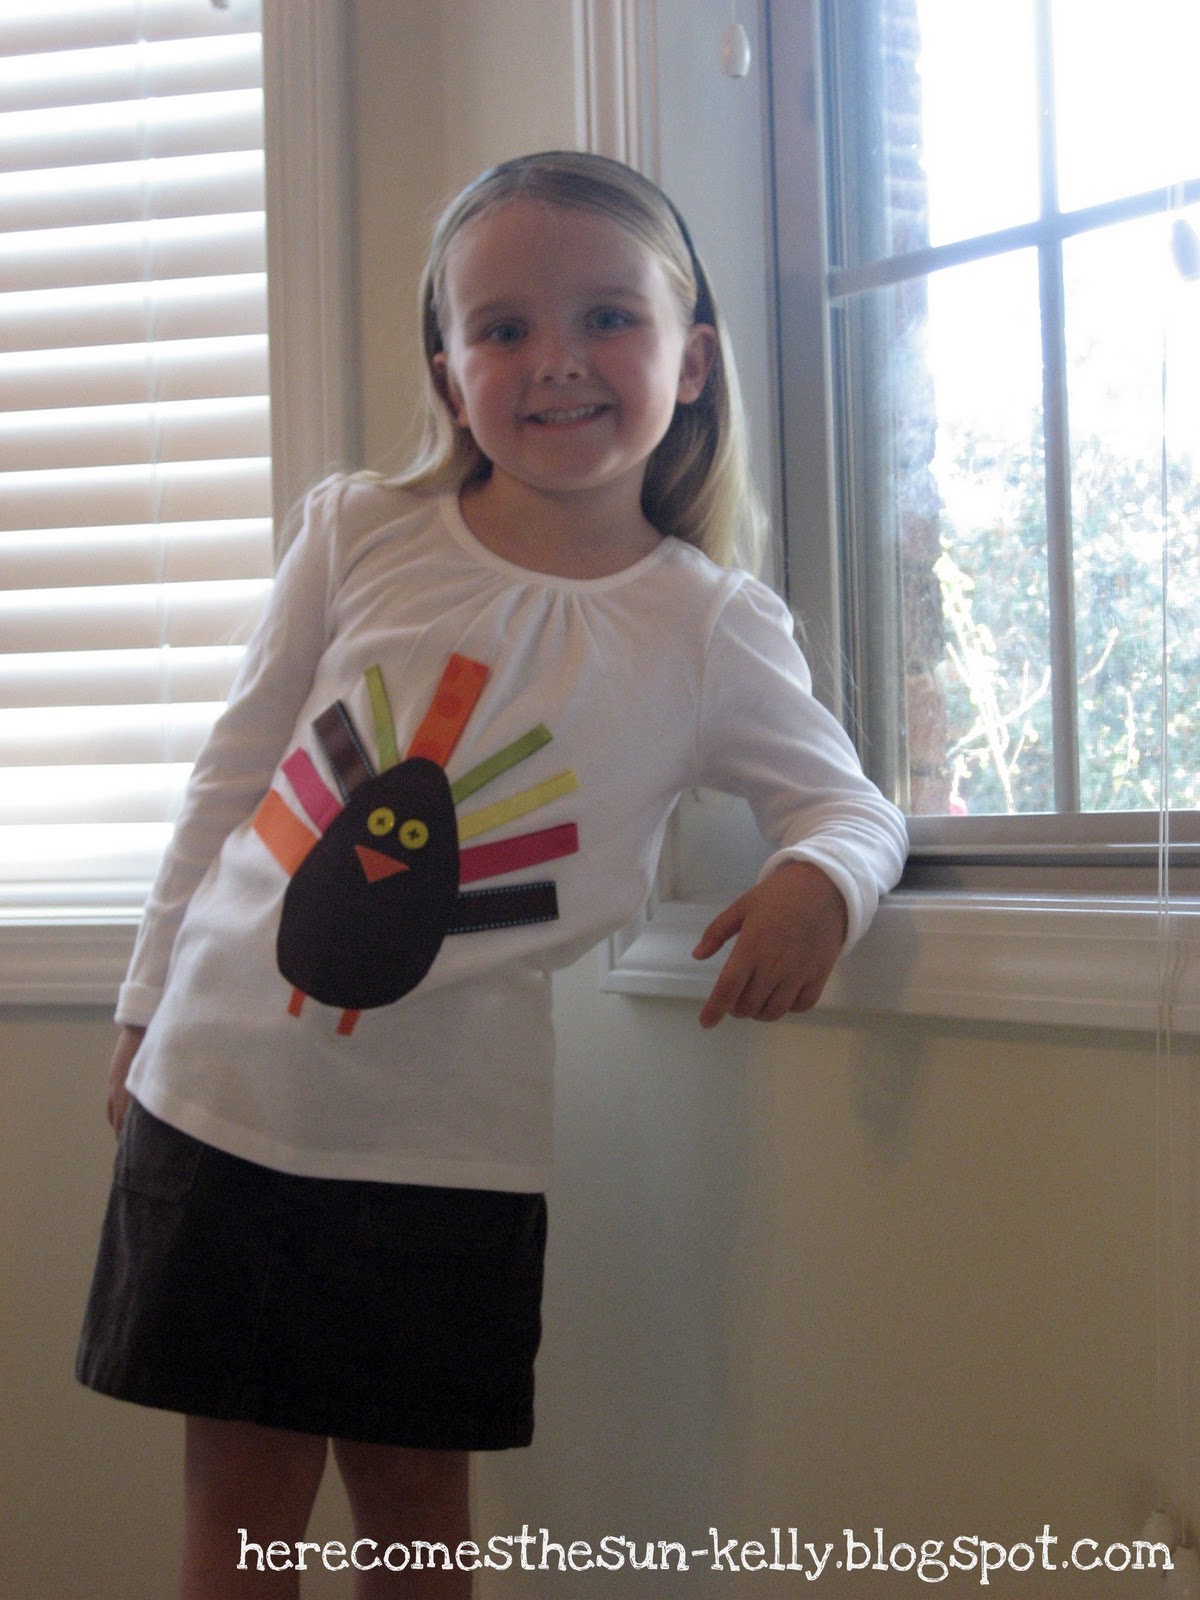
Find a cute model to show off your newest creation.
Now…off to make one for my son. I can’t wait to show them off at Thanksgiving Dinner! Thanks so much to Jessica at A Couple of Craft Addicts for sharing this great project at Fabulous Friday!