
How to Create Watercolor Lettering with Brush Pens
Learn to create beautiful watercolor lettering with brush pens.
I’ve been a watercolor lover for just about as long as I’ve been a hand lettering lover. I love the look of watercolor backgrounds paired with hand lettering and I am mesmerized by watercolor lettering videos on Instagram. But I’ll be honest…I’m not all that great at hand lettering with a paintbrush. I just can’t keep my hand steady enough with the brush to make the letters look right. So when I found out that you can get the watercolor look with brush pens I was all in. Today I’m going to show you how easy it is to create watercolor lettering with brush pens. If you follow me on Instagram, I shared a pic of this technique here.
WATERCOLOR LETTERING SUPPLIES
Here are the supplies I recommend for creating watercolor lettering:
- Tombow Dual Brush Pens – There are a lot of hand lettering pens on the market but the Tombow brand is the one that I am most familiar with. They have a flexible brush tip like a paintbrush and are easily blendable. They also come in almost every color imaginable.
- Canson Watercolor Paper – Yes, you can use regular mixed media paper but since we are going for a watercolor look, I recommend using watercolor paper. It will make things so much easier and your colors will blend better.
- Paintbrush or Aquash Brush – A regular paintbrush and water will do just fine for this tutorial. However, if you have an Aquash brush, you can use it. The brush that I have the most experience with is the Pentel Aquash brush.
- Pencil and eraser – You’ll want a high-quality eraser…not one of those pink ones on the top of pencils. Tombow makes a mono eraser that won’t leave colored marks on your paper.
HOW TO CREATE WATERCOLOR LETTERING WITH BRUSH PENS
The first step is to sketch out your lettering with pencil on the watercolor paper. Use a light touch and do a rough sketch. It does not have to be perfect.
Next, use the eraser to lightly erase your sketch. Make sure that you don’t erase all of it. The goal here is to erase so it is very light but you’re still able to see the lettering a bit. This is so if you use a light colored marker, the pencil lines won’t show through.
Choose a color palette and start lettering. The following are two easy techniques to achieve a watercolor lettering look:
- If you are going for a vertical ombre effect, use a darker color on the top of the stroke and switch to lighter colors toward the bottom of the stroke. Leave some blank space between the colors. Before the ink dries, add a small drop of water to the color and use your water brush to blend the colors together in the white space.


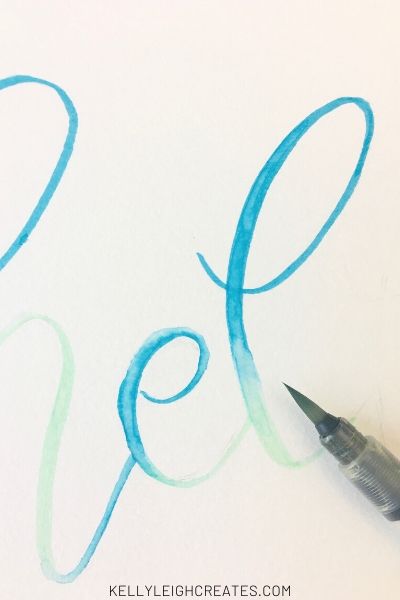
- If you want each letter to bleed into the next horizontally, use different colors for each adjacent letter. Then, add a few dots of the darker color at the point where the letters connect. Before the ink has dried, add a small drop of water to the place in your lettering that you want to blend. Use the paintbrush or Aquash brush to blend the colors together.

Once I’m done blending, I also go over the entire lettering piece with the water brush to give the whole thing a watercolor look. So what do you think? Does this seem easier than traditional watercolor lettering for you? I’d love to see any work that you do with this technique. Make sure to tag me on IG @kellylcreates so I can see your work.

HAPPY LETTERING!
WANT MORE? CHECK OUT THESE POSTS
LOVE IT? PIN IT!
