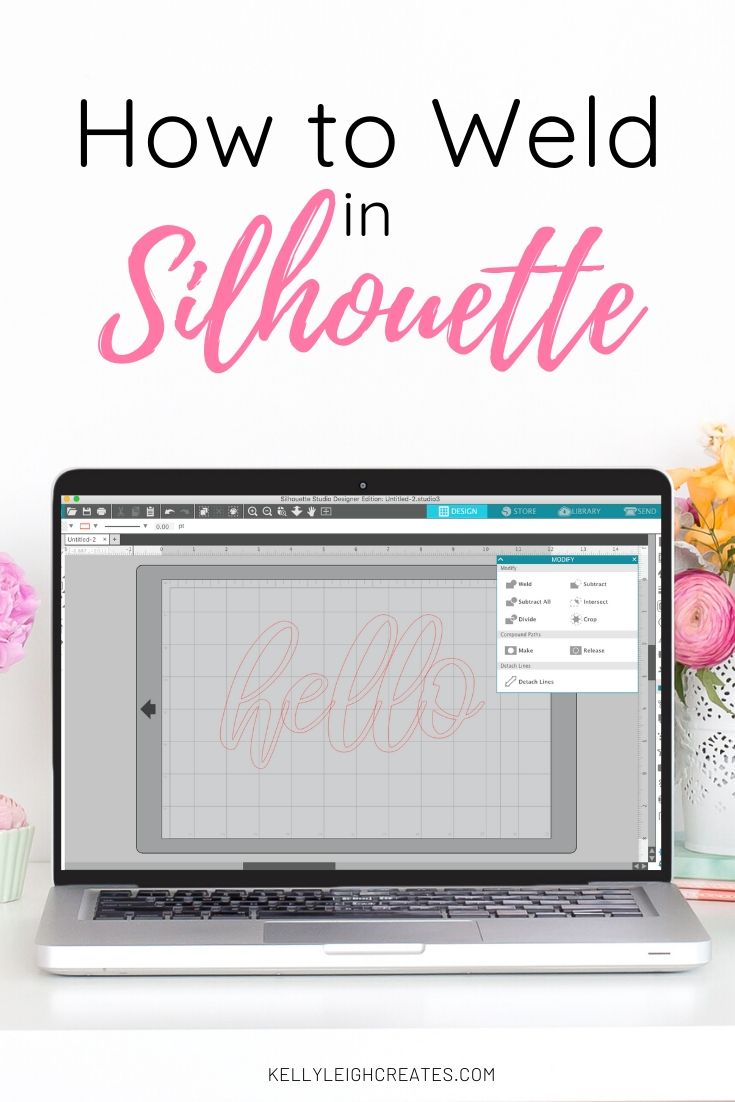
How to Use the Silhouette Weld Tool
Learn how to use the Silhouette weld tool to connect shapes and text together in order to cut them out in one piece.
If you are addicted to crafting with your Silhouette machine, you definitely know the frustration when a project doesn’t cut like you thought it would. Not only do you waste a lot of time and effort, but you also waste a lot of material. When I first started to use my Silhouette, I did not know how to weld shapes and text together so they Connecting text in Silhouette Studio is super easy and I’m going to show you exactly how to do it by using the Silhouette weld tool.

HOW TO WELD LETTERS IN SILHOUETTE STUDIO
A majority of my projects consist of script text. I use a lot of hand-lettered fonts in my designs. When I first started cutting these fonts, I noticed that each letter was cut out separately instead of all together. I vividly remember piecing together the letters on a shadowbox project one by one because I had no idea how to connect the letters is Silhouette and cut them out all as one. The weld tool solves this problem and allows you to cut your script text in one piece. Game.Changer.
When you type with script text in Silhouette Studio, this is how it looks.

This is not ideal for cutting because it is going to cut everything separately. See where the letters overlap? That will have to be pieced together after cutting if you don’t connect the letters. Definitely not what you want. In order to attach the letters together, you need to use the weld tool. The weld tool is located under “MODIFY”. You can also access it by selecting an object/text and right-clicking.
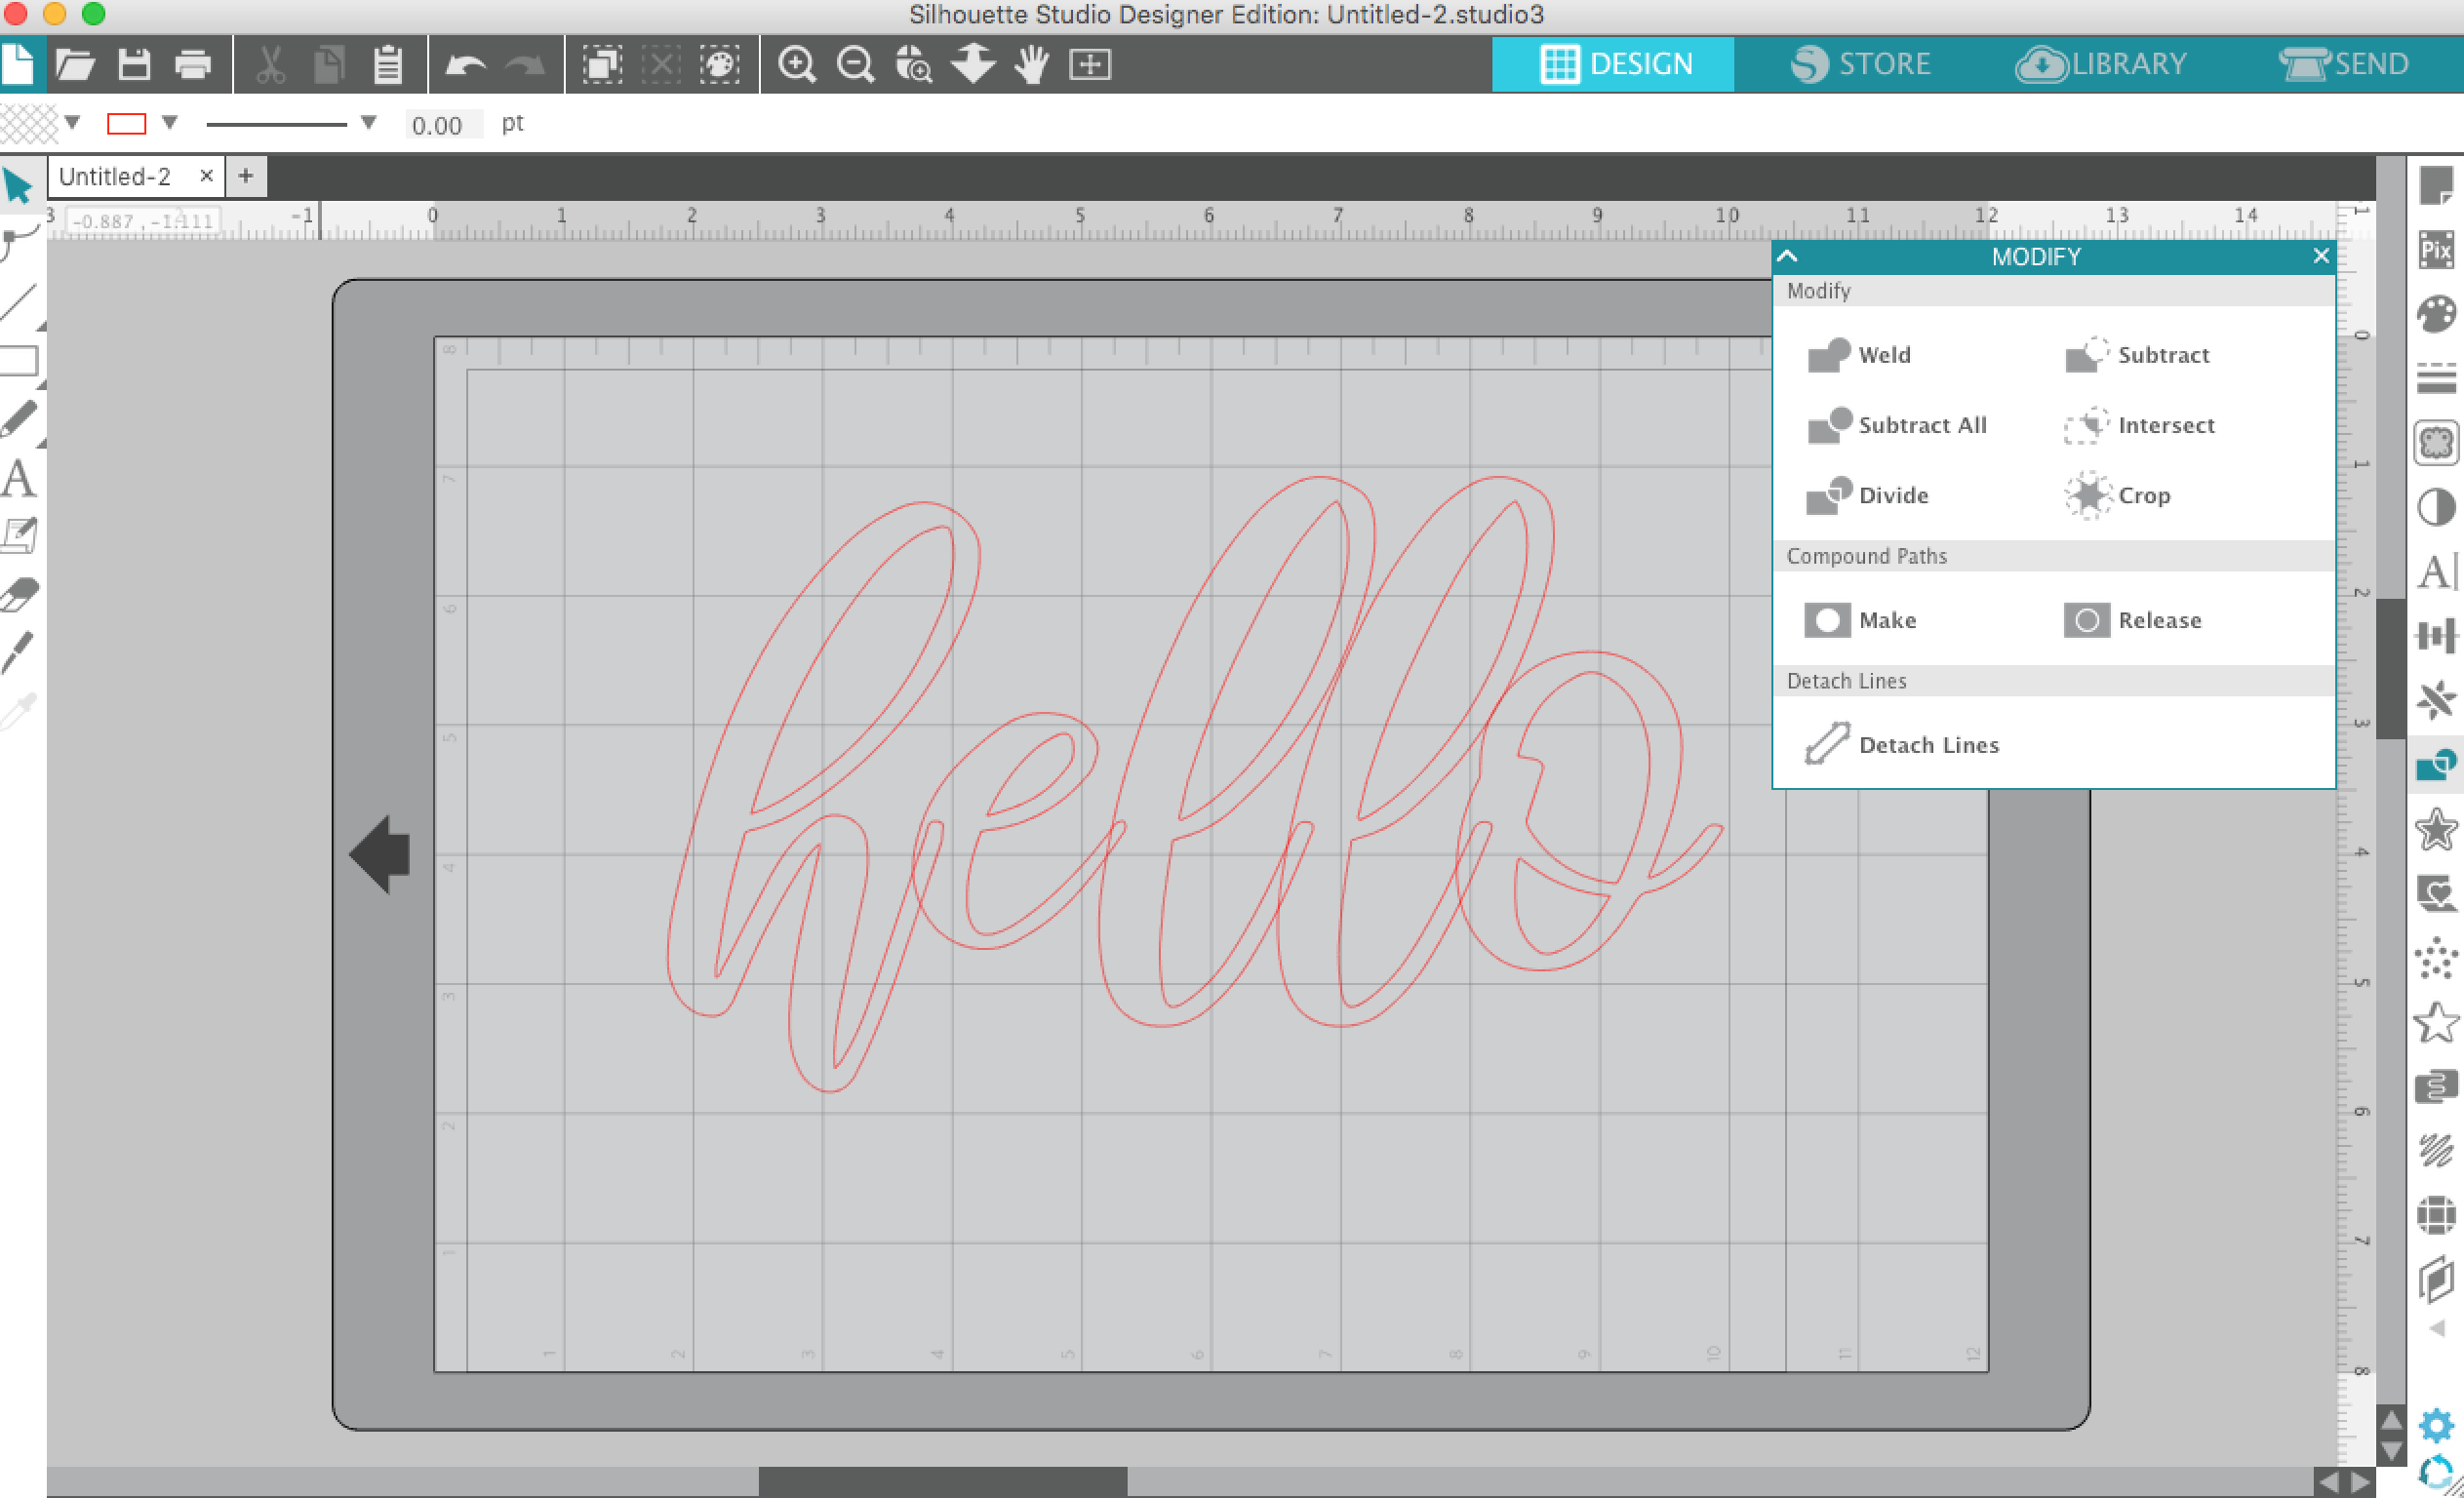
To use the weld tool, simply select the text and click on “weld”. This is what your text will look like after.
Much better. Now the text is all ready to be cut out in one piece! This method also works to connect shapes together too.
YOU MAY ALSO LIKE
- HOW TO CUT BY COLOR WITH THE SILHOUETTE
- HOW TO CONVERT A JPEG OR PNG TO A CUT FILE
- HOW TO USE SVGS: TIPS, TRICKS AND IDEAS
LOVE IT? PIN IT!