
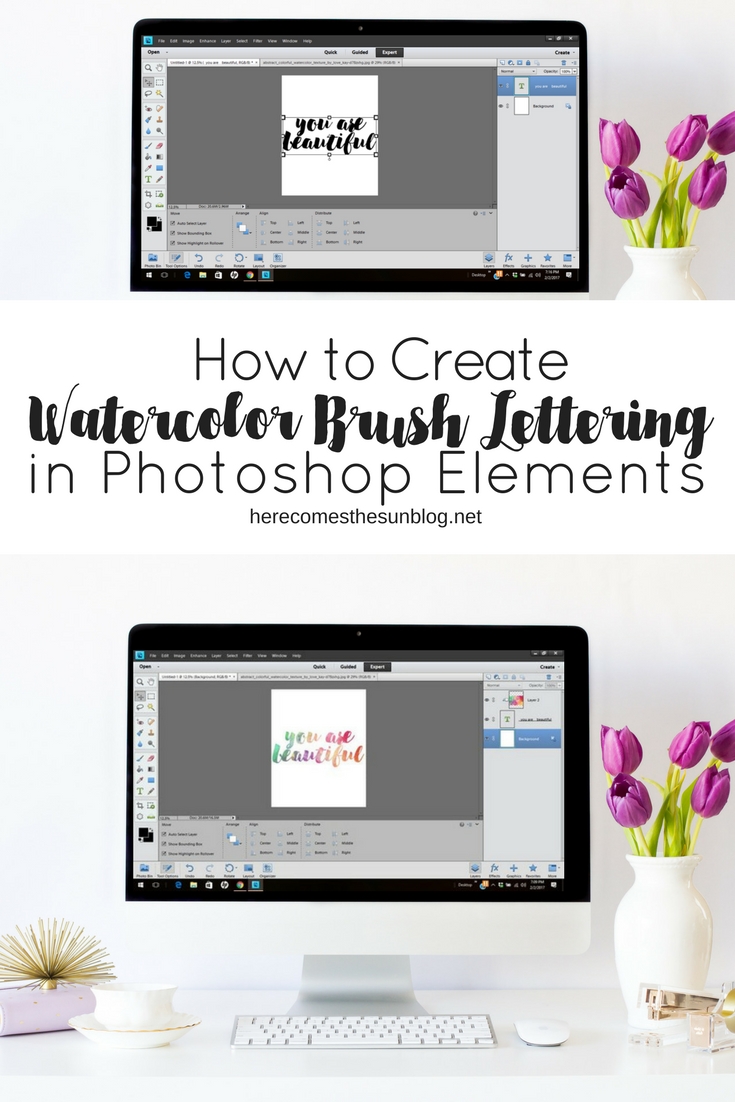
How to Create Watercolor Brush Lettering with Photoshop Elements
Creating watercolor brush lettering is easy with Photoshop Elements!
I really hope that the watercolor trend doesn’t die out soon. I’m really in love with how beautiful it is and I just absolutely adore watercolor brush lettering and brush calligraphy.
HOW TO CREATE WATERCOLOR BRUSH LETTERING WITH PHOTOSHOP ELEMENTS
You can create watercolor brush lettering with an actual watercolor brush pen like I showed you over on Facebook the other day OR you can do it digitally. Today, we’re going to do it digitally. As you know (or maybe you don’t know), I’m a fan of Photoshop Elements. It’ s a simplified version of Photoshop and it’s perfect for the beginner graphic designer. One of my favorite things to do in Photoshop Elements is to take textures and place them behind text or shapes. This is how we are going to create our watercolor brush lettering.
First: Open a new document in Photoshop Elements by clicking FILE > NEW and set your page dimensions. I usually use 5″ x 7″ or 8″ x 10″. Today I’m creating an 8″ x 10″. Set the dpi to 300 and the background to white.

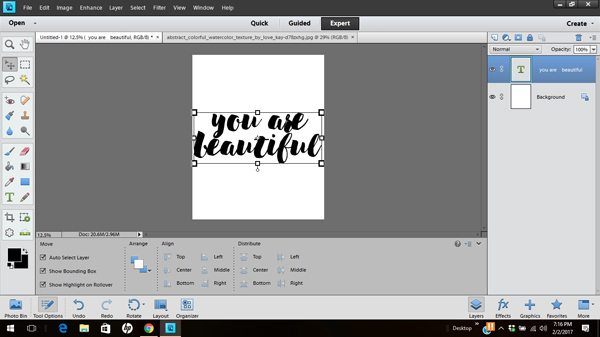
Next: Select the TEXT tool (the “T” in the column on the left of the screen) and pick a brush lettering font from the drop down menu. If you don’t have any brush lettering fonts installed on your computer, check out some of my favorites. If you need help installing fonts, this post will show you how.
Once you have selected your font, type your phrase onto your document. Your text will automatically be added to a new layer in the layers panel, as you can see below. You can resize your text by dragging the corners of the bounding box. Make sure to hold down the shift key when dragging the corners in order to keep the text proportional and not distort it.
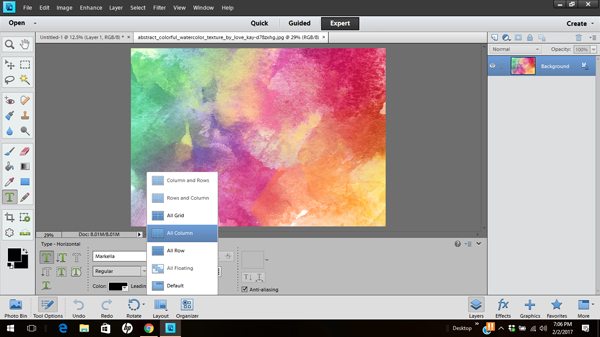
Next: Open up a watercolor file. You can find amazing watercolor clip art on Creative Market or Design Cuts. If you are looking for a free watercolor file to try out, I have created several sets including a Valentine’s Day set, a pink set, a blue set, and fall colored set.
[clickToTweet tweet=”Create beautiful watercolor brush lettering using Photoshop Elements!” quote=”Create beautiful watercolor brush lettering using Photoshop Elements!”]
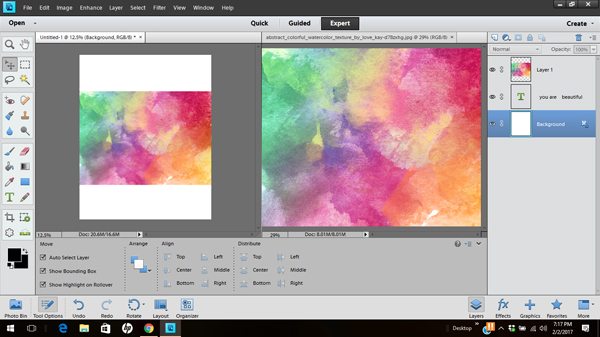
Once your watercolor file is open, your screen will look like this, with two tabs at the top. To show both files side by side, click out LAYOUT > ALL COLUMNS at the bottom of the screen.
Drag the watercolor file from the layer panel and drop it onto your text file. Adjust the watercolor file to cover the text by moving it into place with the Move tool (the tool underneath the search icon in the tool bar).
Finally: We are going to create a clipping mask so that the watercolor only shows up inside the letters. To do this, first make sure that the watercolor file is at the top of the layer panel. If it isn’t, you can just drag it to the top.
Select the watercolor file in the layer panel. The screenshot below shows the background file selected but you need to select the watercolor file. Hit CTRL-G (Or Command-G on a Mac) and watch what happens.
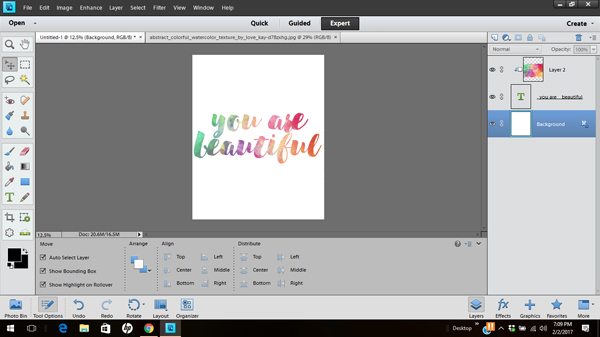
It’s like beautiful watercolor magic goodness. The watercolor file is now “clipped” so that it only shows on the text. Think of all the gorgeous watercolor prints you can make using this tutorial.
If you enjoyed this tutorial, be sure to check out these:
How to Use the Brush Tool in Photoshop Elements
How to Digitize Your Handwriting in Photoshop Elements
How to Create a Holiday Card Using Photoshop Elements
LOVE IT? PIN IT!
My letters don’t touch when I use a font like this. They do is other programs, but not PSE 13. Any suggestions?
I want to decorate my kids poster boards and rooms and allinda stuff but my handwriting sucks… looks like a bad doctor’s signature where their just lazy… help
Hi Cory. I have lots of hand lettering tutorials and practice sheets. You can find them here: https://kellyleighcreates.com/category/hand-lettering/