
How to Hand Letter on the iPad Pro
Learn how to hand letter on the iPad Pro with this easy to follow tutorial.
Oh iPad Pro, how I love thee. I bought my iPad Pro for one reason and one reason only… for hand lettering. Before my purchase, I had never owned an iPad. The only Apple product to grace my home was the iPhone. But that all changed once I saw the amazing work that my hand lettering friends were doing digitally. Do I love using pen and paper to hand letter? You betcha. But in order to crank out lots of designs in a short amount of time, digital is the way to go. So today, I’m going to teach you my process of how to hand letter on the iPad Pro.

First things first, if you are just starting out in hand lettering, you’re going to want to learn some basic lettering tutorials first and the best way to learn these basics is by practicing with actual pens and paper. You can grab some hand lettering practice sheets here.
IPAD LETTERING SUPPLIES
- iPad Pro
- Apple Pencil
- Procreate app.
When I first told my husband the reason I wanted an iPad Pro was to hand letter, he about fell out. Mainly because they aren’t the cheapest of tools. But I had saved up for a while for this purchase and it was all I really wanted for Christmas so I went ahead and bought it for myself. In addition to the iPad Pro, you’re going to need an Apple Pencil. The Apple Pencil only works on the iPad Pro, so no, you can’t use a regular iPad for this. You’ll also need to download the Procreate app. When I purchased it, it was about $10. I don’t usually pay for apps but since I bought the iPad Pro specifically for this purpose, it needed to be done.
HOW TO HAND LETTER ON THE IPAD PRO
Today I’m going to teach you how to hand letter this phrase on the iPad Pro. The watercolor background was added in Photoshop and is not part of this tutorial.
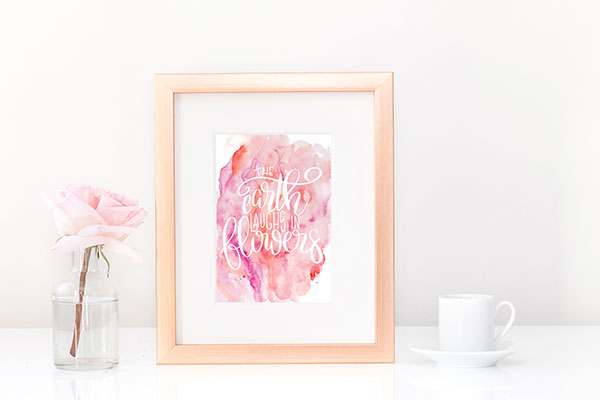
This is a print that I made for my email subscribers. My email subscribers get a new print each month that is not offered anywhere else on my blog.
Not on my email list? Go sign up! I’ll wait. Okay… now you’ll be getting lots of prints and hand lettering tutorials via my emails. YAY!
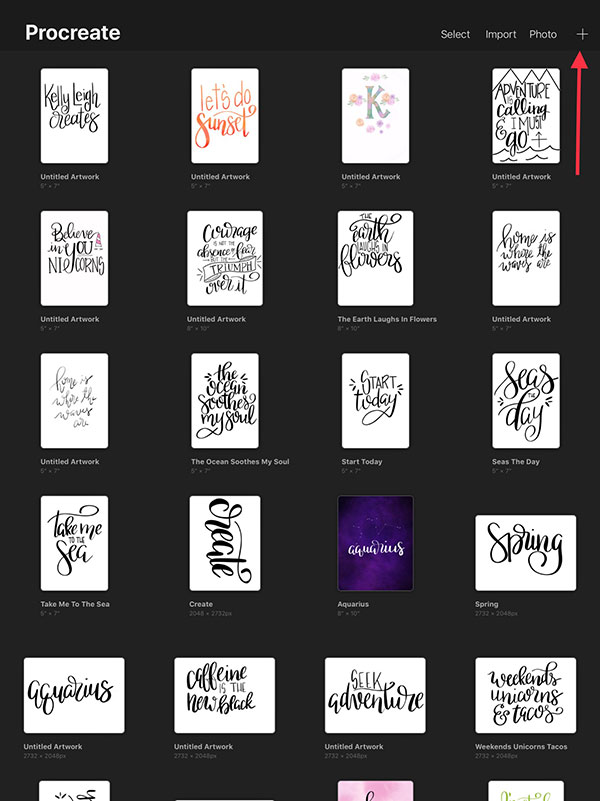
Once you open the Procreate app, your screen will look like this. If you haven’t created anything yet, your screen will be blank. Click the “plus” sign in the upper right to open a new file.
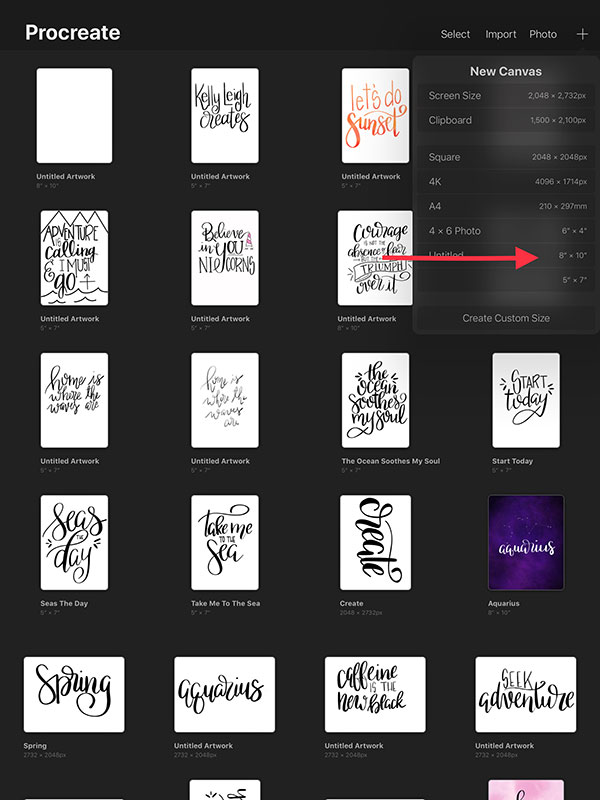
Choose your document size. I usually do 8×10 or 5×7.
After you choose your document size, you’ll have a blank screen.
Procreate works sort of like Photoshop in the fact that it uses layers. Layers are your friend. I repeat …layers are your friend. Make that your mantra. You can see in the image below that I use a new layer for every line of brush lettering. The layers can be accessed by clicking the button in the upper right that looks like two boxes. To add a new layer, click the plus sign in the upper right.

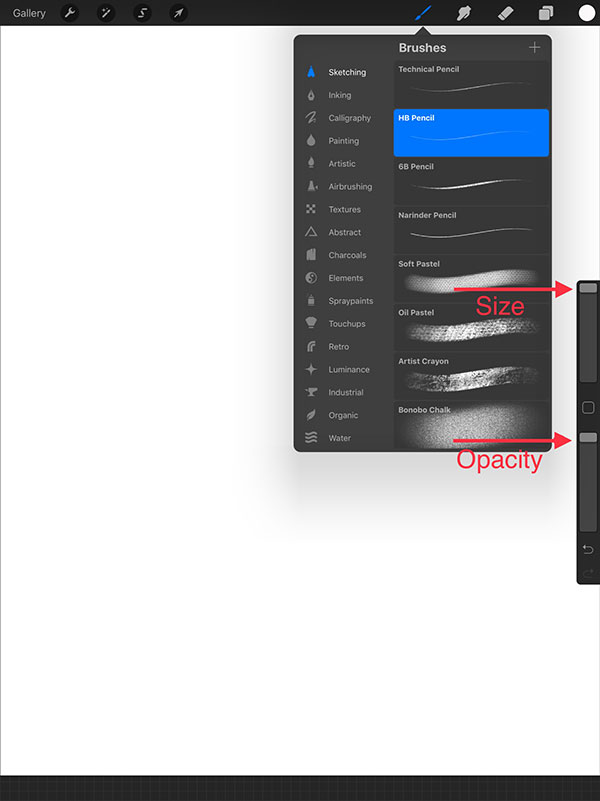
Next, you’ll choose your brush. Click on the paintbrush in the upper right and choose Sketching > HB Pencil. You can change the size and opacity of the brush with the sliders on the right hand side of the screen.
Now, you’re just going to sketch. When you hand letter on the iPad pro, you can be as sloppy as you need to be because this sketch layer will ultimately be hidden in your final product. Sketch till you are happy with the results.
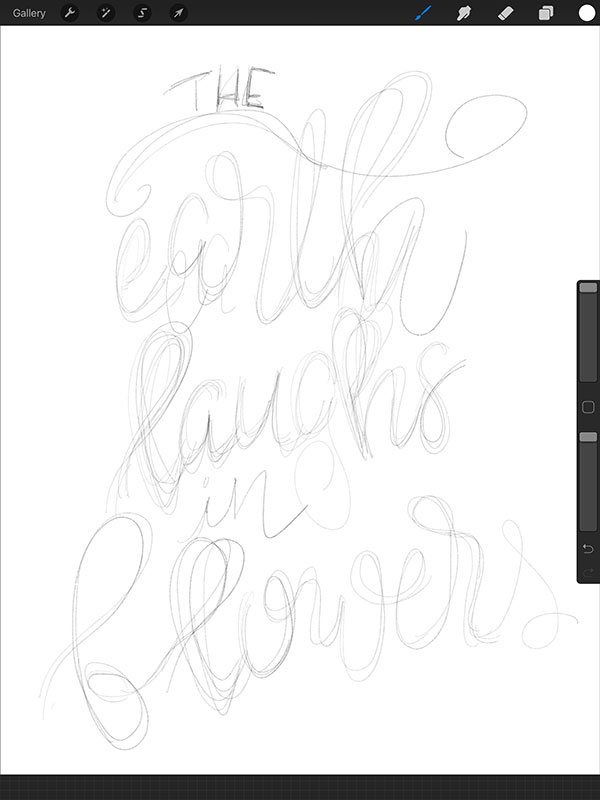
I’d advise putting each line of text on a new layer so you can move them around separately if needed. To move a layer around, make sure it is selected in the layer panel. Then click on the arrow key at the top left of the screen. A box will form around your text and you can drag it wherever you want. You can resize it by dragging the corners of the box.
[clickToTweet tweet=”Learn to #handletter on the iPad Pro with this easy tutorial!” quote=”Learn to #handletter on the iPad Pro with this easy tutorial!”]
Once you have your text the way you want it, adjust the opacity of the layer by clicking on the magic wand icon and sliding the opacity to the left. If you have more than one layer of sketch text, repeat this step for each layer.

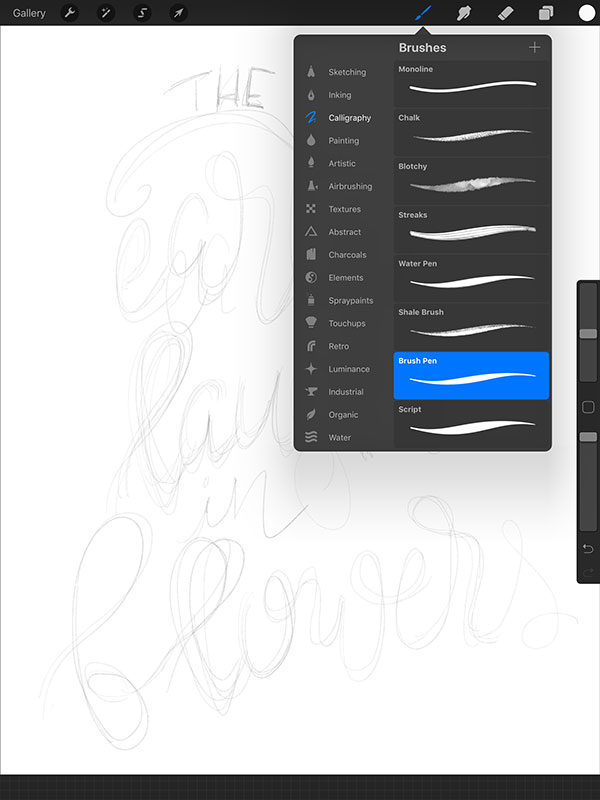
Now you’re going to create your actual brush lettering. If you need brush lettering practice, you may want to review the basics of hand lettering and practice with this uppercase practice sheet. There are many different procreate brushes to choose from under Brushes>Calligraphy. This Brush Pen is the one that I normally work with. It is free with Procreate. Adjust the size of your brush (if needed) with the slider on the right.
Next, add a new layer and trace your sketch using the brush pen. Use the same techniques for iPad lettering that you do with regular brush lettering. Thick downstrokes and thin upstrokes…press harder with the Apple Pencil on the downstrokes and ease up on the upstrokes. This may take a bit of practice until you are comfortable with the process but once you get it, you’ll be amazed at how fast everything goes. I really love the work that I’ve done with my iPad pro because the lines are so clean and crisp.

After you are satisfied, hide your sketch layer by unchecking the box in the layers panel. You are now left with just your beautiful hand lettering.

To save it, click on the “wrench” icon in the upper left> share> and choose what format you want. You’ll then have the option to save it to numerous places. I usually save all my work to DropBox or Google Drive so I can access it from any computer.
And there you have it, hand lettering on the iPad Pro!
LOVE IT? PIN IT?
YOU MAY ALSO LIKE:
10+ Brush Lettering Practice Sheets
How to Use Hand Lettering Practice Sheets in Procreate
How to Create Watercolor Brush Lettering in Procreate
Hand Lettering Practice Sheets for Beginners
Which version do you have? What size?
I have the 12.9 inch.