
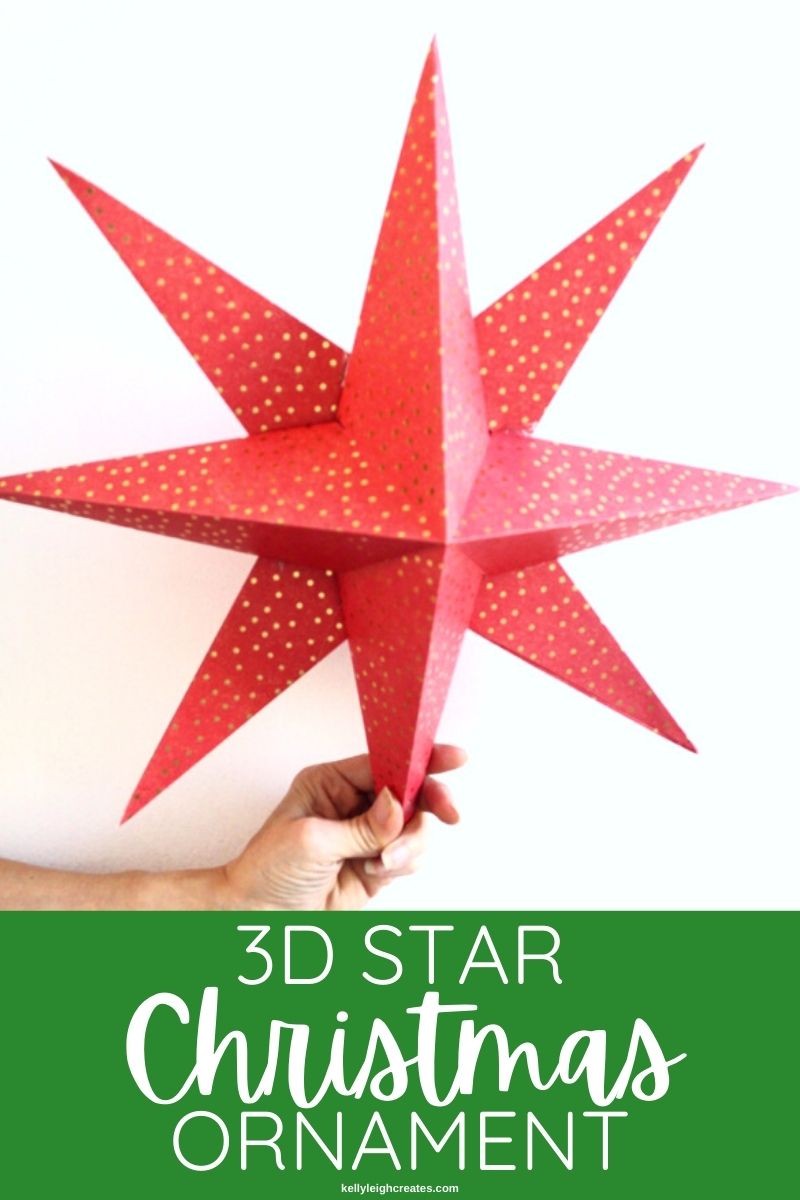
Easy 3D Star Ornament
This post may contain links to affiliate websites, such as Amazon and we receive an affiliate commission for any purchases made by you using these links.
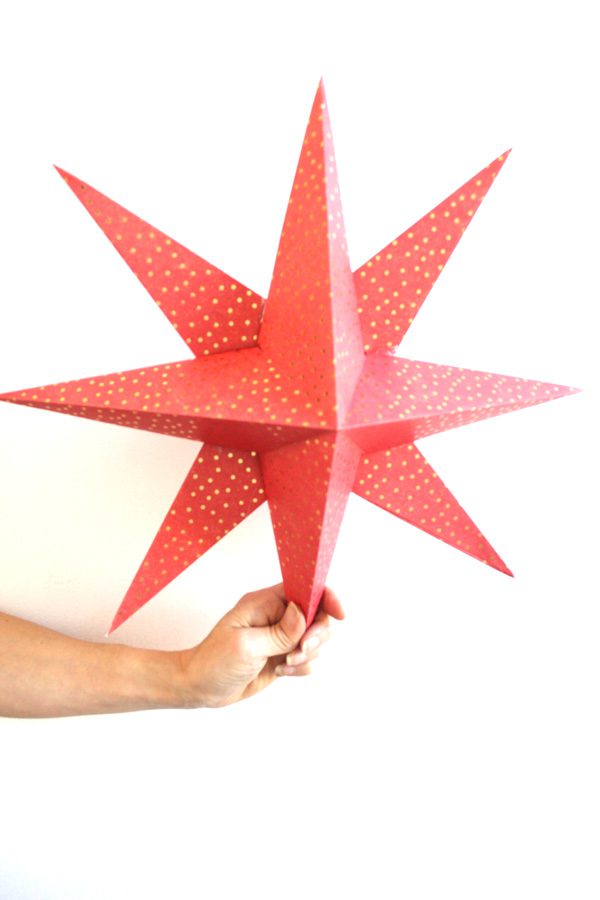
Make a 3D star ornament with this easy tutorial. Hang the ornament on your tree or use it as a tree topper.
Every Christmas I try to make at least one handmade ornament for our tree. I am in love with the look of big ornaments and have wanted to make these 3D star ornaments so this year I decided to do it. And they are even easier than I expected. You can use place these star ornaments on your tree or you can use them as a tree topper. You can also use them to decorate other areas of your home such as a cased opening between two rooms.
Want to see just how easy it is to make these 3D star ornaments? Let’s get started!
SUPPLIES FOR 3D STAR ORNAMENT
- Two 12 x 12 pieces of cardstock
- Ruler
- Pencil
- Scissors
- Hot glue
- Glue gun
HOW TO MAKE A 3D STAR ORNAMENT
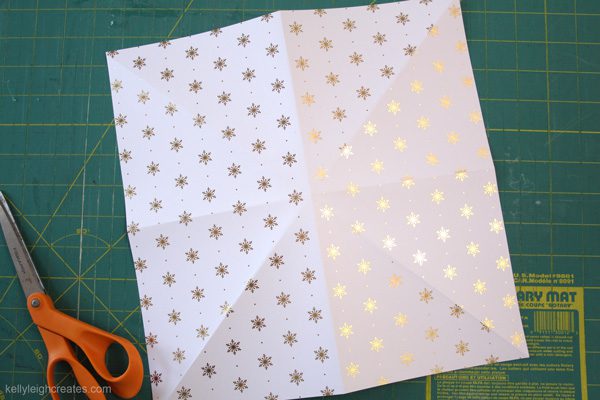
- Fold one piece of cardstock in half, creasing it well. Open it up and fold it in half the other way.
- Fold the cardstock to make a triangle, creasing it well. Open it up and fold into a triangle the other way.

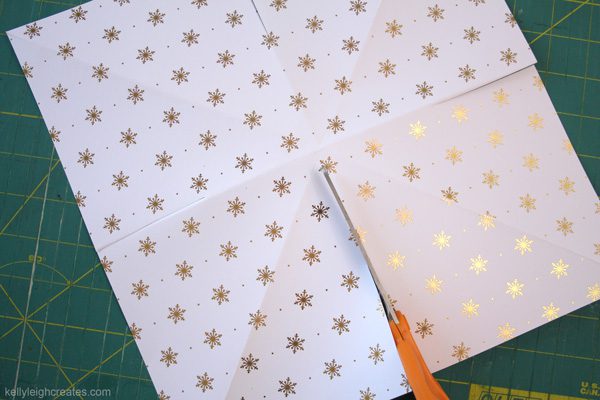
- On the backside of the cardstock, measure 3 inches down each straight line and make a mark with your pencil.
- Cut down each straight fold line to the mark
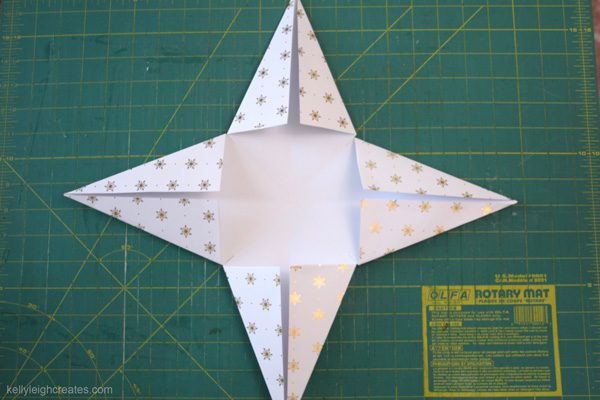
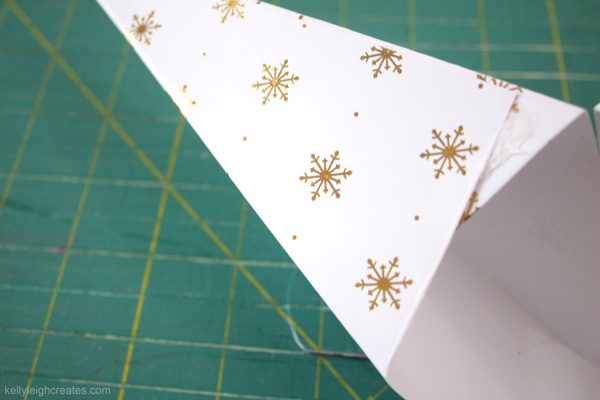
- Fold the corners in to form points.
- Place hot glue on one side of the point and attach the other side.
- Continue until all points are glued.
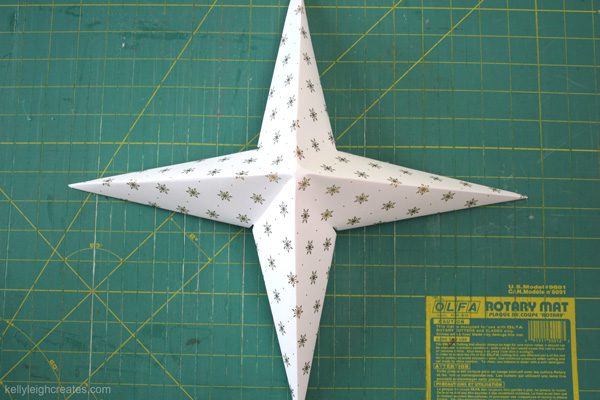
- Repeat this process with the second piece of cardstock
- Glue the two stars together to form a 3D star ornament
- Thread a piece of embroidery floss through the tip of the star wih a needle. Tie the ends to create a loop for hanging.
3D STAR ORNAMENT VIDEO
MORE CHRISTMAS ORNAMENT IDEAS
Wood Slice Ornament
Felt Snowflake Ornament
Buffalo Check Ornament
LOVE IT? PIN IT!