
How to Sublimate a Shirt: Everything You Need to Know
In this tutorial, I’ll teach you how to sublimate a shirt. You’ll learn everything you need to know about the sublimation process and what types of fabrics work best with sublimation.
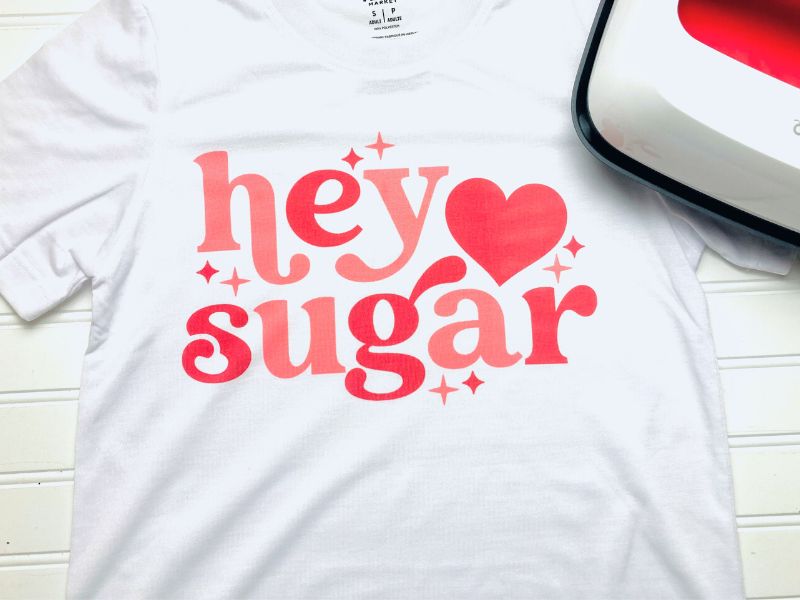
This is my first attempt at sublimating a shirt and I am super excited with the way it turned out. If you have never tried sublimation, you’re in for a treat. With sublimation, the designs that you can create and transfer are limitless. There are so many more possibilities than if you use heat transfer vinyl. The process (in my opinion) is easier too because there is no layering involved. It’s one press with a heat press or EasyPress 2 and you’re done! Ready to learn how to sublimate a shirt? Let’s jump into this fun project!
What is Sublimation?
Sublimation refers to the process of bonding ink into a material. The material can be things such as fabric, wood, or ceramic. Sublimation designs need to be printed on a special paper using a sublimation printer.
How is Sublimation Different than Heat Transfer Vinyl?
With sublimation, the ink infuses into and bonds with the material that you are transferring the design onto. When using heat transfer vinyl, the vinyl adheres to the material via adhesive on the underside of the vinyl . HTV sits on top of the material whereas sublimation ink bonds to the fibers of the material. When you sublimate a shirt, you don’t have to worry about the ink peeling off after washing which is sometimes a problem with HTV. This is one of the main reasons why people choose to sublimate instead of using heat transfer vinyl.
What Materials are Compatible with Sublimation?
In order for fabric to work with sublimation, it must be a light-colored polyester fabric. The higher the polyester percentage, the more vibrant the colors will be when you sublimate your design onto your shirt. The best option is a 100% polyester shirt but anything over 65% will work well.
Sublimation does not work on dark-colored fabric. If you are sublimating something other than clothing such as a mug or coaster, it must be specially coated for sublimation. Cricut has numerous sublimation blanks for sale but places like your local craft store and Amazon also sell sublimation blanks that work just as well as the Cricut blanks.
SUBLIMATION SHIRT SUPPLIES
- Polyester shirt
- Sublimation printer (optional – you can either print a design at home or order a ready-made file)
- Sublimation paper (optional – needed if you are printing your own design)
- Sublimation file (I ordered mine off Etsy)
- Cricut EasyPress 2
- Cricut EasyPress Mat
- Butcher paper / parchment paper
- Cardstock
- Heat resistant tape
How to Sublimate a Shirt with the Cricut EasyPress 2
For an in-depth tutorial on how to use the Cricut EasyPress2, check out this post.
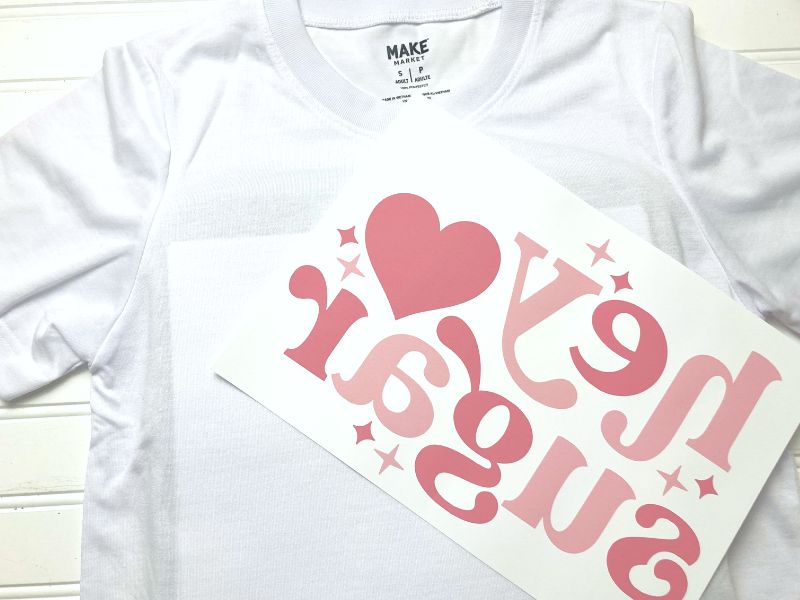
- Print your design onto sublimation paper using a sublimation printer (optional). Make sure to mirror your design.
- If you are using a pre-made design like I did, you will not need step one.
- Place a few pieces of 80 lb. cardstock inside your shirt to prevent the ink from bleeding through. You can also use 4 pieces of butcher paper.
- Place your shirt on top of the CricutEasyPress mat, Set your EasyPress 2 to 385 degrees and preheat your shirt for 15 seconds
- Center your design (ink side down) onto your shirt and secure with heat resistant tape. This ensures that your design will not move and leave “ghosting” marks on your shirt. You may want to trim the around your design to eliminate any strat marks that printed during the printing process.

- Place a piece of butcher paper over your design.
- Place the EasyPress 2 onto your design and press firmly for 40 seconds. Make sure the EasyPress 2 covers the entire design. If it does not, press each section of the design separately for 40 seconds.
- Once the timer beeps, remove the EasyPress 2 and the butcher paper
- Slowly peel off the protective sheet to reveal your design. If you order a ready-made design, follow the instructions on cold peel versus hot peel.
The design will look faded before you press it. But once you apply heat to it, the colors turn vibrant. The higher the polyester count of the shirt, the more vibrant the colors will be. I used a 100% polyester shirt.

MORE SUBLIMATION TUTORIALS
Subscribe to my YouTube Channel for more video tutorials
I hope you found this tutorial useful. Please consider sharing it so others can find it!
