
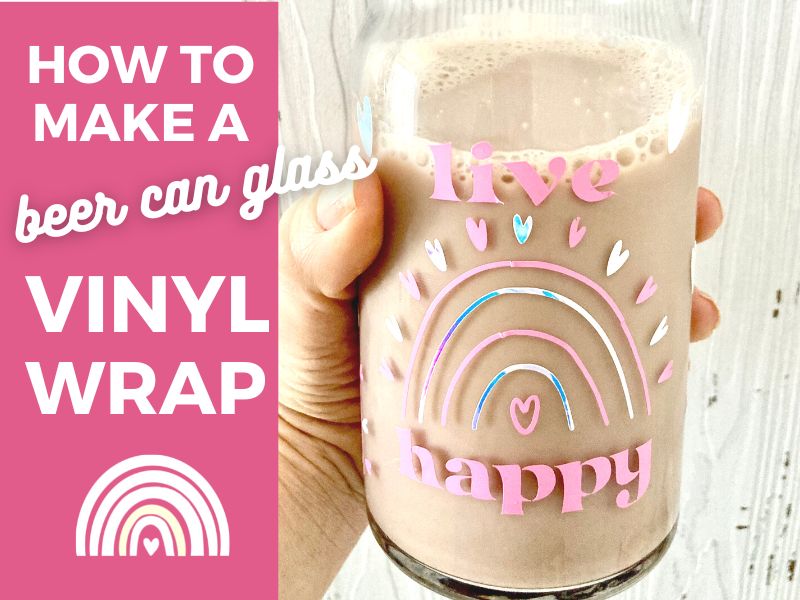
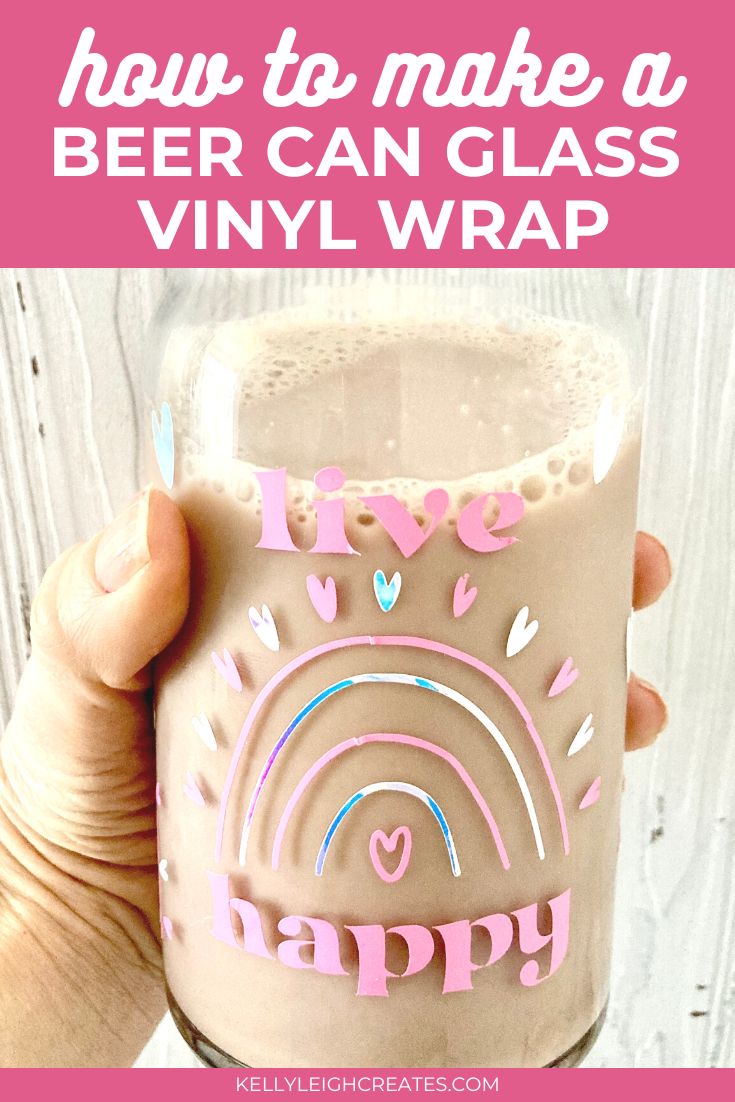
How to Make a Beer Can Glass Vinyl Wrap
Learn how to make a beer can glass vinyl wrap. From designing the wrap in your software to applying it to a beer can glass, this tutorial will step you through the process.
Glass can wraps are super popular right now. I’m absolutely in love with them. You can customize them for any season, holiday, or event so this project can be used year-round which is always a win in my book. I couldn’t wait to make my own vinyl wrap and if you haven’t tried making one yet, you’re gonna love this tutorial. I’m showing you how to take a single SVG file and turn it into a beer can glass vinyl wrap in Silhouette Studio. I’ll also show you how to adhere it to your beer can glass. Are you team Cricut and not Silhouette? You can definitely use this tutorial too! The commands in Silhouette Studio are basic and can be used in Cricut Design Space as well.
Let’s dive in!
BASIC SVG & SILHOUETTE STUDIO POSTS
- How to Use Silhouette Cameo 4: A Guide to Getting Started
- How to Use SVG files: Tips, Tricks & Ideas
- How to Import Files Into Silhouette Studio
- How to Weed Vinyl
- How to Cut By Color in Silhouette Studio
- How to Separate SVG files into Layers
DIY Beer Can Glass Supplies
- 16 oz. Libbey Beer Can Glass
- Live Happy SVG file
- Silhouette Cameo or Cricut
- Cutting mat – Silhouette / Cricut
- Permanent adhesive vinyl (Soft Pink)
- Holographic vinyl
- Transfer tape
- Scraper tool
- Weeding hook

How to Make a Glass Can Wrap

- Download the SVG file from my Boho Rainbow Bundle.
- Open up Silhouette Studio (or Cricut Design Space) and create a box that is 10″ long and 4″ high. This is your template. This wrap will fit 16 oz. Libbey beer can glass.
- Upload the SVG file into Silhouette Studio and center the file onto the template. Size the file down so it fits the template. Copy and paste the rainbows and hearts to fill up the template.
- Cut the SVG file by color using pink vinyl and holographic vinyl. You can follow this tutorial on how to cut by color.
- After your files are finished cutting, weed the excess vinyl using a weeding hook.
How to Put Vinyl on a Beer Can Glass
- Apply transfer tape to your weeded design. This post will show you how to use transfer tape with vinyl. This post will show you how to assemble each color onto one piece of transfer tape.
- Prepare your glass for vinyl – wipe the glass down with rubbing alcohol and let dry. This removes all dirt and debris.
- Apply your vinyl wrap to the beer can glass
METHOD 1 – use the hinge method to apply the vinyl to the beer can glass.
METHOD 2 – place the vinyl onto the glass and smooth each side down (as shown in the video below)
I absolutely adore how this beer can glass turned out. I’m in love with the holographic vinyl! What type of vinyl is your favorite? Let me know in the comments. Have you ever tried Teck Wrap Vinyl? That’s what I’m going to try next! You can make an entire set of these glasses and give them as gifts. Or just keep them for yourself!

MORE VINYL PROJECTS
SVG FILE FAQs
How do I open these files in my Silhouette software?
Save the file to your computer. If it is a zip file, unzip it. Open your Silhouette software and select FILE>OPEN and navigate to where you saved the file. You can also import the file(s) to your Silhouette library by clicking FILE>LIBRARY>IMPORT TO LIBRARY and navigating to where you saved the file.
Can I open SVG files in the Silhouette Basic Edition?
No. You must have Silhouette Designer Edition or higher to open SVG files. If you have Silhouette Basic Edition, you can use PNG files and convert the PNG to a cut file.
Can this file be used with a Cricut?
Yes. Any SVG file can be used in Cricut Design Space