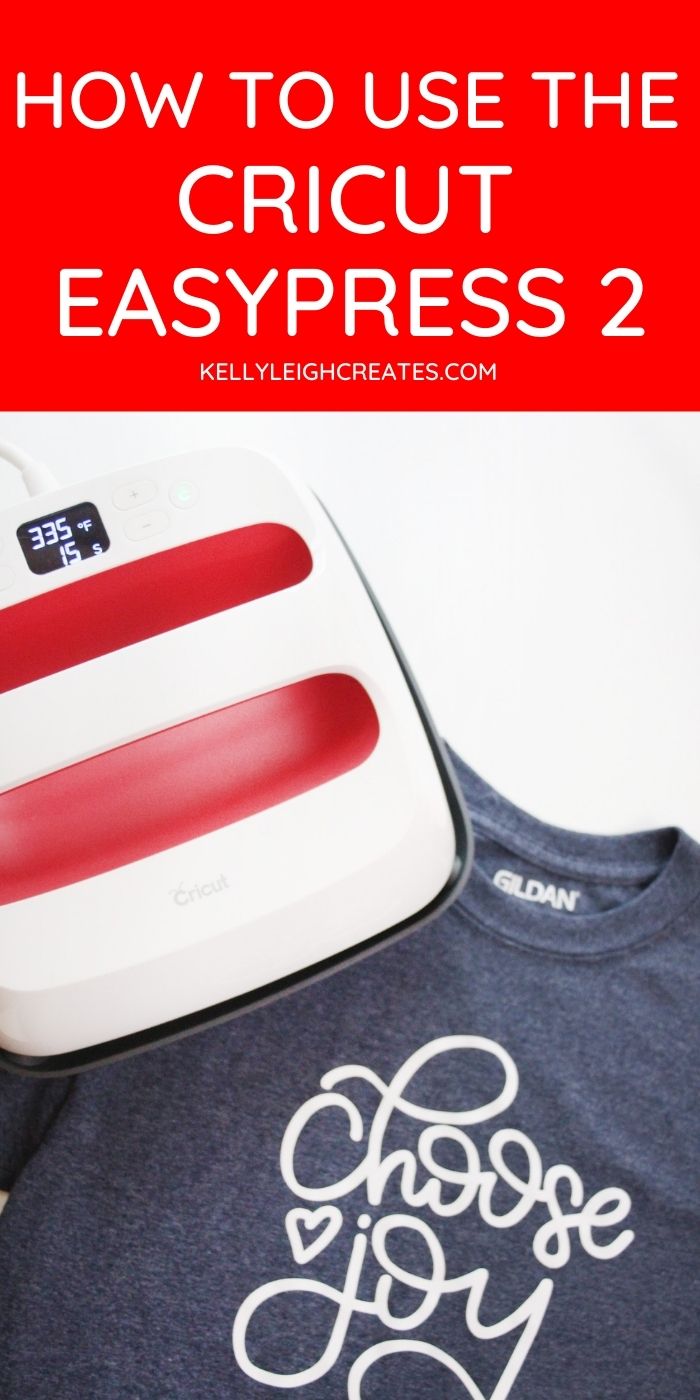
How to Use the Cricut EasyPress 2
Confused about the Cricut EasyPress 2? Read on to learn what it is, how to use it, and the differences between the EasyPress 2 and a regular iron.
One of my favorite ways to craft is to use heat transfer vinyl (HTV). When I first started using HTV, I was applying it with an iron and getting not-so-great results. It was super frustrating because my vinyl would sometimes melt and wrinkle and sometimes it wouldn’t stick at all. It was a nightmare and I wasted so much time and money on projects that didn’t turn out. So when I heard about the EasyPress from Cricut, I knew I wanted it. I got the EasyPress 2 for Christmas one year and it has made my crafting life oh so easier. So if you are ready to get better results from your HTV projects, ditch the iron and read on about all the great features of and how to use the Cricut EasyPress 2.

WHAT IS THE CRICUT EASYPRESS 2?
The Cricut EasyPress 2 allows you to transfer vinyl designs onto surfaces with the speed of a full-size heat press but with the convenience of an iron. However, unlike an iron, the ceramic-coated heat plate of the EasyPress 2 distributes heat evenly resulting in a high-quality transfer of the vinyl to your surface. This means that your vinyl will not peel and will hold up in the wash. It has a precise temperature control up to 400 degrees and an insulated safety base with an automatic shut off.
WHAT IS THE DIFFERENCE BETWEEN THE EASYPRESS AND EASYPRESS 2
The Cricut EasyPress 2 has the following features that the EasyPress does not have
- A USB port to update firmware
- The ability to “remember” the last temperature and time settings
- Uniform edge to edge heating
- Precise temperature control up to 400 degrees
- 25% faster heat up time
WHAT SIZE IS THE CRICUT EASYPRESS 2
The Cricut EasyPress 2 comes in the following sizes:
- Mini 1.92″ wide x 3.25″ – perfect for small projects like shoes, hats, pocket designs, clothing labels and tags, quilted potholders.
- 6″x7″ – good for small projects like baby clothes and blankets, napkins, mittens or gloves, scarves, small tote bags, storage containers.
- 9″x9″ – a good size for projects like bags, wine totes, aprons, kitchen towels, small t-shirts and apparel.
- 12″x1o” – for large projects like larger t-shirts and apparel, banners, blankets, bath towels, curtains etc.
HOW TO USE THE CRICUT EASYPRESS 2
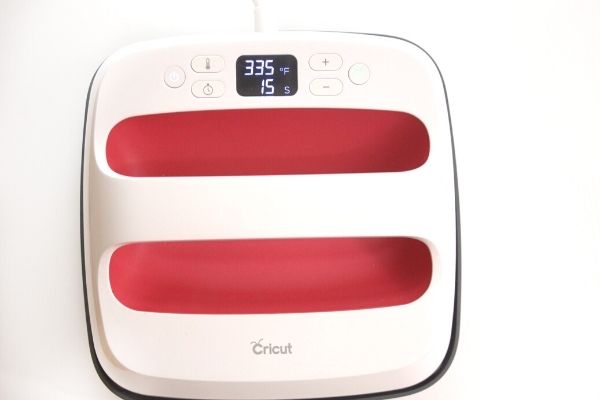
The Cricut EasyPress 2 has the following controls:
- On/Off button
- Cricut icon button
- Temperature button
- Timer button
- “+” and “-“
- Turn on the EasyPress 2 by pressing the on/off button. The Cricut icon button will turn orange, meaning it is heating up.
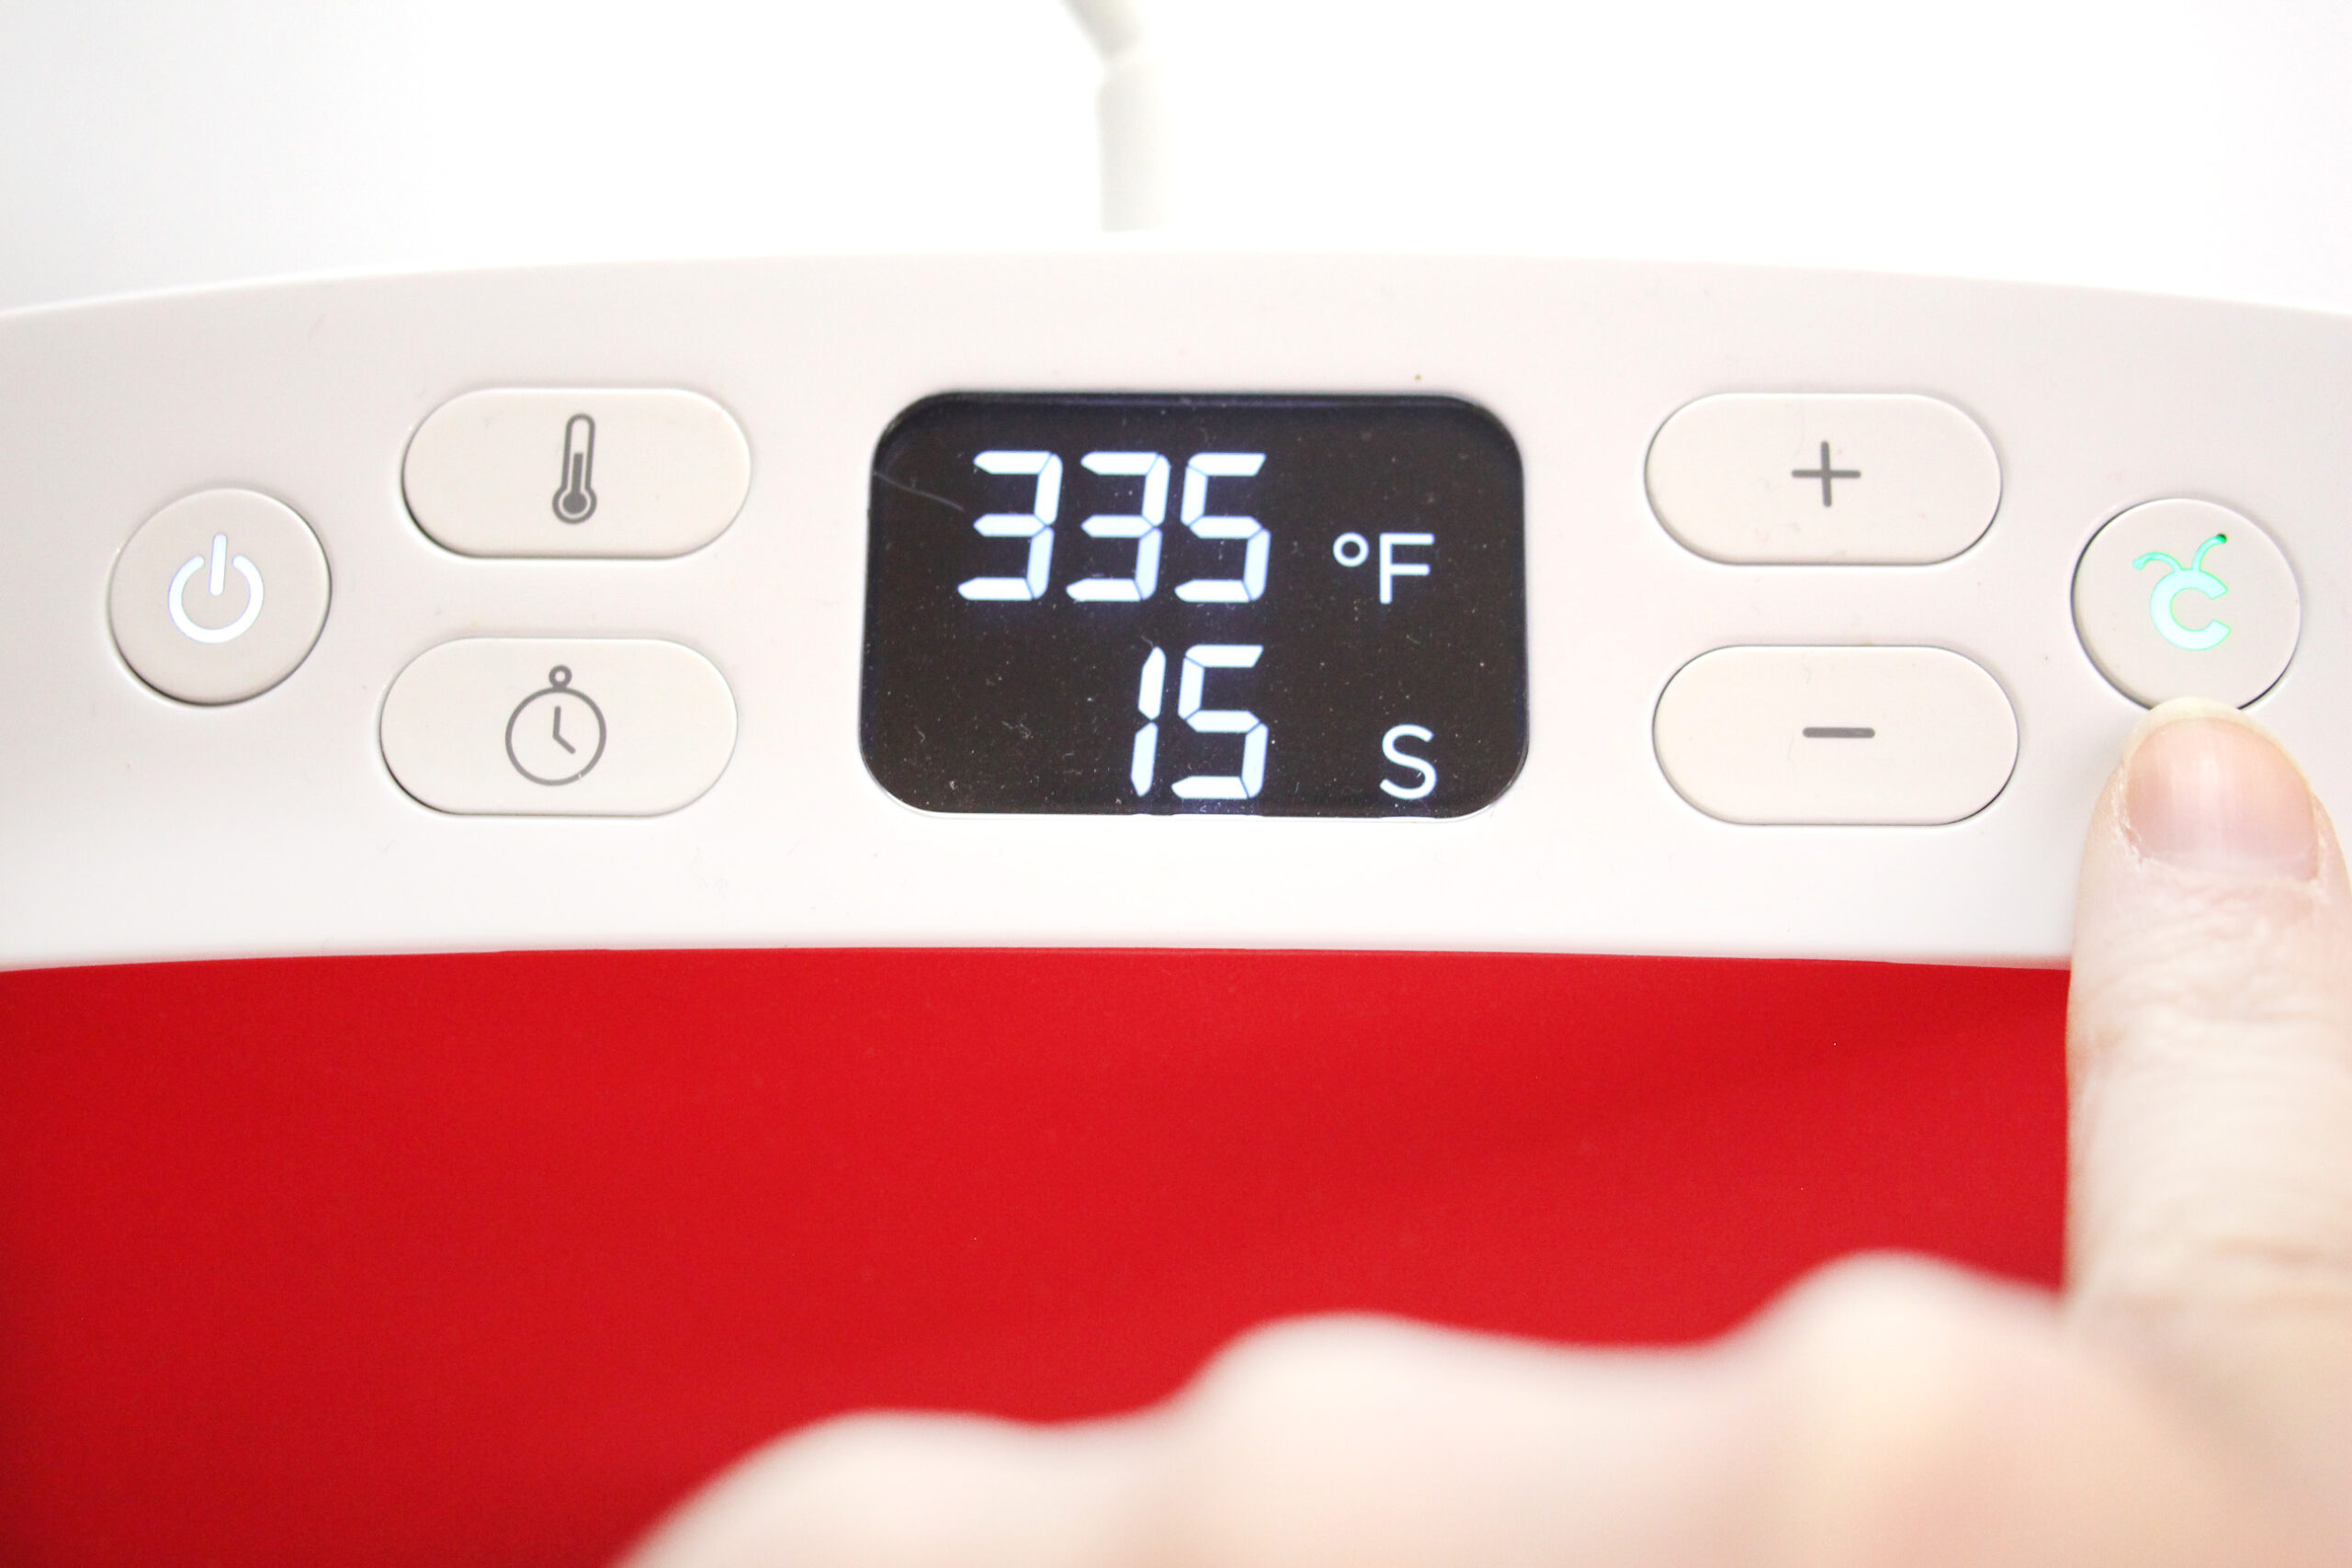
- Next, set the temperature by pressing the temperature button and adjusting the temperature with the “+” and “-” buttons. If you are unsure about what temperature to set it to, the Cricut EasyPress heat guide can be found here. Finally, set the timer by pressing the timer button and adjusting the time with the “+” and “-” buttons. The pressing time for specific fabrics and vinyl combinations can also be found in the Cricut EasyPress heat guide.
- When the EasyPress 2 is at the set temperature, it will beep and the “Cricut” button will turn green. This means it is ready to use.
- Place a Cricut EasyPress Mat onto your surface. The mat protects your working surface from the heat of the EasyPress 2.
- Place your material onto the mat and preheat the material for 5 seconds. If you are using something like a shirt or a bag, place the mat inside your item. Preheating removes wrinkles and moisture from the material and ensures that the vinyl adheres well.
- Center your HTV design onto the material. Place the EasyPress 2 on top of the design and press the “C” button. This will start the timer countdown. Apply light pressure to the EasyPress 2. It will beep when the timer reaches zero. After the beep, remove the EasyPress 2 from your vinyl and place it back in its holder.
- Peel off the carrier sheet, paying close attention to if your vinyl requires a warm peel or a cool peel. This information can be found on the Cricut EasyPress heat guide.
MORE HEAT TRANSFER VINYL AND SVG TUTORIALS
- A Beginner’s Guide to Heat Transfer Vinyl
- The Best Way to Layer Heat Transfer Vinyl
- How to Cut Heat Transfer Vinyl
- How to Use SVG Files
LOVE IT? PIN IT!