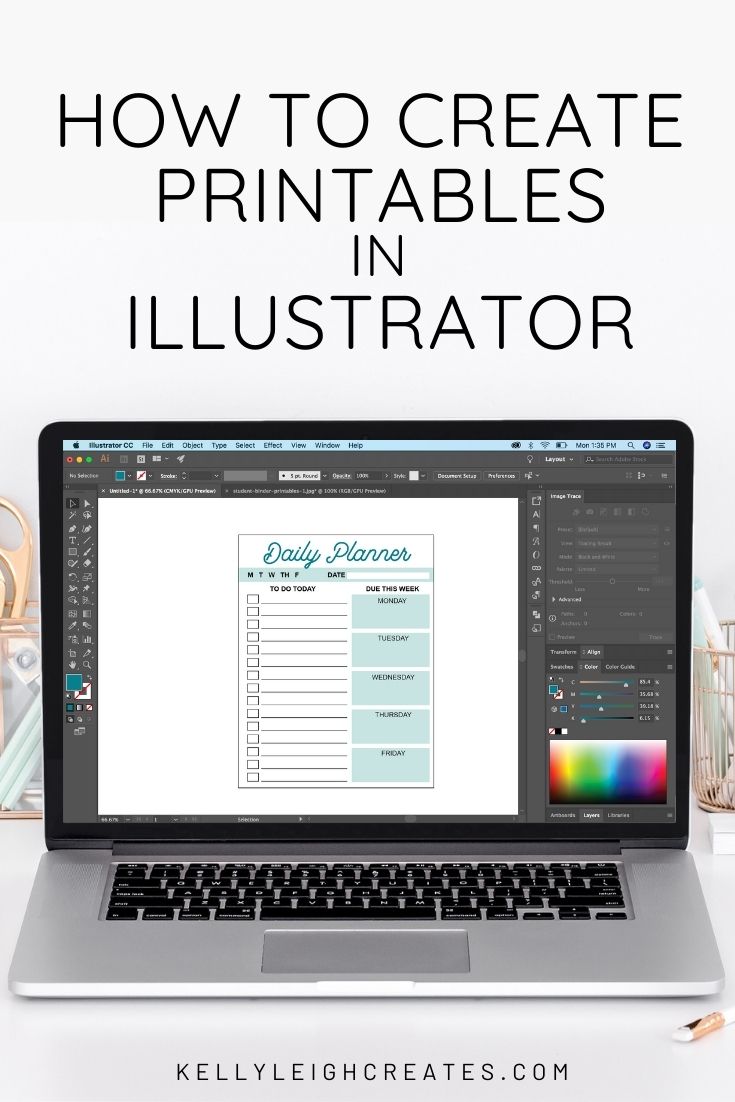
How to Create Printables in Illustrator
Learn how to create printables using Illustrator and this easy tutorial. This will teach you how to make a simple planner page.
I’ve been designing printables for the past decade. It started with my son’s first birthday decorations and then opened an Etsy shop designing custom birthday invitations. Over the years, I’ve made so many printables and used a lot of different programs to make them. In the past 3-4 years, I’ve taught myself the basics steps to create printables in Illustrator. Illustrator used to seem very daunting to learn. It has TONS of tools and capabilities but you don’t need all of the tools to create gorgeous printables. Today I’m going to show you just how easy it is to create printables in Illustrator.
WHY USE ILLUSTRATOR INSTEAD OF PHOTOSHOP
When I first started designing printables, I used Photoshop and Photoshop Elements instead of Illustrator. There is nothing wrong with using these programs, I even wrote an eBook on Photoshop Elements for Graphic Design. However, the big difference between Photoshop and Illustrator is that Photoshop is based on pixels (raster) and Illustrator is based on vectors. With vectors, you have the ability to scale your designs up without losing any quality and your designs do not become blurry when you scale them up. Contrast that to raster graphics that cannot be scaled up without losing quality and becoming blurry. Vector graphics will have crisp, clean edges when scaled up and raster graphics will not.
HOW TO CREATE PRINTABLES IN ILLUSTRATOR
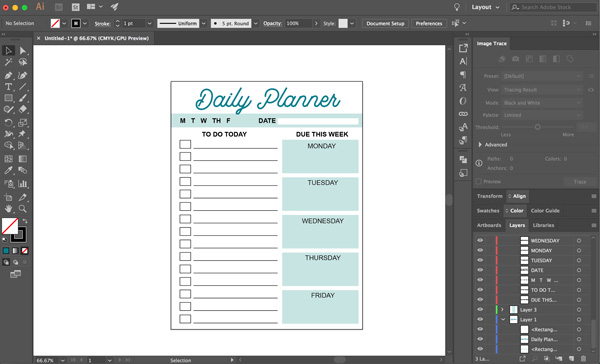
I have a tutorial about creating an invitation using Illustrator which teaches you how to use text and clip art to create printables. Today I’m going to show you how to use the shape tool to create a printable planner page. I used this planner page as part of my student binder printables that I created for my kids’ online schooling. Once you learn how to create the basic printable design, you can modify it to fully customize it for yourself.
STEP 1
Open up Illustrator and set up your document. For basic print designs, you’ll be setting up an 8.5″x11″ document. Make sure it is set to CMYK and 300 DPI. CMYK is the color profile used for print. Once you set your document dimensions and color profile, your artboard will appear on the screen.
STEP 2
Using the shape tool from the left-hand column, choose the rectangle tool (shortcut M) and draw out one long skinny rectangle and one short and fat rectangle.
Set the stroke and fill to the color of your choice by clicking the color picker (square in left panel) and entering the hex code. The aqua color I’m using is #c8e3e1. Position the rectangles on the document using the selection tool (shortcut V). Click and drag to move.
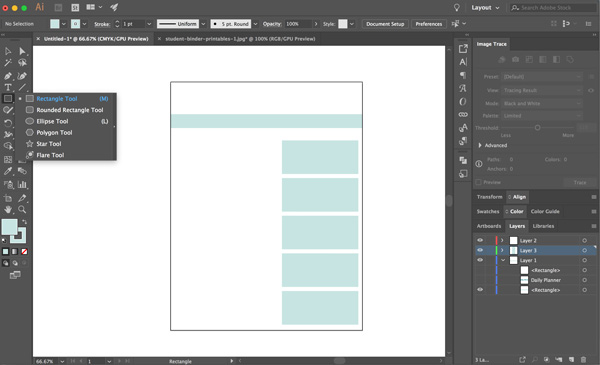
STEP 3
To duplicate the rectangle on the right-hand side, select the rectangle and hit ALT and SHIFT while you drag the rectangle down. This will make a copy of the rectangle. Next, hit CMD-D to fill the column with rectangles. CMD-D duplicates the last action that you performed.
STEP 4
Create a long and skinny white rectangle and move it into place for the date.
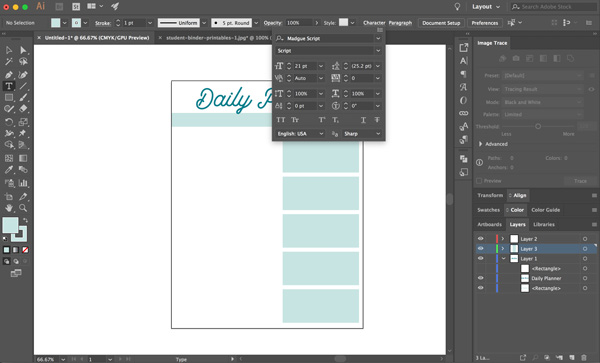
STEP 5
Create the text by choosing the text tool (shortcut T). Change the font and size in the character panel. Move the text into place. If you are looking for a fun font to use, be sure to check out my two fonts, Happy Hour and Low Tide. You can also find some of my favorite hand-lettered fonts here. For this example, I’m using Madgue Script font. Change the color of the text with the color picker tool.
Add additional text in a simple font. I used Arial.
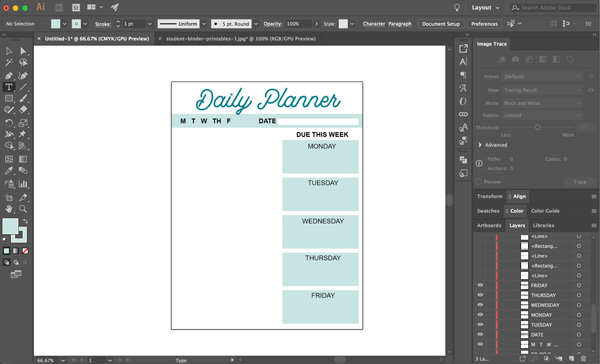
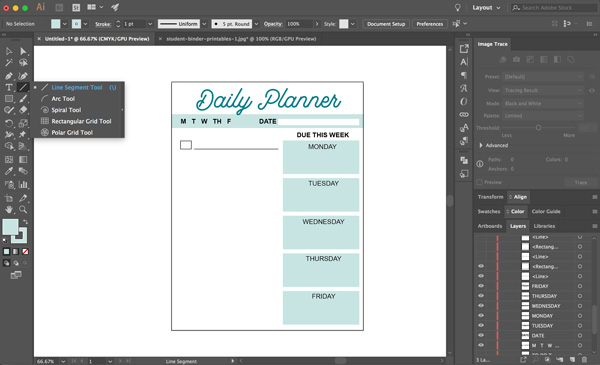
STEP 6
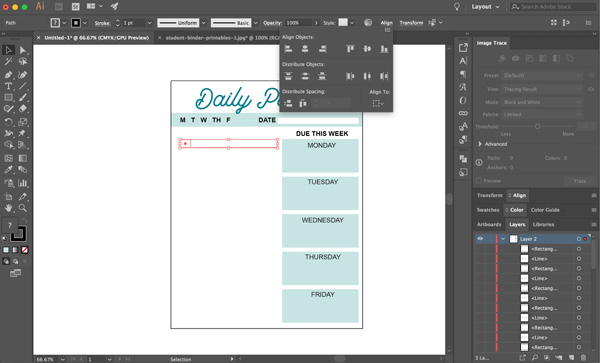
Using the rectangle tool, draw a small box with a black stroke and no fill. Next to it, draw a line with the line segment tool. Align the box and the line by selecting them and choosing Vertical Align Bottom from the alignment panel. Duplicate the box and line to fill the page by repeating STEP 3.
STEP 7
At this point, your planner page should be complete. Save it as a PDF.
MORE GRAPHIC DESIGN TUTORIALS
- The Ultimate Guide to Creating Printables
- How to Create an Invitation in Illustrator
- How to Create Printables in Canva
- How to Make Printables with Photoshop Elements
- How to Create Printables in Photoshop
LOVE IT? PIN IT!