
How to Create Rainbow Lettering in Procreate
Learn how to create rainbow lettering in Procreate and take your designs up a notch!
Ever since I got my iPad Pro a few years ago, I have been obsessed with using it to hand letter. I do still use pen and paper but the Procreate app just allows me to do so much more. I love scrolling through Instagram and looking at all the beautiful designs that people create with Procreate and I love it when they share the steps that they used to make the design. So today I’m going to share with you how to create rainbow lettering in Procreate.
HOW TO CREATE RAINBOW LETTERING IN PROCREATE
There are many different ways to create a rainbow lettering in Procreate. Today I’m going to show you one way to do it. You’ll need an iPad Pro, an Apple Pencil and the Procreate app.
Open up a new canvas in Procreate. The size doesn’t matter. If I am creating a piece that I know will be printed out, I usually size it at 8×10 or 5×7 but for anything else, I just use screen size.
Create a new layer by tapping on the “+” sign in the upper right.
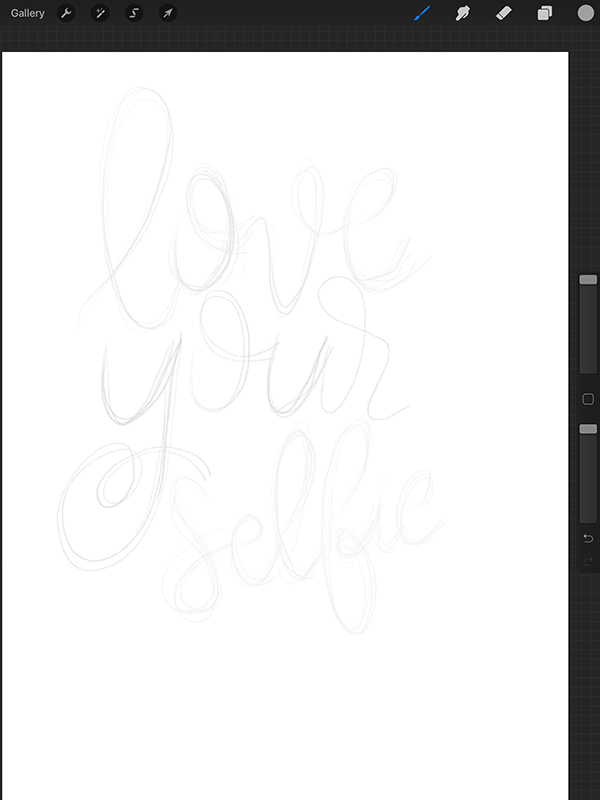
SKETCH YOUR LETTERING
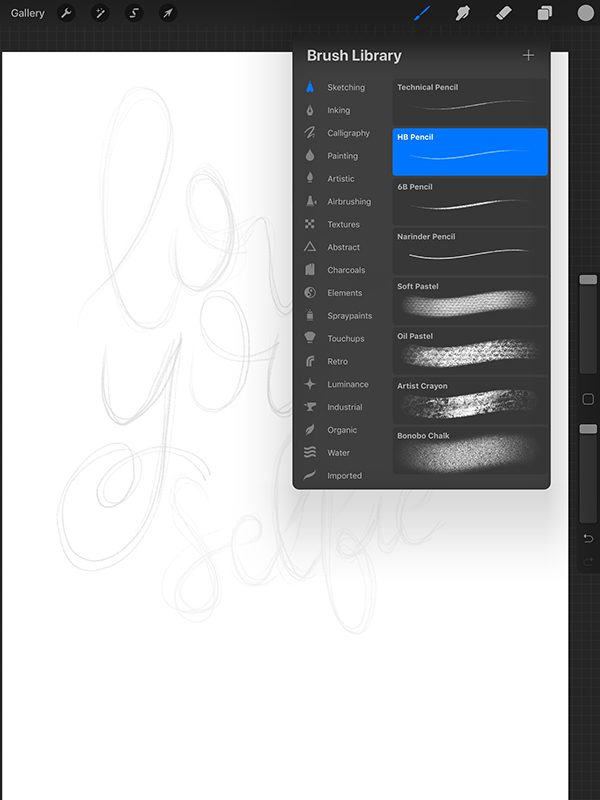
Pencil in your lettering. I use the HB pencil under Brush Library to sketch my designs.
LETTER WITH A SCRIPT BRUSH
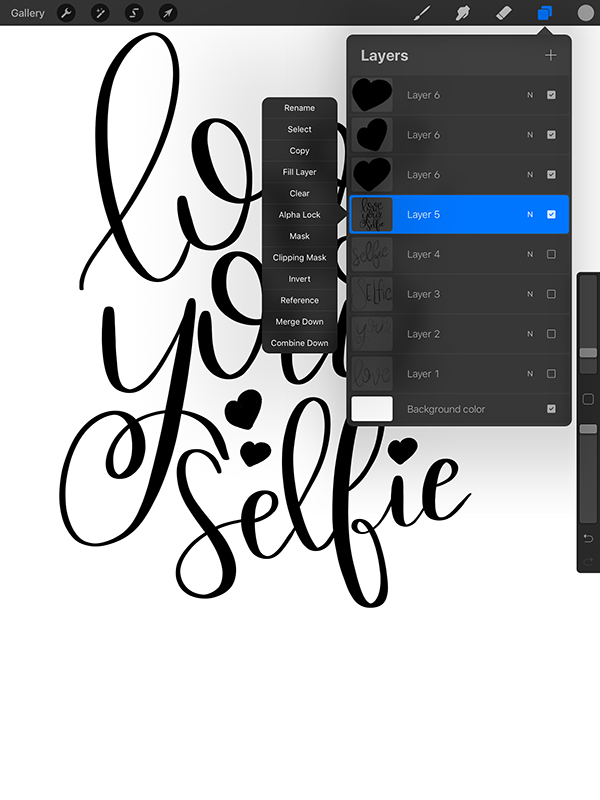
Choose a brush and set the color to black. I usually use a basic script brush but you can use whatever you want. Designers offer lots of free procreate brushes so just do a Google search to find one that you like. Letter your text and then duplicate your text layer. This is so you always have the original layer to go back to if you mess up. But honestly, you can’t really mess this up. Turn off the original layer by unchecking the box to the right of the layer.
ADD A RAINBOW EFFECT TO LETTERING
Tap on the text layer and select ALPHA LOCK. This makes it so that whatever color you choose next is only going to be painted onto the letters and not onto any other layer.
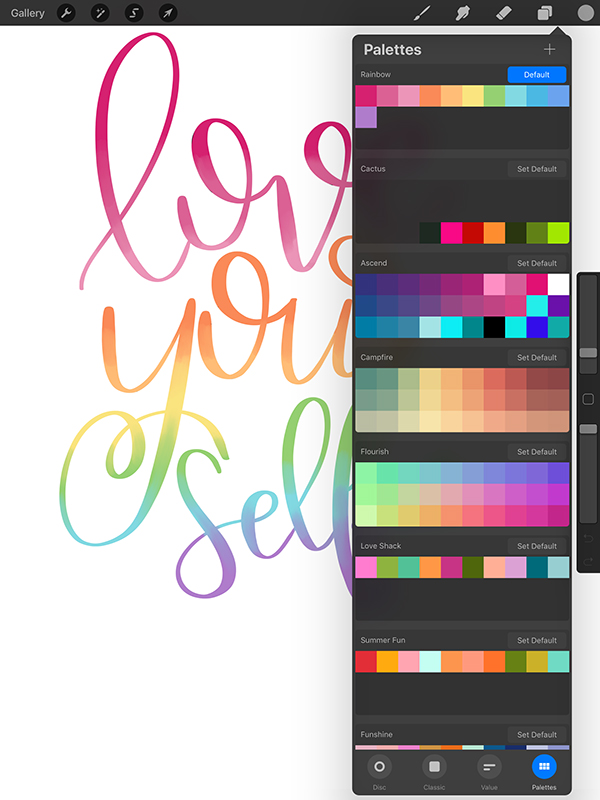
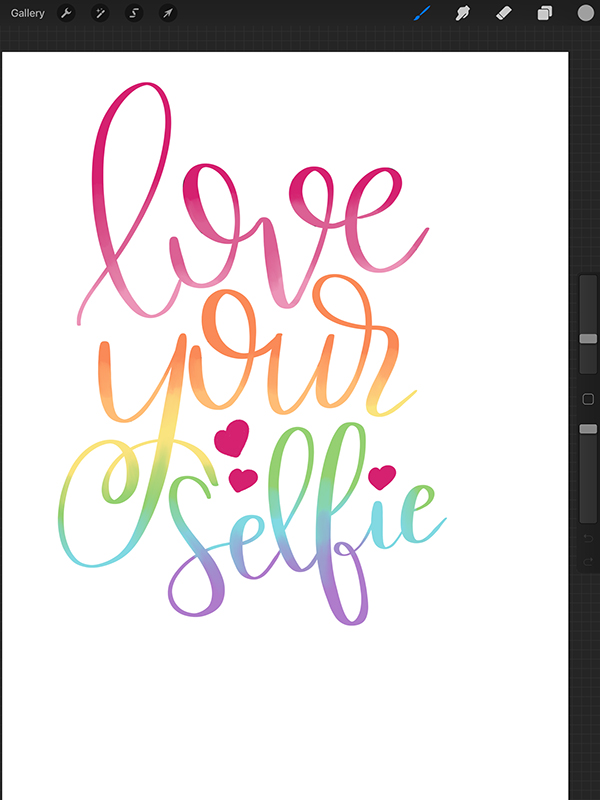
Visually divide your text into the number of different colors that you want to use. Since this is a rainbow tutorial, I’m using 7 colors. You can find color palettes on Google. Choose your first color from the color palette and paint onto the text. Repeat this for every color that you want to use.
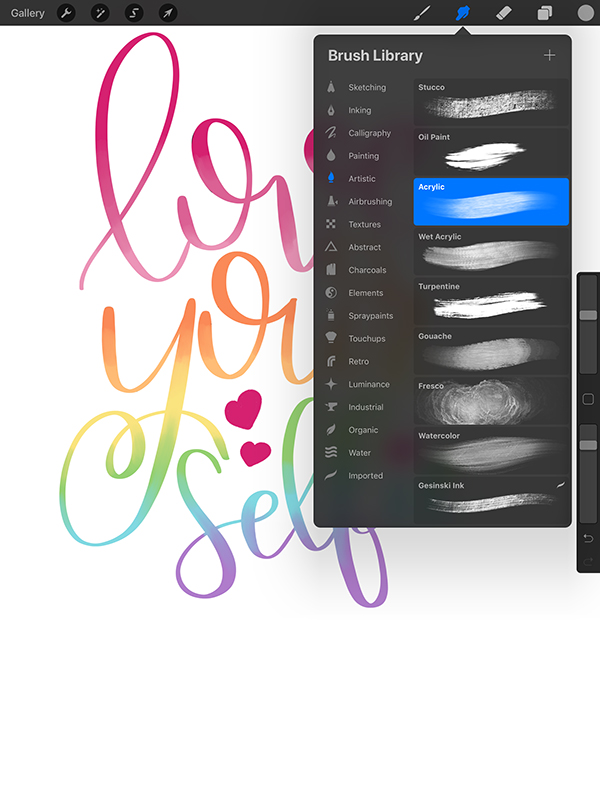
After all the colors are painted, click the smudge tool and use your Apple Pencil to smudge and blend the colors together. You can choose any type of brush with the smudge tool, just like when you created your lettering. I used an acrylic brush with the smudge too. You can also use your fingers to smudge instead of the Apple pencil. Remember if you don’t like the way something is looking, just use the “back” button to erase your last step.
So what do you think? Do you like this method of creating rainbow lettering in Procreate? Do you want more Procreate tutorials? Let me know in the comments!
LOVE IT? PIN IT!
YOU MAY ALSO LIKE
How to Create Watercolor Brush Lettering In Procreate
How to Create Galaxy Brush Lettering
How to Hand Letter on the iPad Pro
How to Use Hand Lettering Practice Sheets in Procreate