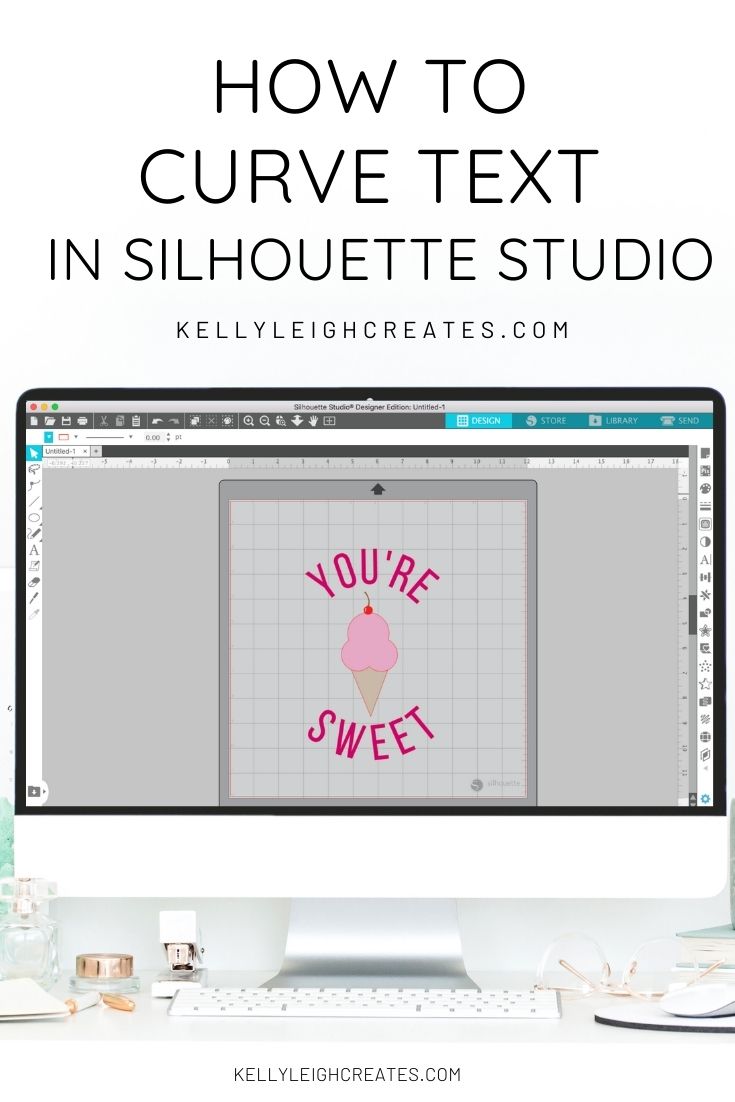
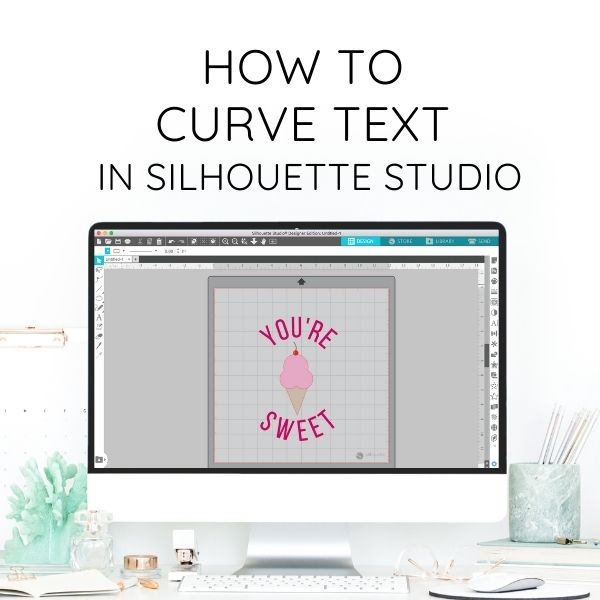
How to Curve Text in Silhouette Studio
Learn how to curve text in Silhouette Studio to create fun and unique designs!
I’ve been creating custom designs in Silhouette Studio for years. I use this program to make designs for projects like shirts, mugs, and wood signs. When you learn how to curve text in Silhouette Studio, a whole new set of project possibilities opens up. You can place text around pretty much any shape by today, I’m going to show you how to curve text around a circle. This is the perfect tutorial if you want to make circular logos, decals, or any other design with curved text.

HOW TO CURVE TEXT IN SILHOUETTE STUDIO
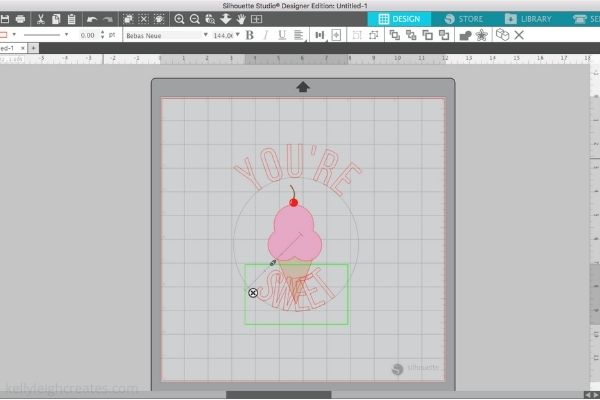
When you curve text in Silhouette Studio, you are placing text along a path, similar to what you would do in Adobe Illustrator. That path can be any curved shape but today I’ll be placing text on a circle. I’m going to use an ice cream design that I created and show you how to curve the text “You’re Sweet” around it. If you would like to see how to create the ice cream cone, you can learn how to create SVG files in Silhouette Studio here.
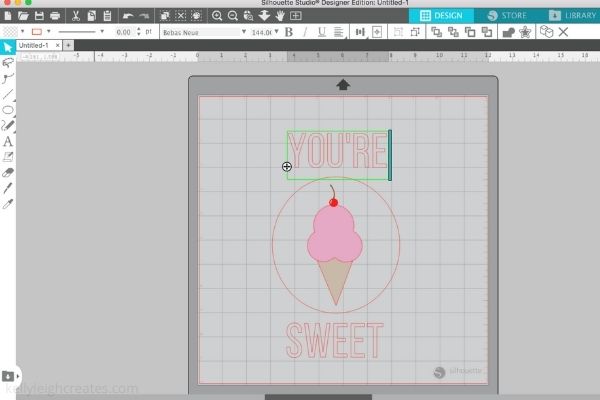
TYPE OUT YOUR TEXT IN A TEXT BOX
First, you need to type out your text. Access the text tool option by clicking on the “A” in the left menu bar. Type out your text and choose your font and size from the drop-down menus at the top. I’m using the font Bebas Neue. I suggest choosing a non-script font because a script font can look wonky when you place it around a curve. Create two separate text boxes; one with the word “You’re” and one with the word “Sweet”.
CREATE A PATH
Next, you’ll need to create a path for your text to curve around. To create a path, click on the drawing tools icon on the left side panel and draw a perfect circle by holding down the shift key while clicking and dragging. Size your circle appropriately. If you don’t want to use a perfect circle, you can also draw an oval.
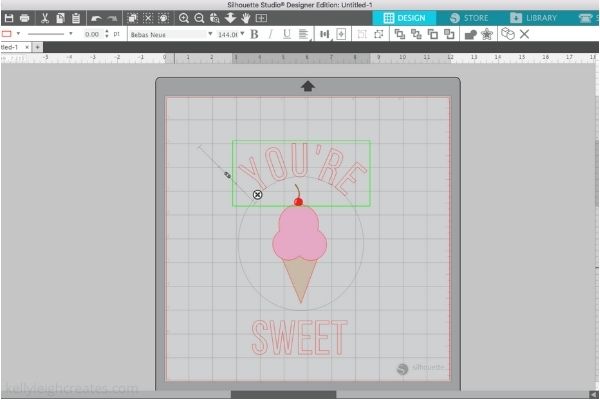
CURVE TEXT AROUND PATH
To curve the text around the circle, first double click on the text. When you do this, a green box will appear around the text. There will also be a black circle with a four-pointed arrow in the bottom left corner of the text box. Click on the black circle and drag the text on top of the circle you just drew. The text will snap to the circle and curve around it. If you need to adjust the spacing between the letters, you can do so by adjusting the Character Spacing located under the Text Style Panel in the right tool menu.
Repeat this process with the word “Sweet”, to place it around the bottom of the circle. When you drag the text onto the bottom portion of the circle, it will look like this (see below). To adjust the text and place it on the outside of the circle, adjust the position and spacing of the letters with the slider bar.

CONVERT THE TEXT TO PATH
The next step is to convert the text to a path. When you have your text positioned exactly the way you want it, select all the text and click OBJECT>MAKE COMPOUND PATH” in the top menu. Alternatively, you can click on the modify panel on the right side of your screen and choose “MAKE” under “COMPOUND PATHS” This turns the text into a path instead of individual letters. After you make the text a compound path, the text editing mode is no longer available. The text is now a shape and the individual letters and font size can’t be adjusted. Once the text is converted to a path, you can delete the circle and the text will stay in its curved shape. If you are using this design as a Print and Cut, open the Fill Panel (right menu) and choose a fill color.

I hope you found this tutorial on how to curve text in Silhouette Studio helpful. Please consider sharing it so others can find it.

Check out the posts below for more Silhouette tutorials.
MORE SILHOUETTE TUTORIALS
- How to Weld in Silhouette
- How to Use Fonts in Silhouette Studio
- How to Use Silhouette Sketch Pens
- How to Create SVG Files in Silhouette Studio
- Best Fonts for Silhouette and Cricut
LOVE IT? PIN IT!