How to Make 3D Lettering in Procreate
Learn how to make 3D lettering in Procreate! Add interest to your lettering by making it pop off the page with this easy tutorial. A great way to learn hand lettering on the iPad and perfect for beginners.
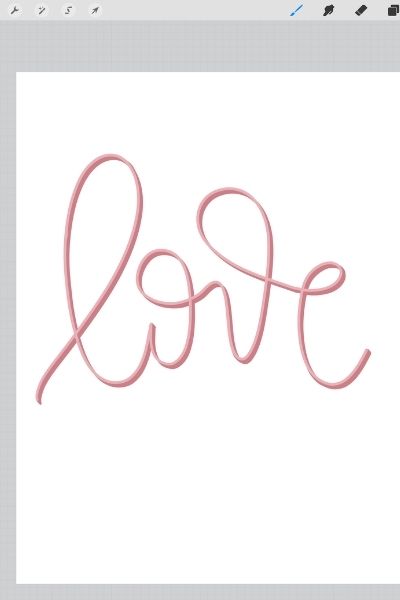
Ever wonder why a piece of lettering by one designer looks amazing and a piece by another designer looks just so-so? A lot of times it has to do with the details that are added to the lettering, specifically shadows, highlights and dimension. I’m always looking for ways to make my lettering more visually appealing and I have found that one of the easiest ways is to make my lettering 3D. If you follow me on Instagram, you can see what I mean from the recent lettering designs that I have created. Today I’m sharing how to make 3D lettering in Procreate so you can turn your lettering from blah to beautiful.
HOW TO MAKE 3D LETTERING IN PROCREATE
First things first, if you are a beginner, make sure to check out my Intro to Procreate post, and also this post on how to write in Procreate Now, on to the 3D lettering!
METHOD 1
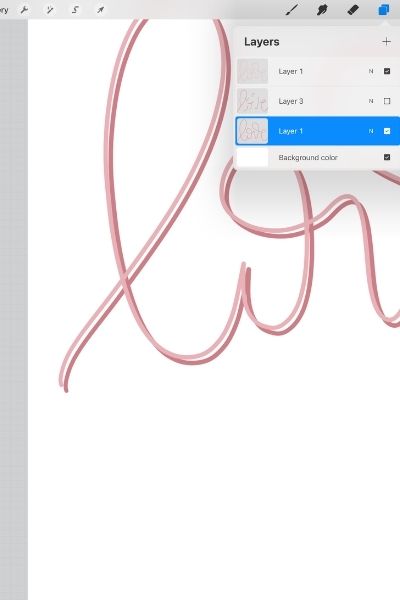
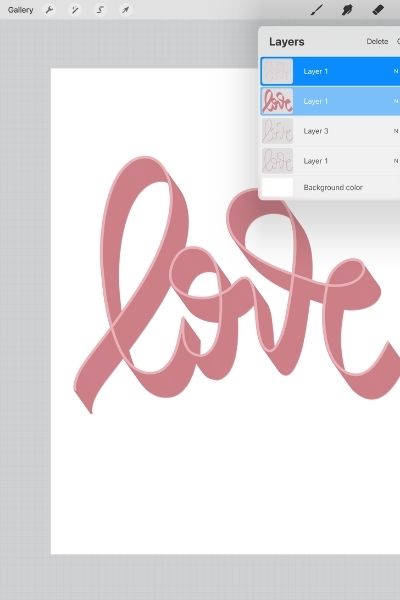
The first way to create a 3D effect for your lettering is to simply duplicate your lettering layer and adjust it slightly down and to the left. To do this, swipe left on the lettering layer and tap “duplicate”. This will make an exact copy of the lettering.
Next, fill the duplicate layer with a different color by tapping on the layer and choosing “Select” then “Fill” from the flyout menu. I usually choose a darker shade of my lettering color.
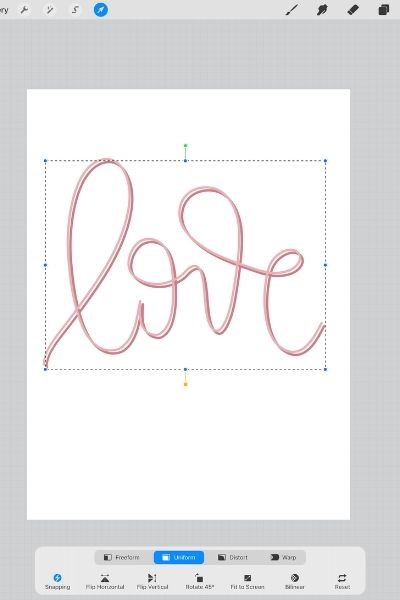
Select the duplicate layer in the layers panel and tap the selection tool in the upper left. A box will form around your text, allowing you to move the text down and to the right.
Use a monoline brush to fill in the gaps between the letters with the same color as the 3D layer.
METHOD 2
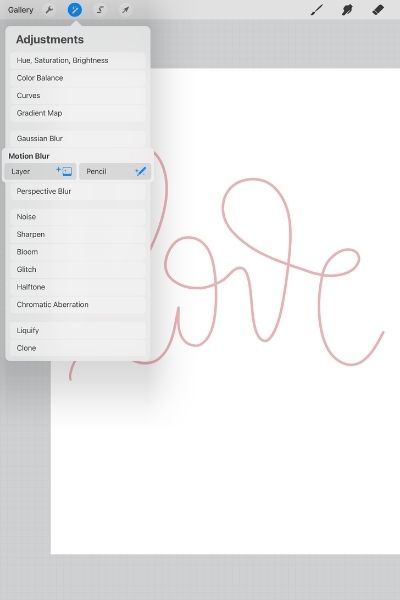
The next way to create 3D lettering is by using the motion blur tool. This method results in a thicker 3D effect. Duplicate your lettering layer as you did in method 1. Uncheck the top layer to hide it and leave the bottom layer selected.
Choose the motion blur tool under the Adjustments panel (upper left) and blur the layer by placing your pencil at the bottom right corner of the lettering and dragging your pencil down and to the right.
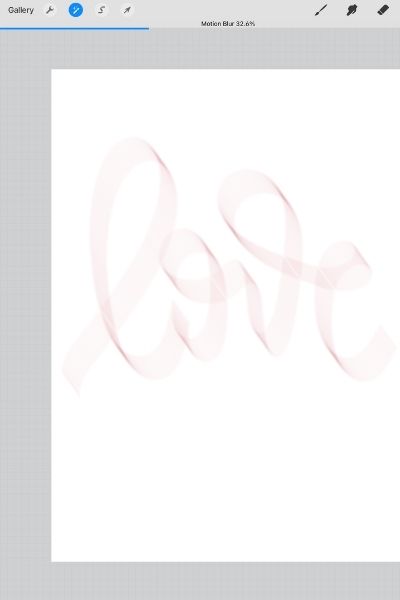
After you have blurred the lettering, select the blurred layer and fill it with a color as you did in method 1. You will have to select and fill the layer multiple times to fill it completely.
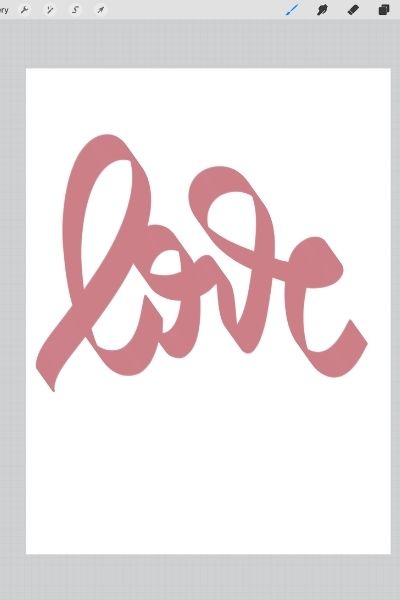
Choose the selection tool in the upper left and move the 3D layer down and to the right, lining up the edge with the original layer.
If you use this tutorial to create any lettering, I’d love to see your work. Please tag me @kellylcreates so I can see!
MORE PROCREATE PRACTICE TUTORIALS
- How to Create Color Palettes in Procreate
- How to Use Masks in Procreate
- How to Create Blended Backgrounds in Procreate
- How to Install Brushes in Procreate
- 5 Must-Have Procreate Brush Packs
LOVE IT? PIN IT!