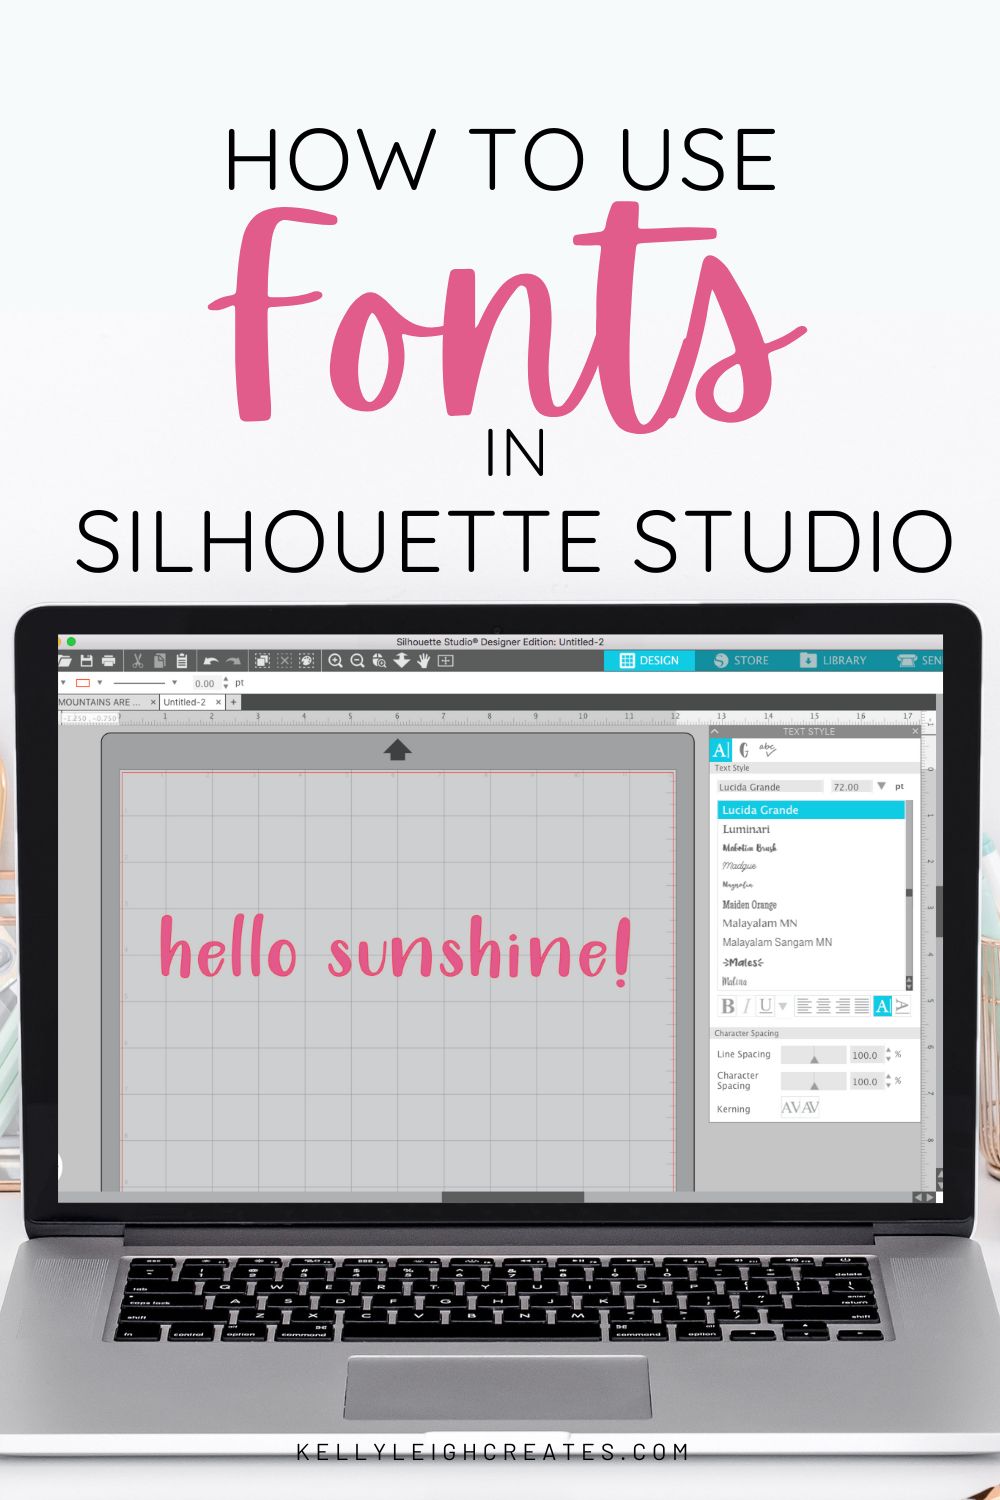
How to Use Fonts in Silhouette Studio
Learn how to access, use and modify fonts in Silhouette Studio to create beautiful and unique designs.
With Silhouette Studio, you can use any font that you have on your computer. Yep! Any and every single font that you have downloaded (hoarded) is available for you to use in the Silhouette software. Today I’m going to show you how to get those fonts into Silhouette Studio and how to use and modify custom fonts and Silhouette fonts so you can create beautiful designs.

If you learn better via video, make sure to check out the video tutorial.

HOW TO INSTALL FONTS IN SILHOUETTE STUDIO
Installing fonts in Silhouette Studio is super easy. When you install a font onto your computer, it becomes available in Silhouette Studio. If your downloaded fonts are not showing up in Silhouette Studio, close the Silhouette software and re-open it. If you install new fonts while the software is open, the fonts won’t load until Silhouette Studio is closed and re-opened.
THE BEST FONTS TO USE IN SILHOUETTE STUDIO
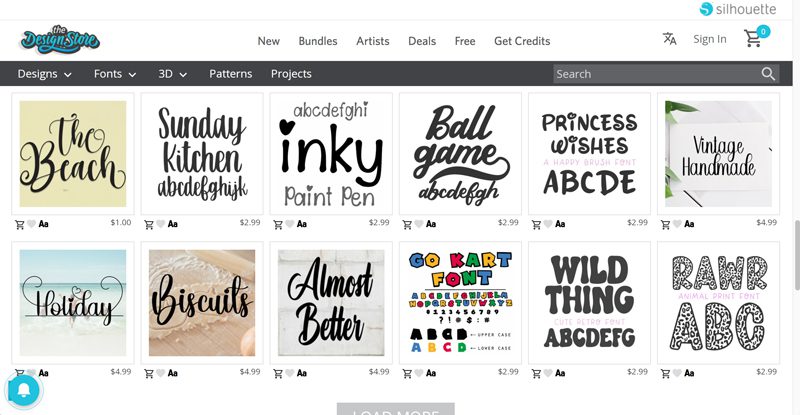
When choosing fonts to use in Silhouette Studio, remember that if you will be cutting this design, you need to choose fonts that are easily cuttable. The best types of fonts to use for cutting projects are thick or chunky with smooth edges. If you try to use a font that is too thin, it may not cut well and you will have a hard time weeding it.
The same goes for fonts that have a lot of texture and rough edges. These types of fonts will not cut well and are better suited for print and cut designs.
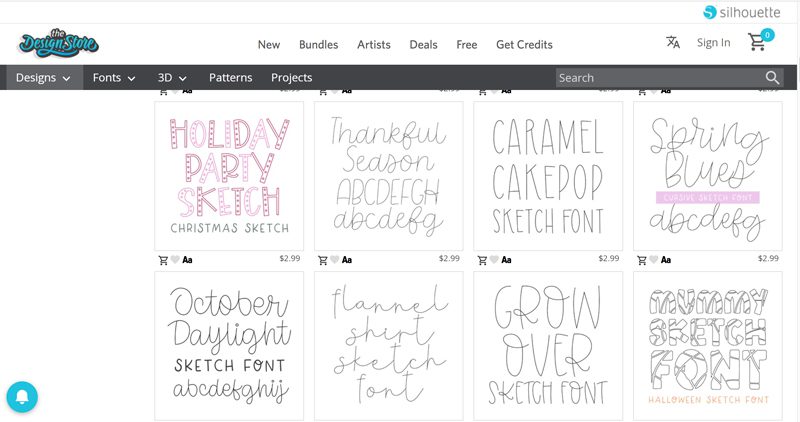
If you are using the sketch feature in Silhouette Studio, you’ll want to choose sketch fonts or single line fonts specially made for use with Silhouette sketch pens.
WHERE TO FIND FONTS TO USE IN SILHOUETTE STUDIO
When searching for fonts to use in Silhouette Studio, the best place to purchase a font is through the Silhouette Design Store. All the fonts in the Silhouette Store are created to work well with Silhouette Studio.
The other place that I recommend for fonts is Creative Market. You can purchase a commercial use license from Creative Market which will allow you to sell the products you make with the font. I’ve also put together a post on the best places to find commercial use fonts. There are also plenty of sites with free fonts to download that work well as Silhouette fonts. However, make sure you are using the correct license when downloading free font files because most font creators don’t offer a commercial use license with free fonts. Most free fonts come with a personal use-only license. You also need to make sure that the font is PUA encoded. When a font it is PUA encoded, it is able to be used in cutting machines.
HOW TO EDIT TEXT
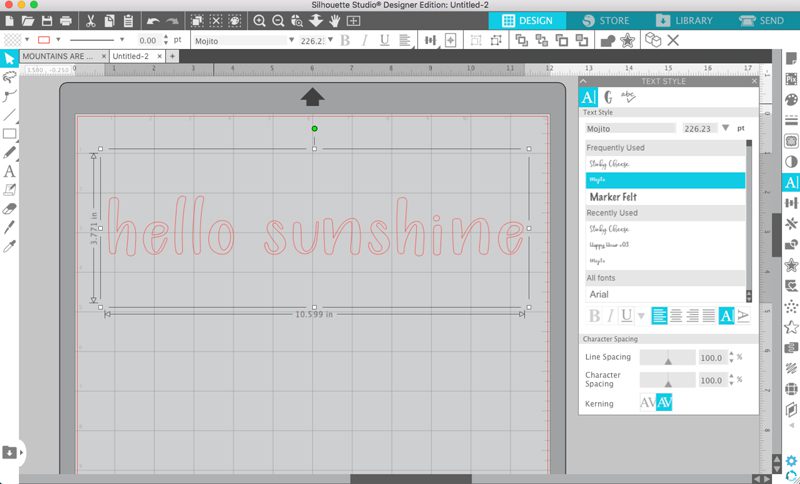
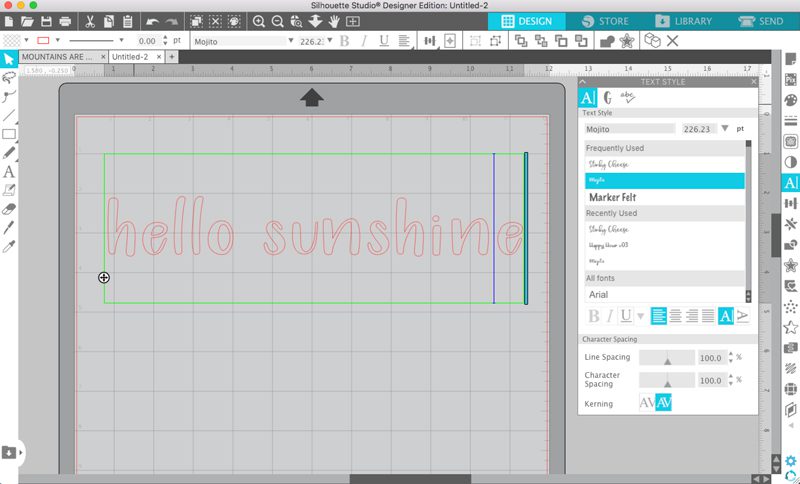
The text tool is located on the left side of the screen. Click on the “A” and type out your text. It defaults to Lucida Grande but you can change the font to any font that you have on your computer. Change the font by using the Text Style Panel or the dropdown menu at the top of the screen. You can change the font size in Silhouette Studio with the dropdown menu at the top or by dragging the corners of the text box to increase or decrease the size of the text.
To edit the text, double-click in the text box and a cursor will appear. You can now edit the text just like you would if you were using a text editing program.
HOW TO USE FONT GLYPHS
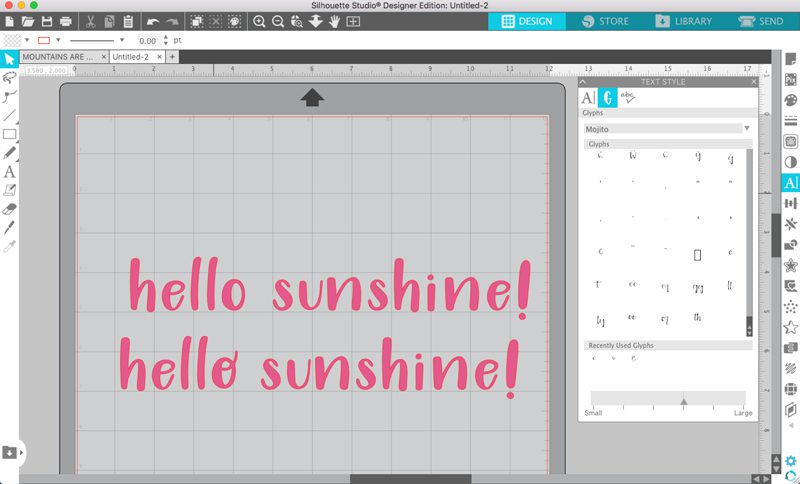
Font glyphs are accessible if you have Silhouette Studio Designer Edition or above. Glyphs are the extra special characters (including ligatures) and swashes that come with some fonts. Glyphs are contained in the open type font (OTF) file so if you have the choice between the true type font (TTF) file and the OTF file, always choose the OTF.
To access glyphs in Silhouette Studio, open the Text Style Panel and click on the “G” at the top. This brings up all the glyphs in the font. To change the text, highlight the letter you want to change and click the glyph you want to use. In the example below, I changed the “o”.
HOW TO USE SCRIPT FONTS
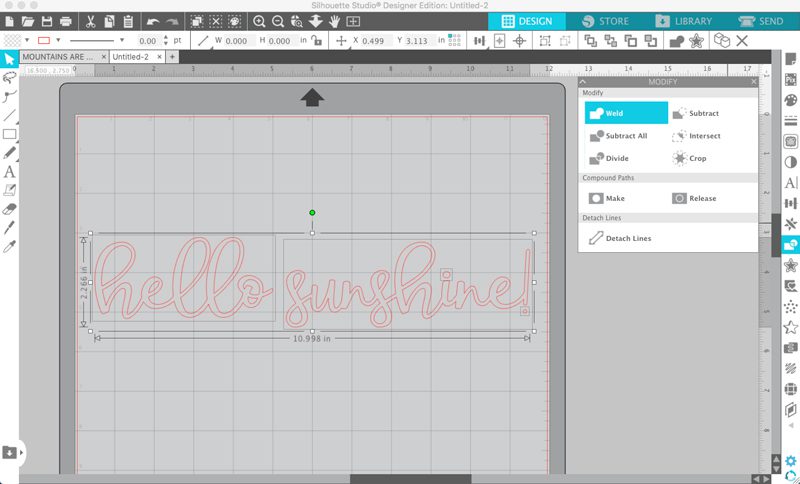
Script fonts are a popular style that are used with a Silhouette. When designing with script fonts, you need to perform an extra step before cutting your font. Because of the way script fonts are made, each letter overlaps the next one and results in the cut lines overlapping.
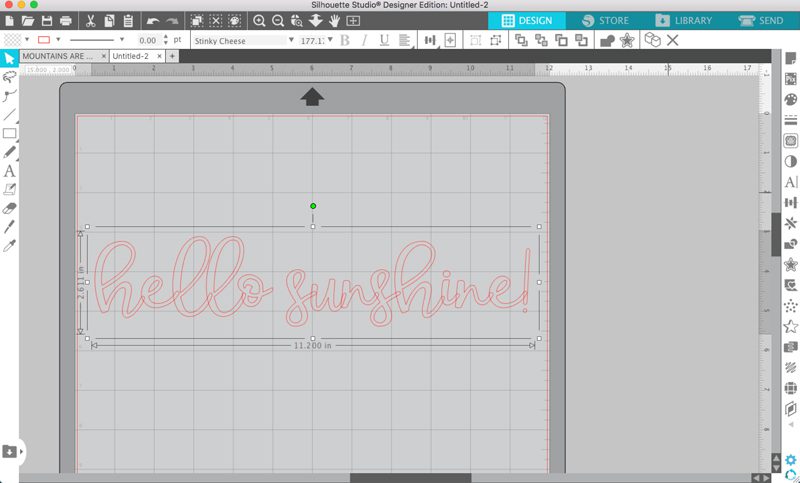
To remove the overlap and cut the font in one piece, you need to attach the letters together by using the weld tool.
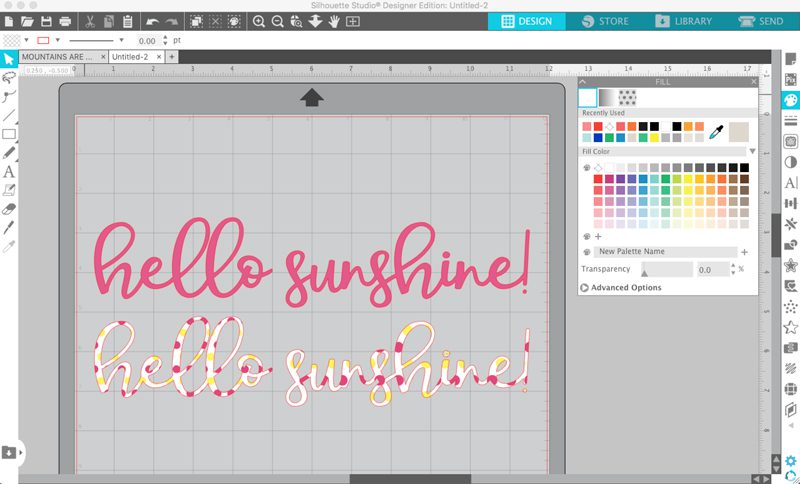
HOW TO FILL FONTS WITH COLOR AND PATTERN
If you are using the print and cut feature in Silhouette Studio, you’ll want to fill your fonts with color or patterns. To do this, select your text and open the Fill Panel on the right side. Then click on the color or pattern that you want to fill your text with. Filling text with color is also useful if you want to cut by color.
HOW TO CREATE CURVED TEXT
Creating curved text is useful if you are creating things like labels or circular vinyl decals. To curve text around a circle, first draw a circle and type out your text. Next, select the text by double clicking and drag it on top of the circle until the text snaps to the circle. For more detailed info, check out this post on how to curve text in Silhouette Studio
MORE SILHOUETTE STUDIO POSTS
- How to Use Silhouette Cameo 4: A Guide to Getting Started
- How to Use SVG files: Tips, Tricks & Ideas
- How to Import Files Into Silhouette Studio
- How to Weed Vinyl
- A Beginner’s Guide to Heat Transfer Vinyl
- How to Cut By Color in Silhouette Studio
- How to Separate SVG files into Layers