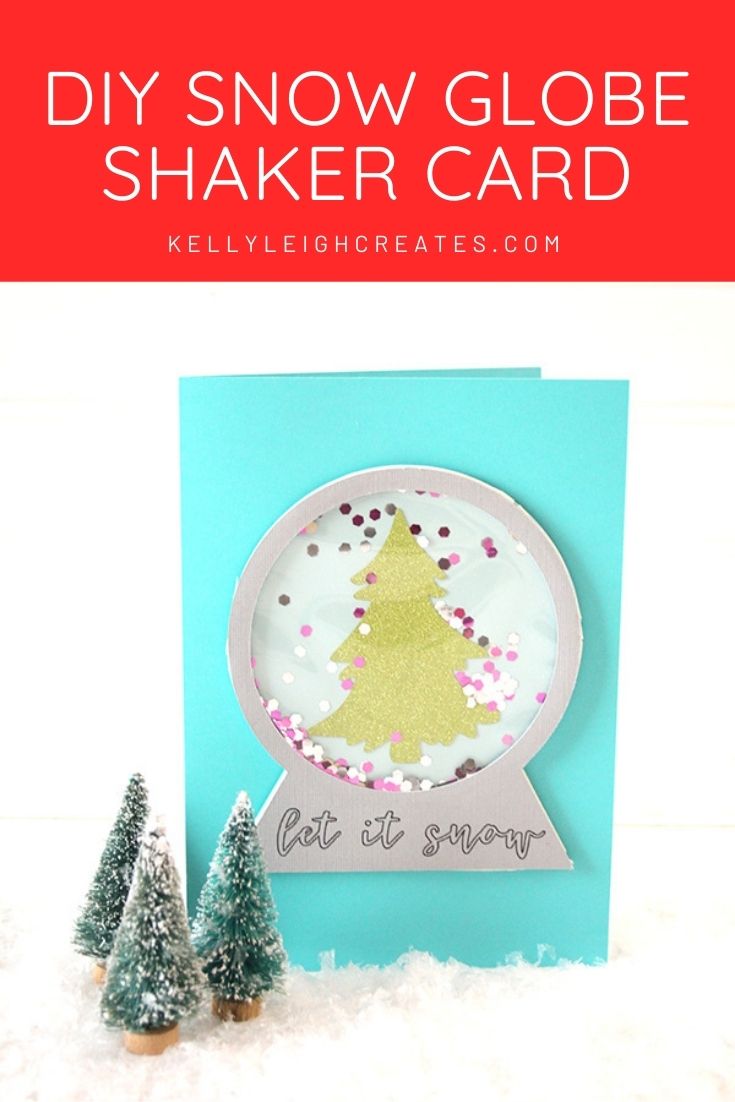
DIY Snow Globe Shaker Card

Make this fun snow globe shaker card to send to friends and family this holiday season.
I’m a bit obsessed with snow globes. I love turning them upside down and watching the snow slowly fall around the scene inside. Today I’m showing you how to make this fun snow globe shaker card with your Silhouette or Cricut machine.
SNOW GLOBE SHAKER CARD SUPPLIES
- Snow Globe SVG file (download instructions below)
- Silhouette or Cricut
- Silhouette sketch pens
- Weeding tools
- Cardstock
- Clear tacky glue
- Double sided foam tape
- Thin sheet of acetate
- Glitter
How to Make a Snow Globe Shaker Card
First things first. Here are some basic posts on SVG files and Silhouette Studio. If you are a beginner when it comes to Silhouette Studio or need a refresher, make sure to read these posts first.
- Download the SVG file from my resource library, free to my email subscribers.
- Open Silhouette Studio and click File>New Project Wizard>Card. This will create a 5×7 card with a score mark down the middle.
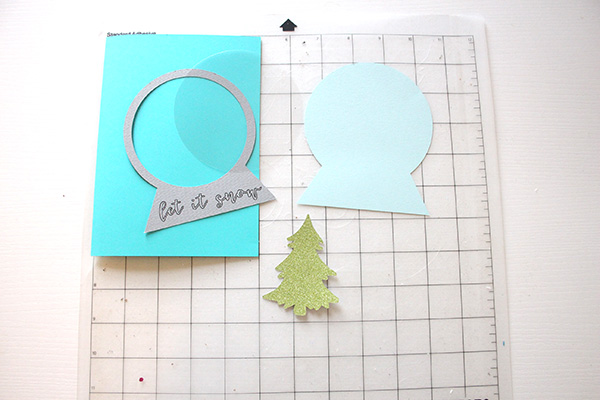
- Cut out the card using the cut function for the border and the score function for the center.
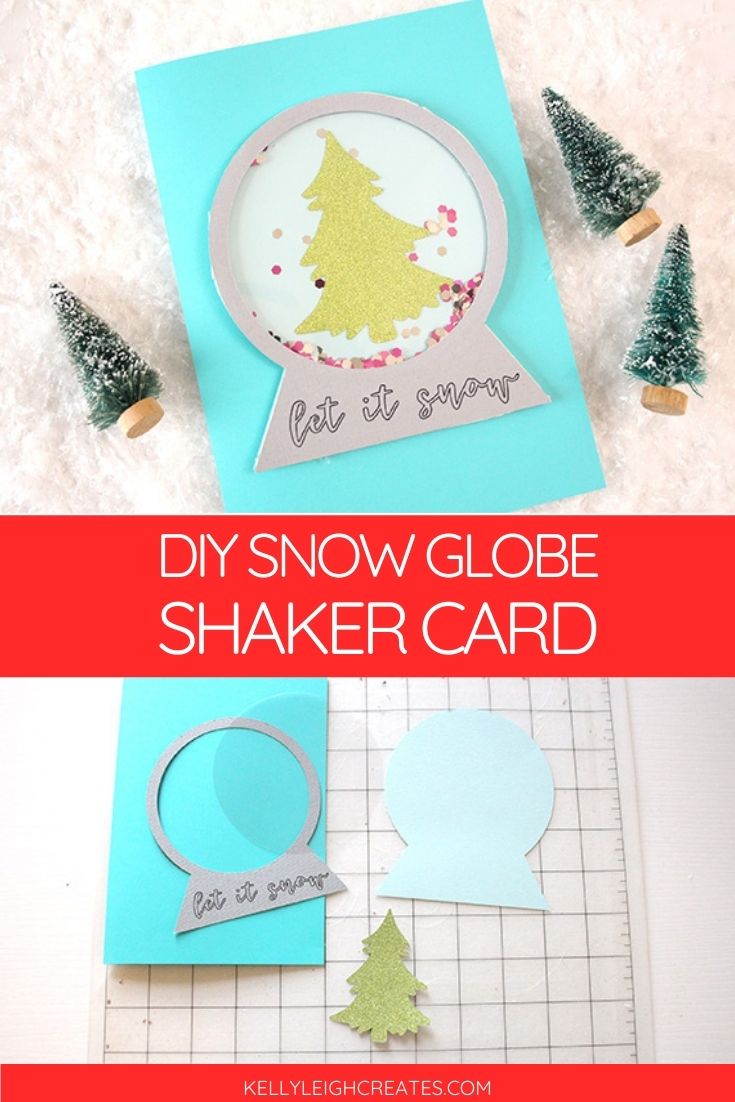
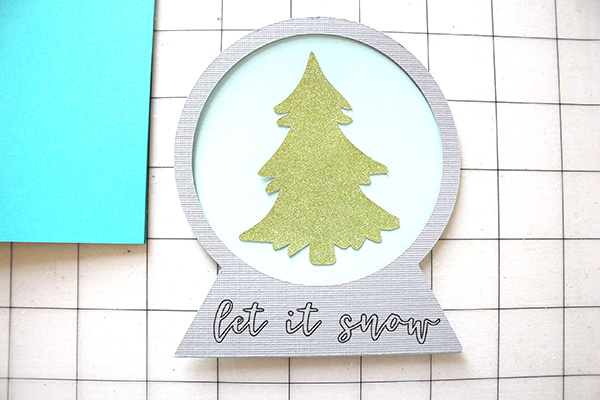
- Cut out the snow globe SVG onto different colors of cardstock. For my project, I chose a blue and green color palette. I used fun green glitter cardstock for the tree, textured gray cardstock for the snow globe and regular blue cardstock for the card and the back of the snow globe. I used the colors that I had on hand so if you don’t have the traditional red and green holiday colors, use what you do have!

- Before removing the cardstock from your mat, use Silhouette sketch pens to sketch “let it snow” on the bottom of the snow globe. If you do not want this sketched, simply set that layer to “no cut”. See how to use Silhouette sketch pens here.
- Attach the tree to the bottom layer of the snow globe with glue. Position it in the center of the globe opening.
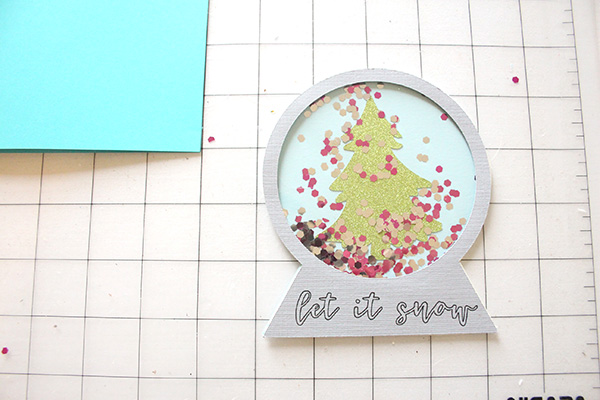
- Attach the acetate sheet to the back of the front piece of the snow globe. Use a very thin line of clear tacky glue around the edge so you don’t get any glue seeping out of the edges.
- Place double-sided foam around the snow globe and pour some glitter on top of the tree.
- Place the top layer of the snowglobe onto the double-sided foam.
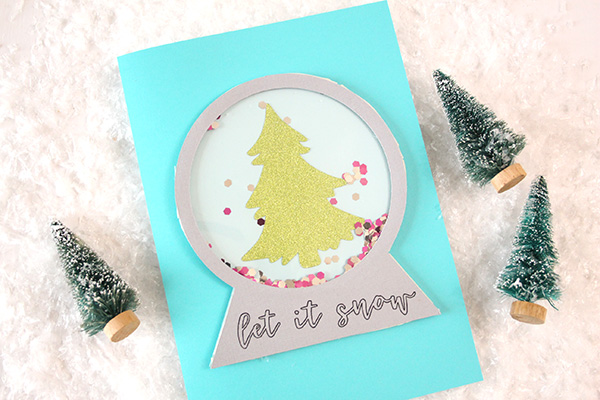
- Attach the snowglobe to the card and you’re done.
SVG FILE FAQs
How do I open these files in my Silhouette software? First, download the file and save it to your computer. If it is a zip file, unzip it. Next, open your Silhouette software and click FILE>OPEN and navigate to where you saved the file. You can also import the file(s) to your Silhouette library by clicking FILE>LIBRARY>IMPORT TO LIBRARY and navigating to where you saved the file.
Can I open SVG files in the Silhouette Basic Edition? No. You must have Silhouette Designer Edition to open SVG files. If you have Silhouette Basic Edition, you can only use STUDIO files. STUDIO files are specific to Silhouette. You can also use PNG files with Silhouette Basic Edition but you’ll have to first convert the PNG to a cut file.
Can this file be used with a Cricut? Yes. Any SVG file can be used in Cricut Design Space.
How do I cut out this SVG using multiple colors? If you would like to use multiple colors of vinyl, you can cut by color in the Silhouette software. Cutting by color allows you to cut each color separately and layer the pieces on the final project.
MORE HOLIDAY PROJECTS
Christmas Gift Tags with Silhouette Sketch Pens
Easy Silhouette and Cricut Christmas Projects
Buffalo Check Christmas Ornaments


LOVE IT? PIN IT!