
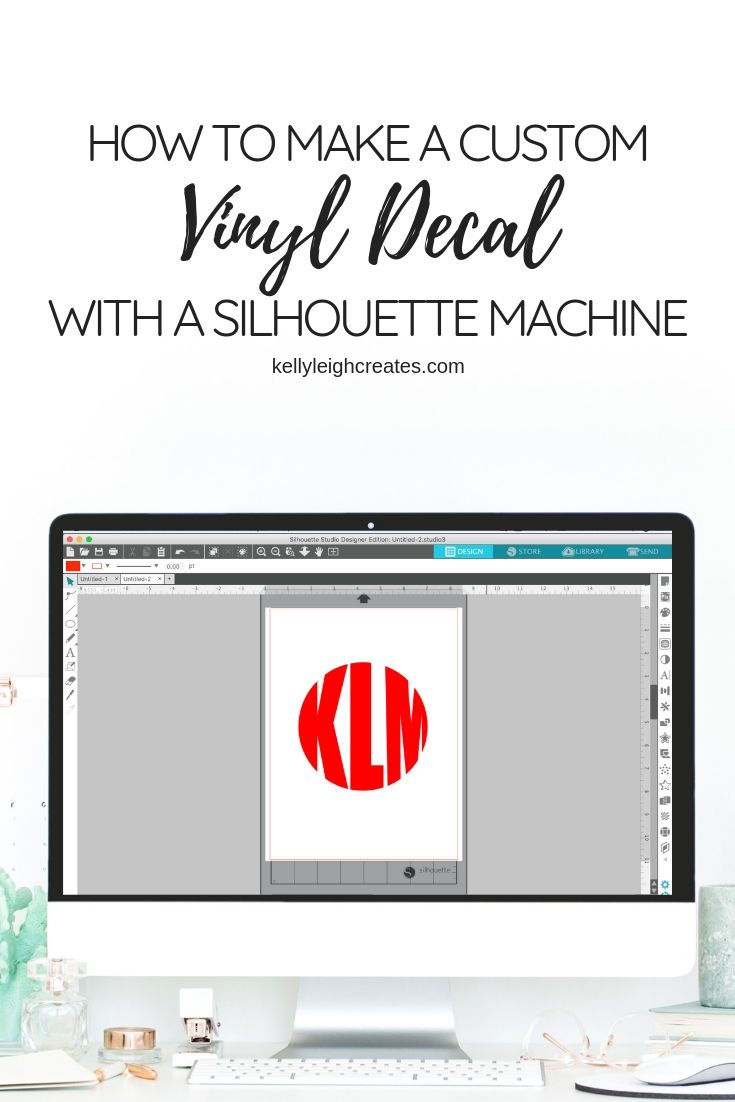
How to Make a Vinyl Decal with a Silhouette Machine
Learn how to make a vinyl decal using a Silhouette machine!
Have you ever wanted a custom vinyl decal that no one else has? Maybe you want something really unique for your car window or your tumbler? You search and search on Etsy and just can’t find quite what you are looking for. And if you do find it…maybe it’s just a bit more than you want to spend. If you own a Silhouette machine, you can make a vinyl decal with this easy tutorial.
I love creating things with vinyl. I’ve made so many custom wooden signs that my attic is ready to explode! My friends have been asking me to make vinyl decals so I thought I’d put together a tutorial on how to do it.
VINYL DECAL SUPPLIES
First things first, you are going to need a Silhouette machine and some vinyl for this tutorial. The type of vinyl that you get makes a difference. If you are planning to use your decal on something that gets wet (like a car window) or something that gets washed (like a tumbler), you will need a permanent outdoor waterproof vinyl. I recommend Oracle 621 vinyl. If you are not using your decal on a surface that will get wet, you can use non-permanent vinyl.
You will also need transfer tape and weeding tools.
HOW TO MAKE A VINYL DECAL WITH A SILHOUETTE
There are several ways to make a vinyl decal.
- Use a premade image (make sure it is not copyrighted) – When using a premade image, you’ll need to import the image into Silhouette Studio and convert it to a cut file. Follow this tutorial to learn how to convert a JPEG or PNG to a cut file.
- Use your own artwork – If importing your own artwork, the process is the same as above. Import your artwork (scan it or take a photo) as a JPEG or PNG and convert to a cut file. You can create your art with pen and paper or even on an iPad using the Procreate app. Just make sure it is a simple design that will cut well.
- Design a decal in Silhouette Studio – Designing a decal in Silhouette studio is a different process than the steps listed above. The video below will step you through how to create a simple monogram to use as your decal.
CREATE A MONOGRAM IN SILHOUETTE STUDIO
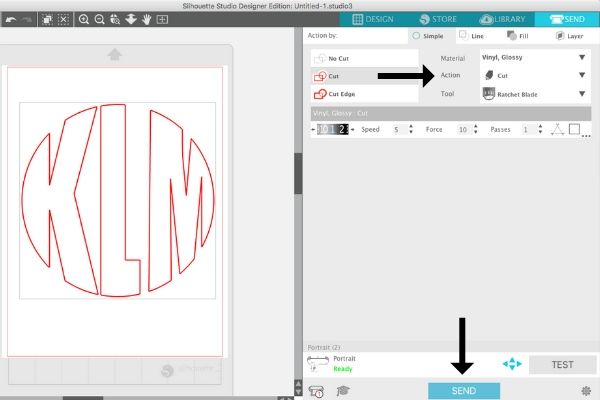
Once you have designed/imported your artwork into Silhouette Studio and converted it to a cut file, you are ready to cut it out. Resize your image if needed, load your vinyl, select your material, set the blade depth, and hit the “send” button.
If you want to use this tutorial to make vinyl decals for shirts, you’ll need to mirror your image before you cut it. Also, be sure to use heat transfer vinyl instead of regular vinyl. You can find a guide to heat transfer vinyl here.
After the vinyl is cut, weed out the extraneous pieces. You now have a completely custom vinyl decal that’s ready to be placed! You can now use it as a vinyl car decal or a decal for cups. Use transfer tape to place your vinyl decal on whatever surface you choose.
WATCH THIS VIDEO TO LEARN HOW TO USE TRANSFER TAPE
LOVE IT? PIN IT!
YOU MAY ALSO LIKE
Customize a Water Bottle with Vinyl
How to Make Stickers with a Silhouette
How to Cut Multiple Colors of Vinyl with Silhouette
The Easiest Way to Layer Vinyl Perfectly Each Time
Just starting out and have watch many tutorials which has been great. Unfortunately none of which explain the absolute basics. So frustrated, I invested a lot of money almost a year ago and haven’t produced a single thing.
Hi Karen! I’m sorry you’re having difficulties. I have many Silhouette tutorials ranging from basic to more advanced. You can find all my Silhouette tutorials here: https://kellyleighcreates.com/category/silhouette/.