
How to Layer Glitter Heat Transfer Vinyl
Want to create a layered design that uses glitter heat transfer vinyl but don’t know how to layer it correctly? Learn how to layer glitter heat transfer vinyl easily with this trick!
Layering heat transfer vinyl is an easy process. Layering glitter heat transfer vinyl is slightly more difficult and you can ruin clothing items if you don’t know how to do it properly. Luckily, I’m here to help with an easy trick so you can layer glitter heat transfer vinyl like a pro.
WHAT IS HEAT TRANSFER VINYL
Heat transfer vinyl (also known as iron-on) is a special type of vinyl that can be ironed onto surfaces such as fabric, wood, and even leather. It comes in many different colors and types such as matte, glossy, metallic, glitter, foil, printable, patterned and even glow-in-the-dark. If there is a color and material combo that you can dream up, you can probably find it in heat transfer vinyl (HTV). HTV includes a clear carrier sheet which means you do not need to use transfer tape when applying HTV. The carrier sheet “holds” your design together so you can iron it on to the surface of your choice.
WHERE TO BUY GLITTER HEAT TRANSFER VINYL
My craft room is overrun with vinyl. It’s probably the second most abundant craft supply I own. There are several places to buy glitter HTV including:
- Craft stores such as Michaels, Hobby Lobby, A.C. Moore and JoAnn Fabrics
- Online at either Cricut, Expressions Vinyl or Amazon. My favorite place for HTV is Expressions Vinyl.
HOW TO LAYER GLITTER HEAT TRANSFER VINYL
The key to layer glitter HTV comes with the set-up of your design in your cutting machine software. The manufacturers of glitter HTV will tell you that glitter HTV can only be used as a top layer but I’m here to show you that glitter HTV can be used as a bottom layer too! It just takes one little modification of your design.
Since I primarily use a Silhouette machine, I’m going to show you how to set up your design in the Silhouette Studio software. However, this can also be done in Cricut Design Space. I’m going to show you how to layer glitter HTV using the knock-out method.
Step 1
Open your design in Silhouette Studio. If needed, separate your design into layers. Need some fun SVG files to use? I’ve got tons of free SVGs here. Be sure to also check out my SVG shop.
Step 2
Line the layers up EXACTLY how you want them cut out. In this example, the light brown is going to be cut in glitter HTV and everything else will be cut in regular HTV. When I adhere this design to my shirt, it will look like the glitter HTV is on the bottom and the text is on top of it.
![]()
STEP 3
Next, select the overlapping layers. In this example, I selected the brown and pink layers. Open the modify panel and click “subtract”. This will cut a hole out of the bottom layer in the shape of the top layer(s). This is called the knock-out method because you are knocking out the bottom layer to accommodate for the top layer. As you can see in the example below, the shape of the pink text has been cut out of the brown layer.
![]()
Step 4
Group all the layers, mirror everything and send to cut. See this tutorial for how to cut by color . The glitter HTV will be one cut and the regular HTV will be another cut.
Step 5
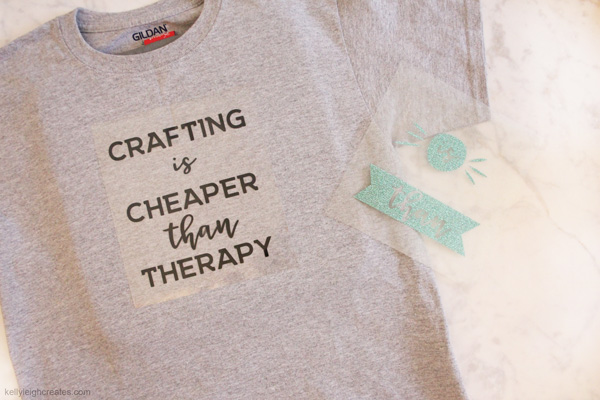
After your design is finished cutting, weed the design. This is how my design looks after weeding.
Step 6
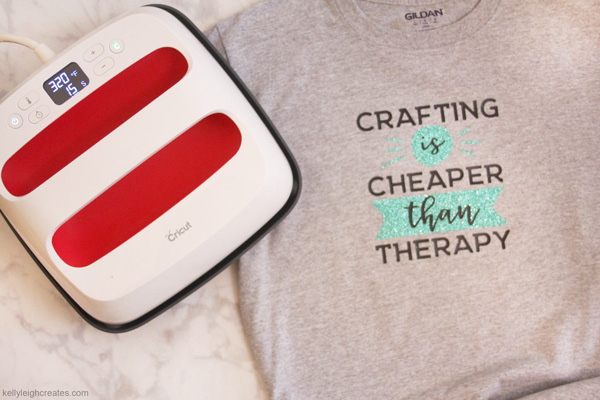
Flip the design over and place the text layer on your piece of clothing. Since this layer will be hit with the heat press twice, we are just going to tack it down. Using a Cricut EasyPress 2 with the temperature set to 335, press it for 5 seconds. Remove the carrier sheet.
![]()
Step 6
Line up the glitter HTV by placing the “knocked out” portion of the design directly over the text. Make sure that this layer does not move when you press it with the EasyPress 2 because you don’t want any gaps in your design. If the carrier sheet for the glitter HTV layer does not fully cover the regular HTV, place parchment paper over the exposed HTV so the EasyPress plate does not touch the vinyl directly.
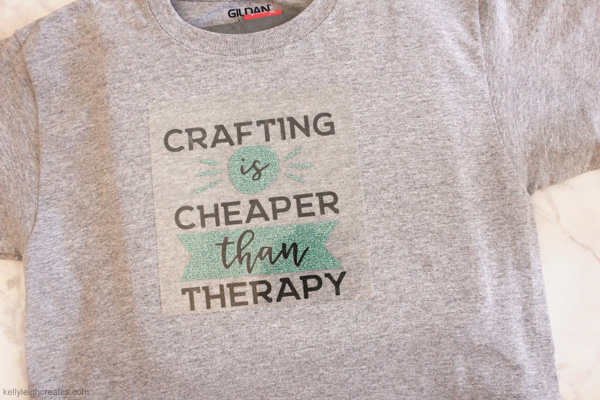
Press both layers for 10 seconds. Remove the carrier sheet and you’re done! Doesn’t it look amazing? Now you have a design that LOOKS like it’s layered when it really isn’t. There is no bulk and since the glitter HTV is adhered directly to the shirt, it will not peel off on the wash.

MORE VINYL TUTORIALS
- The Beginner’s Guide to Heat Transfer Vinyl
- How to Layer Heat Transfer Vinyl
- How to Cut Heat Transfer Vinyl with a Silhouette
- How to Cut by Color with a Silhouette
LOVE IT? PIN IT!
Any idea if you can do the equivalent of “subtract” on a cricut?
Hi Stephanie! In Cricut Design Space, you would use the slice tool. Here is a tutorial: https://inspiration.cricut.com/how-to-use-slice-and-weld-in-design-space/
This is absolutely brilliant! I have a Cricut, but other than slightly different terminology, worked beautifully! Thanks so very much for sharing this.