
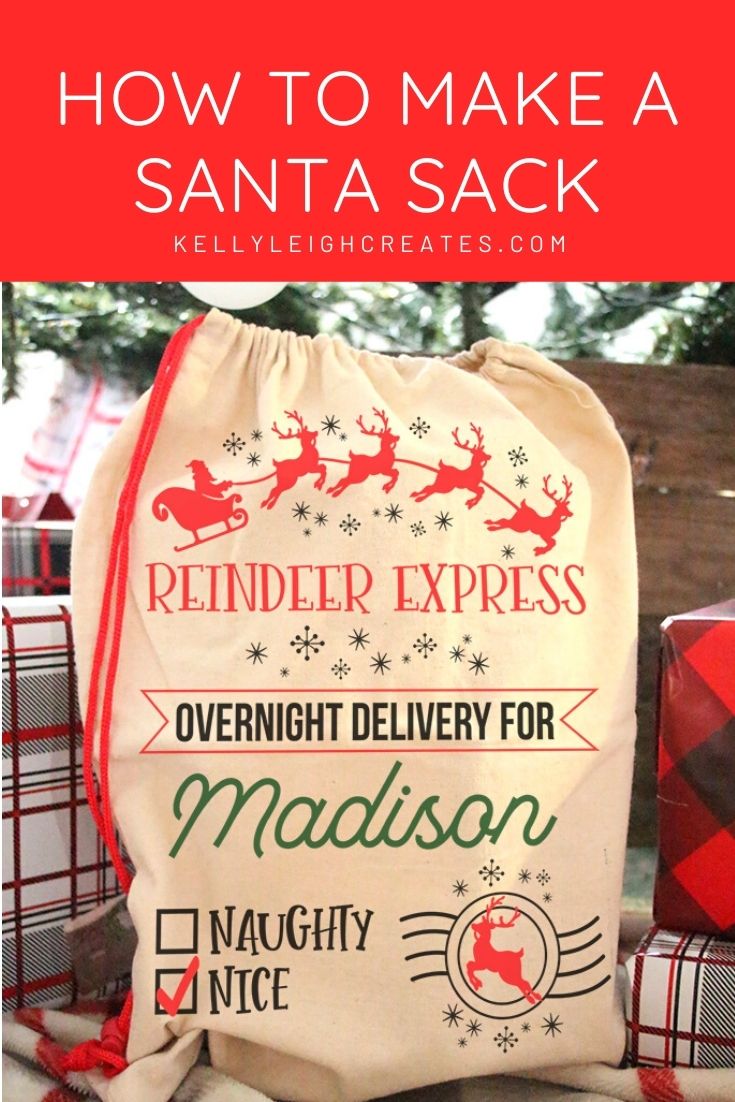
How to Make a Santa Sack

Make a personalized Santa Sack with your child’s name! This easy tutorial will show you how to make a custom toy sack.
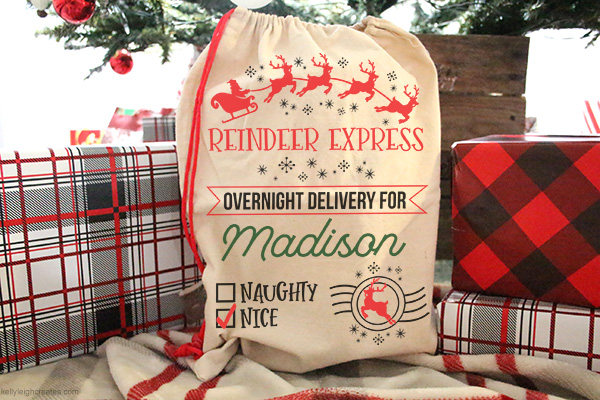
I have been eyeing these Santa sacks for years. Sadly, my children are teens and tweens so the magic of Santa is long gone but I still think these Santa sacks are adorable to make. Your little one will love to see a personalized sack from Santa under the tree on Christmas morning. These sacks are great for “wrapping” bulky items. Today I have an easy tutorial for you on how to make this personalized Santa sack. I’ve also got a free SVG file for you so all you need to do is change out the name. Read on to see just how easy it is.
SUPPLIES FOR SANTA SACK
- Blank sack
- Heat transfer vinyl
- Silhouette machine (Portrait or Cameo)
- Weeding Tools
- Easy Press 2
- Santa Sack SVG file (see download instructions below)
HOW TO MAKE A SANTA SACK
PREPARE THE SACK
First, lay your blank sack out flat. Measure the width and height of the area that you want to place your design on. These are the measurements that you will use when scaling your design in Silhouette Studio.
PREPARE THE FILE
Upload the design to Silhouette Studio and scale it by grabbing the corner handles and clicking and dragging until your design fits your measurements. The free Santa sack file is located in my resource library which is available to my email subscribers. After uploading the file, delete the name and replace it with your child’s name.
Next, mirror your design. This is important because if you do not mirror the design, it will cut out with the adhesive on the wrong side and you definitely do not want that.
CUT THE DESIGN
After your design is mirrored, hit the “Send button” in the upper right. This will take you to the screen where you can adjust your cut and material settings. If you select “fill” you can cut by color. Choose your material from the drop-down and adjust the blade accordingly. I have found that a blade depth of 3 works better than the 2 when cutting Siser Easyweed vinyl. The newer models of the Silhouette have an autoblade that automatically adjusts the blade depth.
Place the heat transfer vinyl onto your cutting mat with the carrier sheet facing down. The carrier sheet is the glossy side. For more in-depth instructions on using heat transfer vinyl, check out this post on how to cut heat transfer vinyl with a SIlhouette.
If you are cutting by color, check the color that you want to cut first and uncheck all the other colors. Load the cutting mat into your Silhouette and hit”send” at the bottom of the screen. This will send your design to cut. Repeat with each additional color
WEED THE DESIGN
Weed the excess vinyl away from your design using weeding tools.
ADHERE THE DESIGN
Flip the design over and place it onto your blank Santa sack. For Siser Easyweed, set the Cricut Easy Press to 335 degrees and press for 15 seconds. This temperature is higher than is recommended on the Cricut website. However, the Cricut website recommendations are specifically for Cricut brand vinyl. The Siser website has recommendations for the Siser brand. Adhere each piece of your design separately. After done pressing, remove the carrier sheet from the design.
All that’s left is to fill the Santa sack with goodies and place it under the tree.
MORE HEAT TRANSFER VINYL PROJECTS
LOVE IT? PIN IT!
Do you have the Santa sac in a SVG format?
Thanks
It is in my resource library, available to my email subscribers.