5 Easy Tips to Instantly Improve Your Hand Lettering
Want to learn how to improve your hand lettering? These 5 tips will take you from beginner to beautiful lettering artist in no time flat.
I have been hand lettering for what seems to be forever but sometimes I still look at my work and think “ugh, that could really use some improvement”. Does this sound like you? These 5 tips will help improve your hand lettering no matter where you are in your lettering journey. Sit back, grab yourself a cup of coffee and let’s letter!
One of the main questions that I get from readers when it comes to lettering is how to hand letter and how to improve their hand lettering. All it takes to improve your hand lettering is a few simple tips and maybe a few things that you haven’t thought of yet.
HAND LETTERING TIPS AND TRICKS
TIP #1
Use the right type of lettering pen. The pens that I use for hand lettering are the Tombow Dual Brush Pens and the Tombow Fudenosuke.
Tombow Dual Brush Pens have 2 tips. One tip is a brush-like tip that allows you to achieve thin upstrokes and thin downstrokes. The other tip is a small hard tip great for detail work.
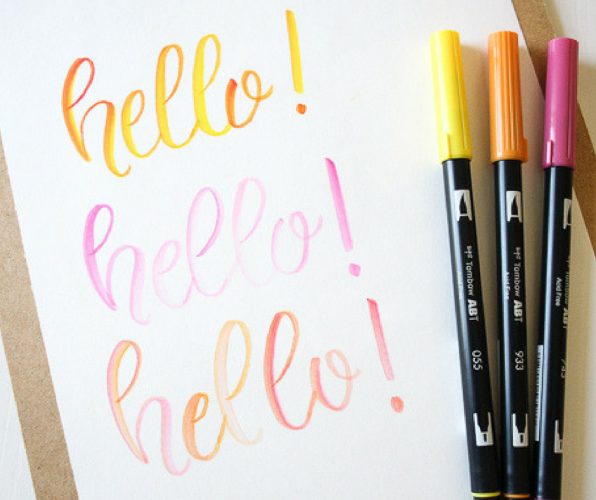
Tombow Fudenosuke Pens come in a hard and soft tip. The soft tip pen allows for thicker downstrokes than the hard tip. Both these pens are great for detail work as well.
There are many other pens on the market. These are just the ones that I am familiar with and use. Whatever pen you choose, try it out and practice with it for a while to make sure that it works for the lettering style that you are trying to achieve.
TIP #2
Practice. A lot. The best way to learn hand lettering (and improve) is to practice. Maybe this goes without saying but the only way to get good at something is to practice over and over again. First, master the basic strokes and then move on to letters. I have numerous hand lettering practice sheets available that you can use with traditional brush pens or digitally in the Procreate app.
TIP #3
Understand pressure. Hand lettering consists of thick downstrokes and thin upstrokes. To get this result, you need to put more pressure on your brush on the downstrokes of the letters and less pressure on the upstrokes. The Tombow dual brush pens are great for practicing this technique. Because the brush tips are flexible (sort of like a paintbrush), they allow you to vary the pressure a great deal.
TIP #4
Pause after each letter. While you are practicing the thick downstrokes and thin upstrokes, get in the habit of drawing one letter at a time and picking up your pen after each one. This will allow you to complete one letter and then reset and focus on the next letter. When you do this, the transitions between your letters will improve.
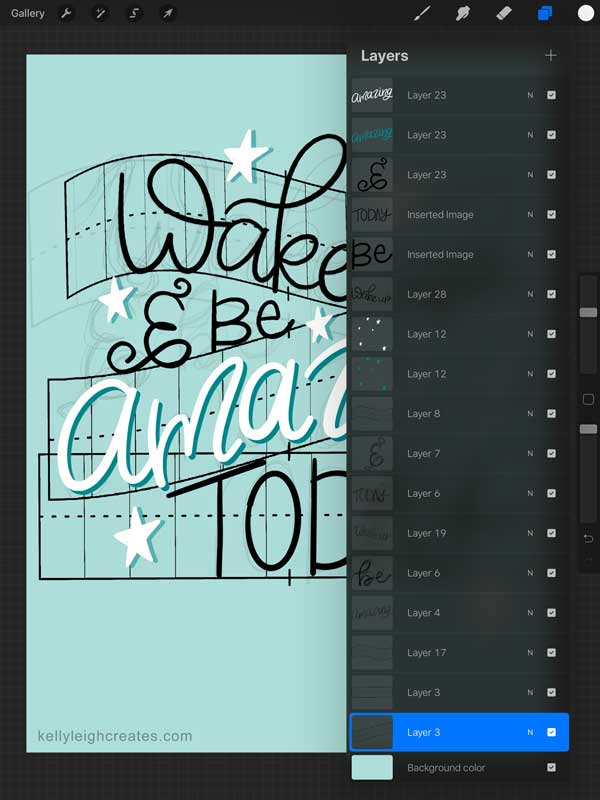
TIP #5
Sketch your lettering first. Once you have mastered your letters, you will probably want to create some layouts with your lettering. When drawing more advanced designs, it’s always good to sketch out your design first in pencil and then go over it with your pens. Using a grid to layout your sketch helps keep everything in line. My favorite hand lettering grid layout tool is Grid Builder. You can use the tool in the Procreate app and it also comes in a PDF format that you can print out.
CLICK HERE TO GET THESE 5 LETTERING TIPS IN A PRINTABLE GUIDE
RELATED HAND LETTERING POSTS
- 10+ Free Brush Lettering Practice Sheets
- Learn Hand Lettering: The Basics
- How to Draw Bounce Lettering
I hope that these tips have helped you improve your hand lettering. If you are ready to move onto more advanced tutorials, make sure to check out these posts about lettering in Procreate:
- How to Create Rainbow Lettering
- How to Create Galaxy Lettering
- How to Create Watercolor Brush Lettering
LOVE IT? PIN IT!