
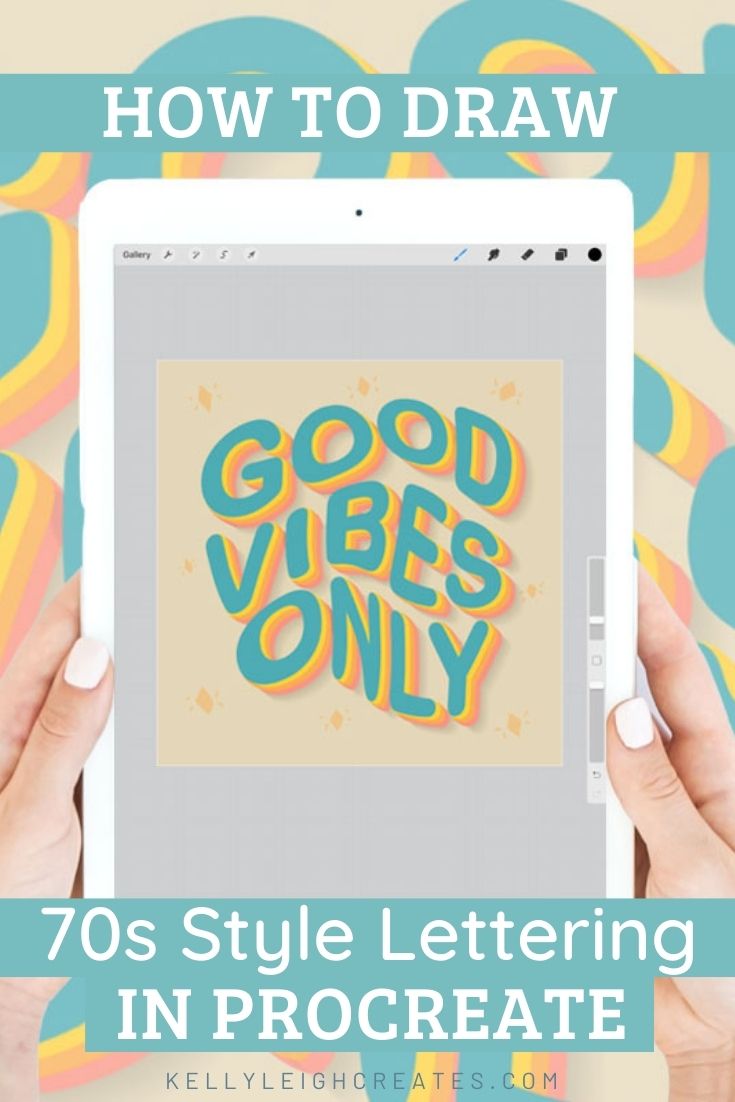
How to Draw 70s Style Lettering in Procreate
Learn how to draw 70s style lettering in Procreate and take your designs up a notch!
I was born in the mid-1970s so I sorta feel a connection to the lettering style from that decade. Lately, I’ve been experimenting with different types of lettering in the Procreate app and found an easy way to create fun 70s style lettering. Today I’m showing you exactly how to do it.
To create this lettering, you’ll need an iPad, an Apple Pencil, and the Procreate app. The iPad doesn’t have to be the iPad Pro but it does have to be a 6th generation or newer to run the Procreate app. I recommend the Apple Pencil as a stylus because it is pressure-sensitive, meaning it can create thick and thin strokes depending on the amount of pressure you apply to the stylus.
Before we begin, here are some basic posts on Procreate if you need a refresher:
HOW TO DRAW 70s STYLE LETTERING IN PROCREATE
Open up a new canvas in Procreate and create a new layer by tapping on the “+” sign in the upper right. Choose a 70s style color palette. My favorite place to find color palettes is design-seeds.com and you can create a color palette from any image.
ADD TEXT
Add text to your canvas by tapping the wrench icon and selecting “Add text”.
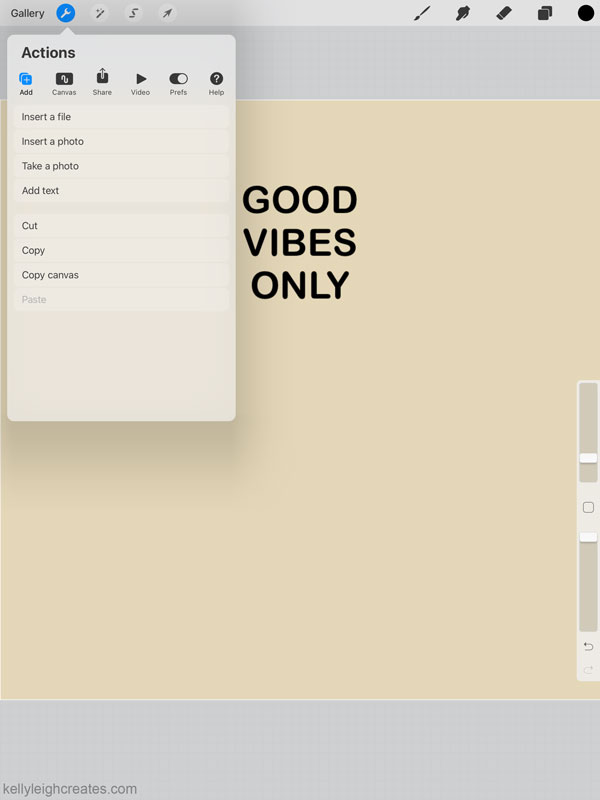
Once the text tool pops up, use the keyboard to enter your text. Then tap the “Aa” in the top right of the keyboard. This will allow you to change the font and size.

I’m using Arial Rounded MT Bold for this example. Adjust the text to the size you want with the size slider. When you are finished, tap “done”.

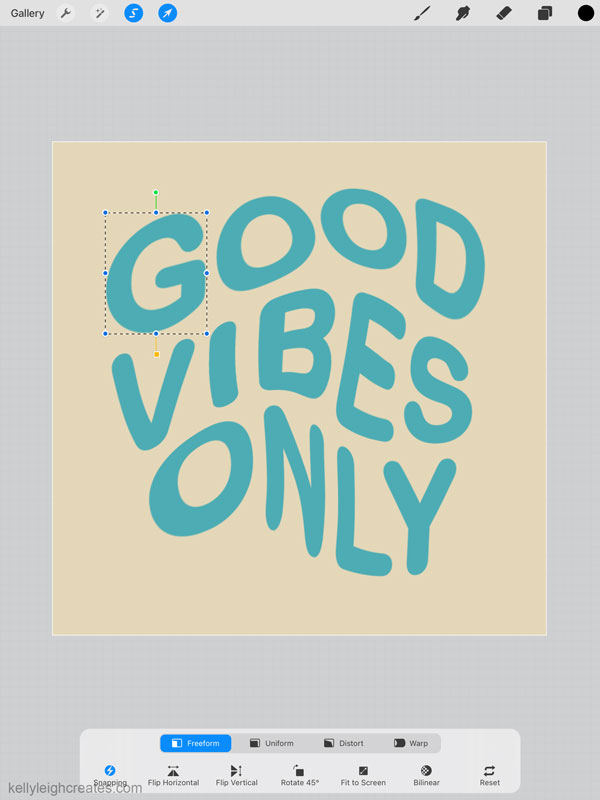
ADJUST THE LETTERING
Use the liquify function to adjust your lettering. Select the lettering layer, then select the magic wand and tap “liquify”. Move your Apple pencil around on the screen, “pulling” the letters until you get the desired effect. To adjust the lettering even more, use the select tool to select individual letters and adjust them with the freeform, distort or warp functions.
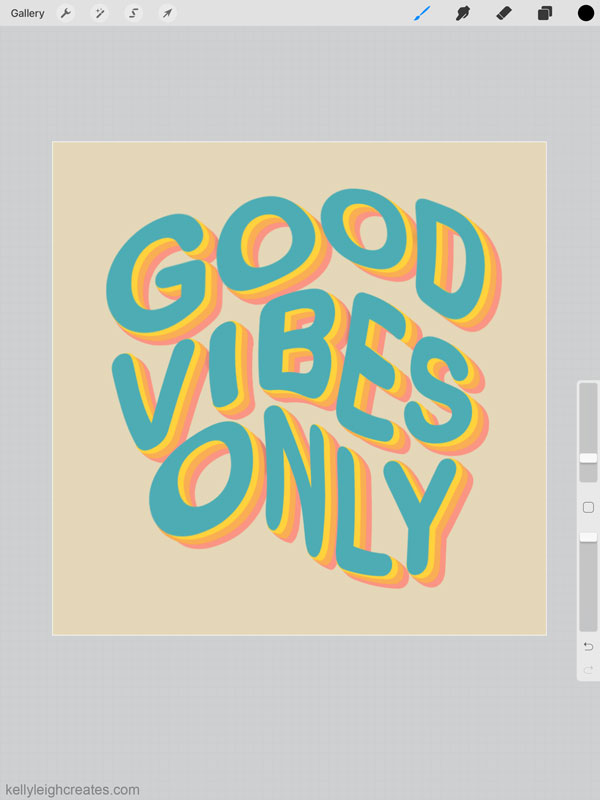
CREATE A 70s STYLE 3D EFFECT
To create a 3D effect, duplicate the lettering layer and move the duplicated layer down and to the right of the original layer. Fill the duplicated layer with another color. Repeat these steps as many times as you like. Check out this post for a more detailed tutorial on 3D Lettering in Procreate.
CREATE A SHADOW
To add even more dimension to your lettering, create a shadow. Duplicate the bottom layer of lettering and fill it with black. Add a motion blur by selecting the layer, then select the magic wand and click “motion blur”. Drag the Apple pencil to adjust the amount of blur and reduce to opacity. Check out this post for a more detailed tutorial on creating shadows in Procreate.

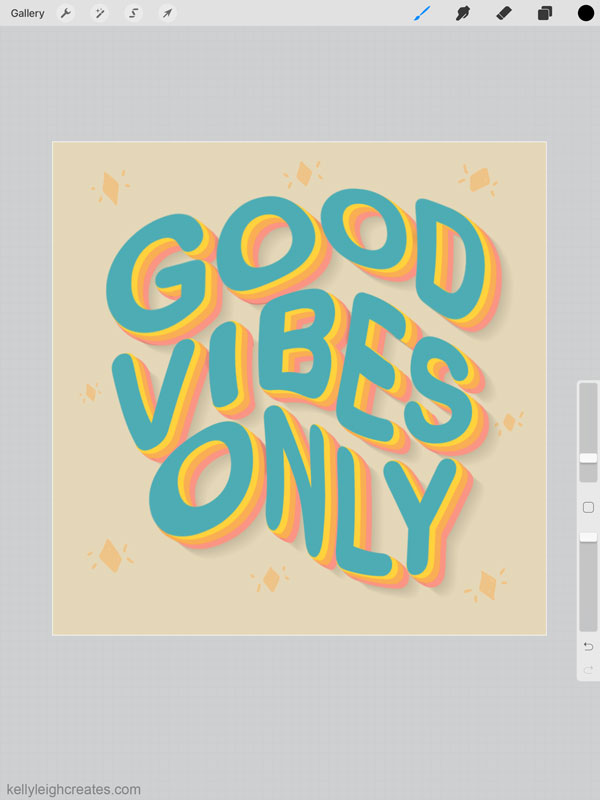
ADD A FUN BACKGROUND COLOR TO YOUR 70s STYLE LETTERING
Change the background color to something light from your color palette. Play around with several colors until you find one that you love. Add in some fun elements around your lettering and you are done.
LOVE IT? PIN IT!

MORE PROCREATE LETTERING TUTORIALS
Ultimate Guide to iPad Lettering
How to Create Watercolor Brush Lettering In Procreate
How to Create Galaxy Brush Lettering
How to Create Rainbow Lettering in Procreate