DIY Fall Tiered Tray Decor
Make a decorating statement with a fall-tiered tray. Learn how to make easy fall-tiered tray decor with affordable supplies from the dollar store, your local craft store, and SVG files.
One of my favorite recent purchases is my tiered tray. Tiered trays are a great way to decorate for each season/holiday because the decor can be easily switched up when the season changes. Because the decor is small, it’s affordable and you can add in bigger items and accessories like mugs to fill out the tray.
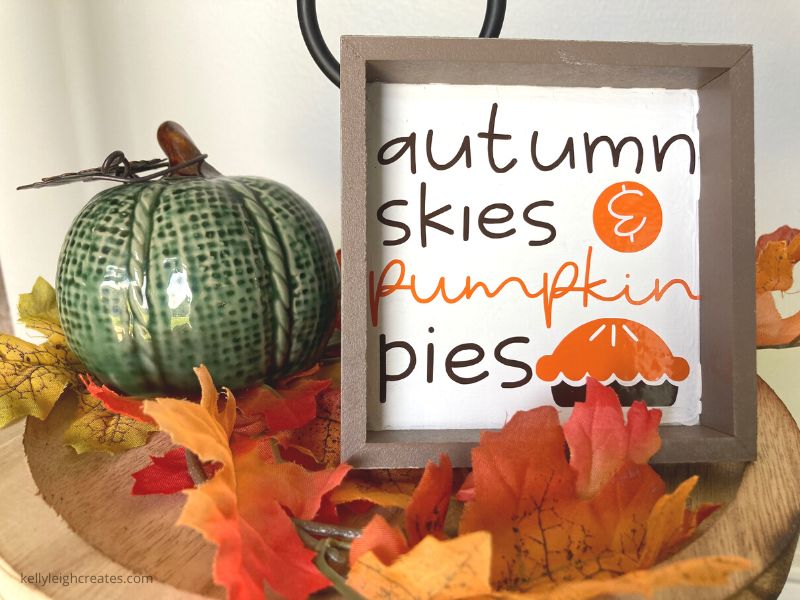
Today I’m showing you how to DIY your own fall-tiered tray with some simple wooden blanks and some fall SVG files. Add in the obligatory pumpkin and cozy mug and you have a great decor piece that you can display in an entryway, on the kitchen island, or anywhere that you want a bit of fall decor.

BASIC SVG & SILHOUETTE STUDIO POSTS
- How to Use SVG files: Tips, Tricks & Ideas
- How to Import Files Into Silhouette Studio
- How to Weed Vinyl
- How to Cut By Color in Silhouette Studio
- How to Separate SVG files into Layers
FALL-TIERED TRAY SUPPLIES
- Small wood signs (I got mine from the dollar store)
- Permanent Vinyl (Oracle 651)
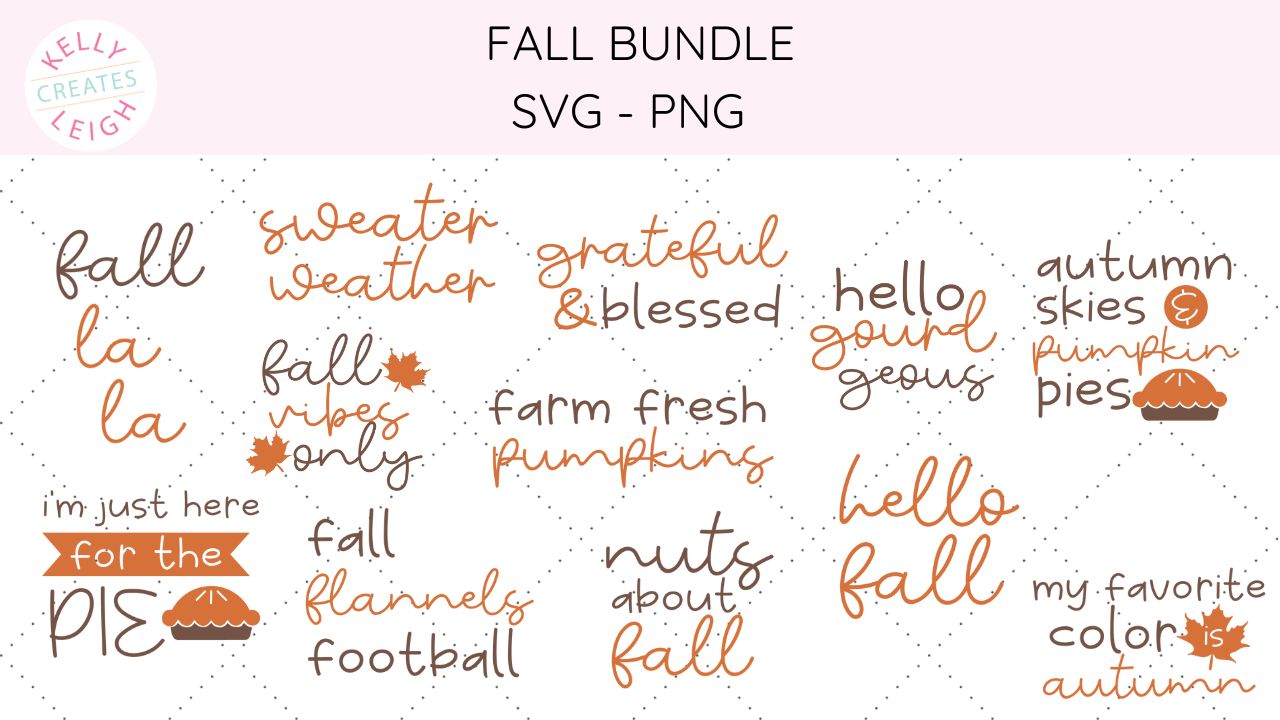
- Fall SVG files (you can check out the entire bundle below)
- Silhouette or Cricut
- Weeding Tool
- Scraper Tool
- Transfer Tape
- Wood Stain (optional)
- White Paint (optional)
- Paintbrush/Spongebrush

HOW TO MAKE FALL TIERED TRAY DECOR
- Cut out the SVG files – I recommend using Oracle 651 vinyl from Expressions Vinyl. The files that I am using are from my Fall SVG Bundle. If you want to cut the SVG files out in a few different colors, you can follow this tutorial on how to cut by color. Make sure to measure your wood pieces and size your file(s) to fit.
- Weed the SVG files – Once your designs are finished cutting, weed the excess vinyl from each of the files using a weeding hook. Once weeded, place transfer tape over each file.
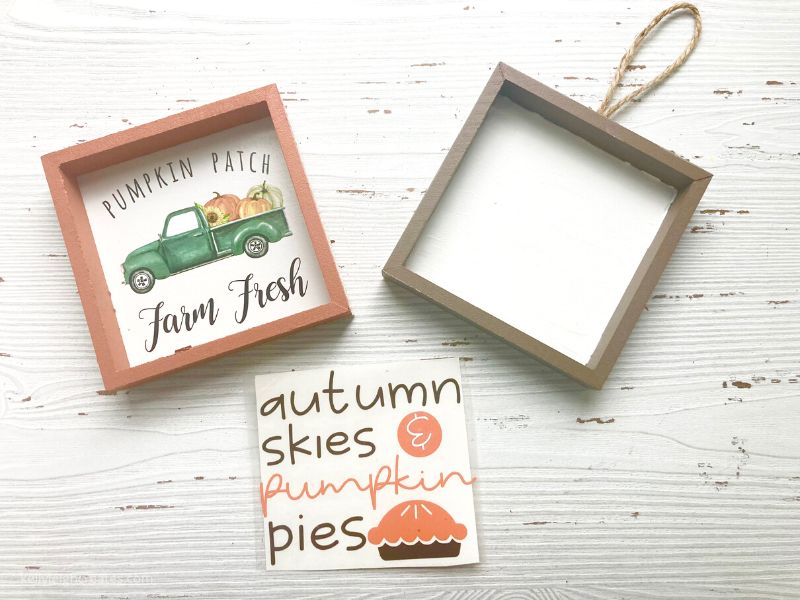
- Paint and/or stain your mini wood signs – This step is optional depending on the type of mini sign you have. The signs that I bought had a design on them that I did not like so I painted over the design with white paint. You can choose to paint or stain your pieces or use a combination of both paint and stain. It all depends on the look you are going for. After painting, let your wood pieces fully dry. Don’t jump the gun on this one. I know it’s tempting to apply the vinyl but if your wood isn’t fully dry, the transfer tape in the next step will pull up the paint.

- Apply the SVG file with the transfer tape – Once your wood is fully dry, apply the SVG files to each wood piece. See this post if you need a tutorial on how to use transfer tape with vinyl.
- Arrange your mini wood signs on your tiered tray and add in other items like pumpkins, leaves, and mugs.
SVG FILE FAQs
How do I open these files in my Silhouette software?
Save the file to your computer. If it is a zip file, unzip it. Open your Silhouette software and select FILE>OPEN and navigate to where you saved the file. You can also import the file(s) to your Silhouette library by clicking FILE>LIBRARY>IMPORT TO LIBRARY and navigating to where you saved the file.
Can I open SVG files in the Silhouette Basic Edition?
No. You must have Silhouette Designer Edition or higher to open SVG files. If you have Silhouette Basic Edition, you can use PNG files and convert the PNG to a cut file.
Can this file be used with a Cricut?
Yes. Any SVG file can be used in Cricut Design Space
MORE FALL SVG PROJECTS & FILES
LOVE IT? PIN IT!