
How to Use Siser EasyColor DTV
In this tutorial, I’ll teach you everything you need to know about how to use Siser EasyColor DTV.
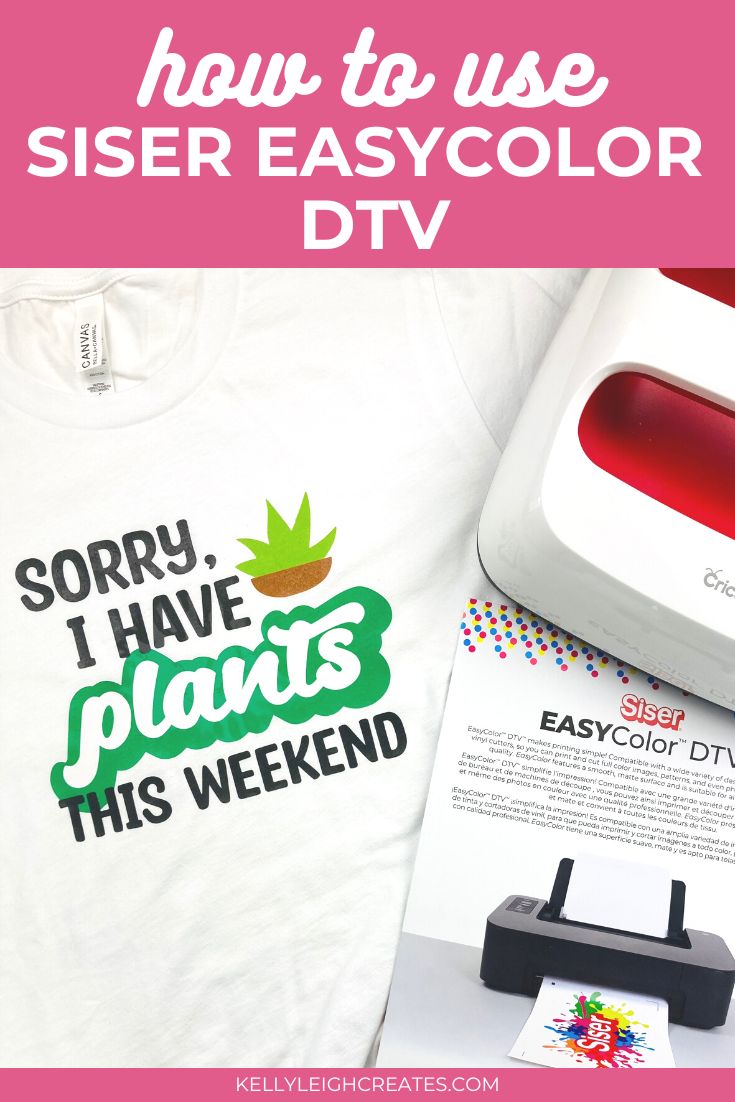
Siser EasyColor DTV is a game-changer when it comes to heat transfer vinyl. I’ve been wanting to try out DTV for a while and I finally got around to using it and I am super excited with the way this project turned out. If you have never used DTV, you’re in for a treat. The process of making a shirt with DTV is easy because there is no layering involved, unlike using traditional heat transfer vinyl (HTV). DTV is printable vinyl so it’s one press with a heat press or EasyPress 2 and you’re done! Ready to learn how to use Siser EasyColor DTV to make a shirt? Let’s jump into this fun project!
BASIC SVG & SILHOUETTE STUDIO POSTS
- How to Use Silhouette Cameo 4: A Guide to Getting Started
- How to Use SVG files: Tips, Tricks & Ideas
- How to Import Files Into Silhouette Studio
- How to Weed Vinyl
- A Beginner’s Guide to Heat Transfer Vinyl
- How to Cut By Color in Silhouette Studio
- How to Separate SVG files into Layers

What is Siser EasyColor DTV?
Siser EasyColor DTV is printable heat transfer vinyl. DTV stands for “direct to vinyl”, meaning you can print designs directly onto the vinyl. And guess what? No special printer is needed! This is great news for those of you who don’t have sublimation printers. All you need is an inkjet printer which you probably already have.
How is Siser EasyColor DTV Different than Sublimation?
With sublimation, the ink infuses into and bonds with the material that you are transferring the design onto. Siser EasyColor DTV is heat transfer vinyl. The vinyl adheres to the material via an adhesive. Siser EasyColor DTV sits on top of the material whereas sublimation ink bonds to the fibers of the material. If you want more info on sublimation, make sure to check out this post on how to sublimate a shirt.
What is the Difference Between DTV and HTV?
Direct to Vinyl (DTV) and Heat Transfer Vinyl (HTV) are both heat transfer vinyl products. However, DTV is printable vinyl which means you can use DTV in an inkjet printer. When you use DTV, there is no layering involved. Since the entire design prints onto one sheet of vinyl, there is no need to cut out separate colors and layer them on top of each other. This reduces the bulk in your final project and saves you time because you only have to make one press with your heat press.
What Materials are Compatible with Siser EasyColor DTV?
The great thing about DTV is that your material does not need to be polyester like you need for sublimation. DTV works on 100% cotton, 100% polyester, and cotton/poly blends. You can also use DTV on both light and dark-colored fabrics.
How to Make a DIY Shirt with Siser EasyColor DTV
Let’s make a fun shirt using Siser EasyColor DTV! Here are the supplies you’ll need:
- Shirt (I used Bella + Canvas – my fave 💕)
- SVG File (I used a file that I designed for the Expressions Vinyl Mystery Project Box)
- Inkjet printer
- Silhouette Cameo or Cricut
- Cutting mat – Silhouette / Cricut
- Siser EasyColor DTV
- EasyPress 2 or heat press
- EasyPress Mat
- Scraper tool
- Weeding hook
- Parchment paper or teflon sheet

How to Print and Cut Siser EasyColor DTV with a Silhouette Cameo
- Upload your design into Silhouette Studio. You’ll need to use a PNG or SVG file.
- In the page set up panel, turn on the registration marks, set the size to “letter”, and check the box next to “bleed”. This ensures that when your design is cut, you won’t have any white around the edges.
- Resize your design to fit onto 8.5″ x 11″. You do NOT have to mirror your design.
- Place the Siser EasyColor DTV into your printer, making sure you place it in so the design prints onto the white side of the DTV.
- Send your file to your printer from Silhouette Studio. Set your printer settings to “Plain paper” and “Best” quality.
- Once the design is done printing, place it onto your cutting mat, lining up the upper left corner of the DTV with the grid on the mat.
- In Silhouette Studio, head over to the “Send” panel and set your material to Heat Transfer Vinyl (Smooth). Check the instructions on your Siser packaging for blade depth, speed and force. If this is the first time you have used DTV, do a test cut and adjust the setting if needed.
- Make sure that the cut lines are only showing around the outer edge of your design.
- Feed your vinyl into your Silhouette and hit “Send” in Silhouette Studio. Your Silhouette will first scan the registration marks and then cut out the design. Check out this post for more details on print and cut.
How to Weed Siser EasyColor DTV
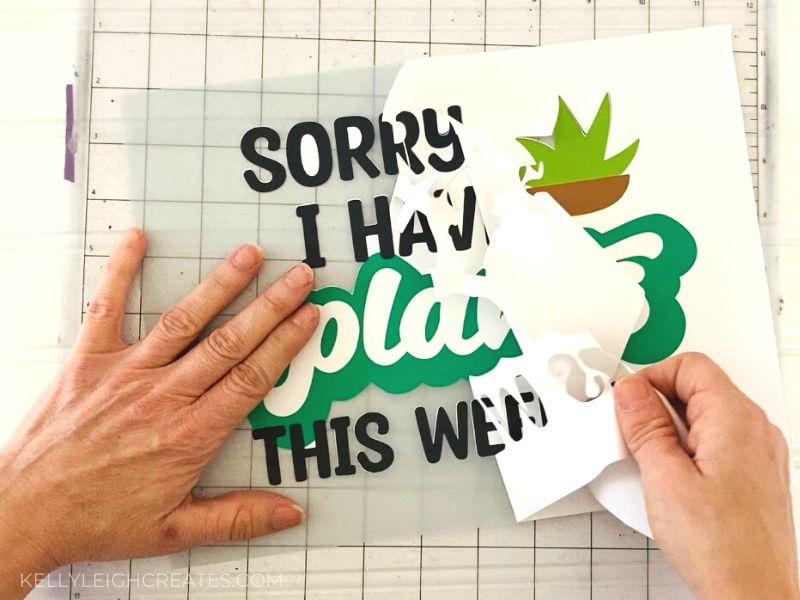
- Once the design is done cutting, remove the mat from the Silhouette machine. Leave the vinyl on the mat while you weed it. This makes it easier to weed
- Peel back a corner of the DTV and remove the excess vinyl from the design. Use a weeding hook to remove the areas inside the letters.

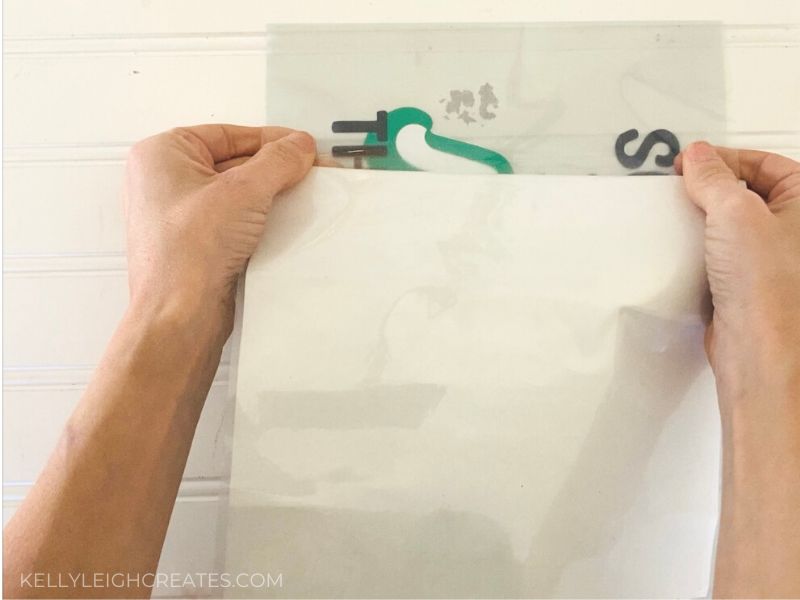
- Apply the heat mask to the weeded design just like you’d apply transfer tape to adhesive vinyl. The
heat mask is a heat-resistant transfer tape and it protects the vinyl while pressing. - Remove the backing from the vinyl so you are left with the design on the mask.

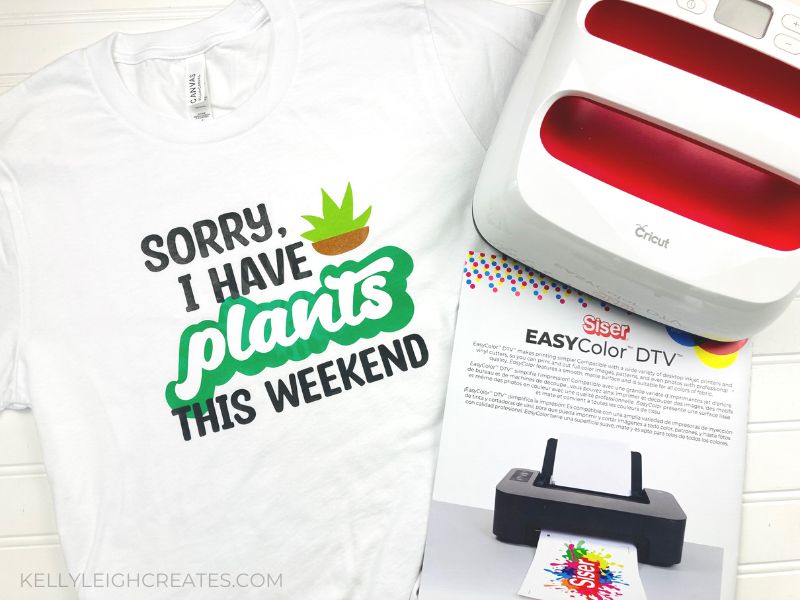
How to Apply Siser EasyColor DTV to a Shirt
- Set your Cricut EasyPress 2 to 340 degrees. You can also use a heat press set at 310 degrees
- Preheat your shirt for 5 seconds to remove any moisture
- Center your design on the shirt and cover it with a piece of parchment paper or a teflon sheet.
- Press for 15 seconds with medium pressure. Then remove the parchment/teflon and peel the mask away while it is still warm.
- If there are any pieces of the design that aren’t sticking, replace the mask and teflon and press again for 5-10 seconds.


MORE TUTORIALS YOU MAY LIKE
I hope you found this tutorial useful. Please consider sharing it so others can find it!
THANK YOU!
First time user of DTV and struggled to work it out today with the backing and mask etc. This is hands down the best explanation I found. Project completed now!