
How to Create a Stamp Brush in Procreate
Learn how to create your own stamp brush in Procreate and open up a whole new world of digital design.
Lately, I’ve been trying to incorporate more illustrations into my hand-lettered designs in Procreate. I’m not all that great at illustrating just yet but one technique that makes my process easier is using stamp brushes. Stamp brushes simplify my workflow and allow me to create more in a shorter amount of time. Today I’m going to show you just how easy it is to make a stamp brush in Procreate.
WHAT IS A STAMP BRUSH?
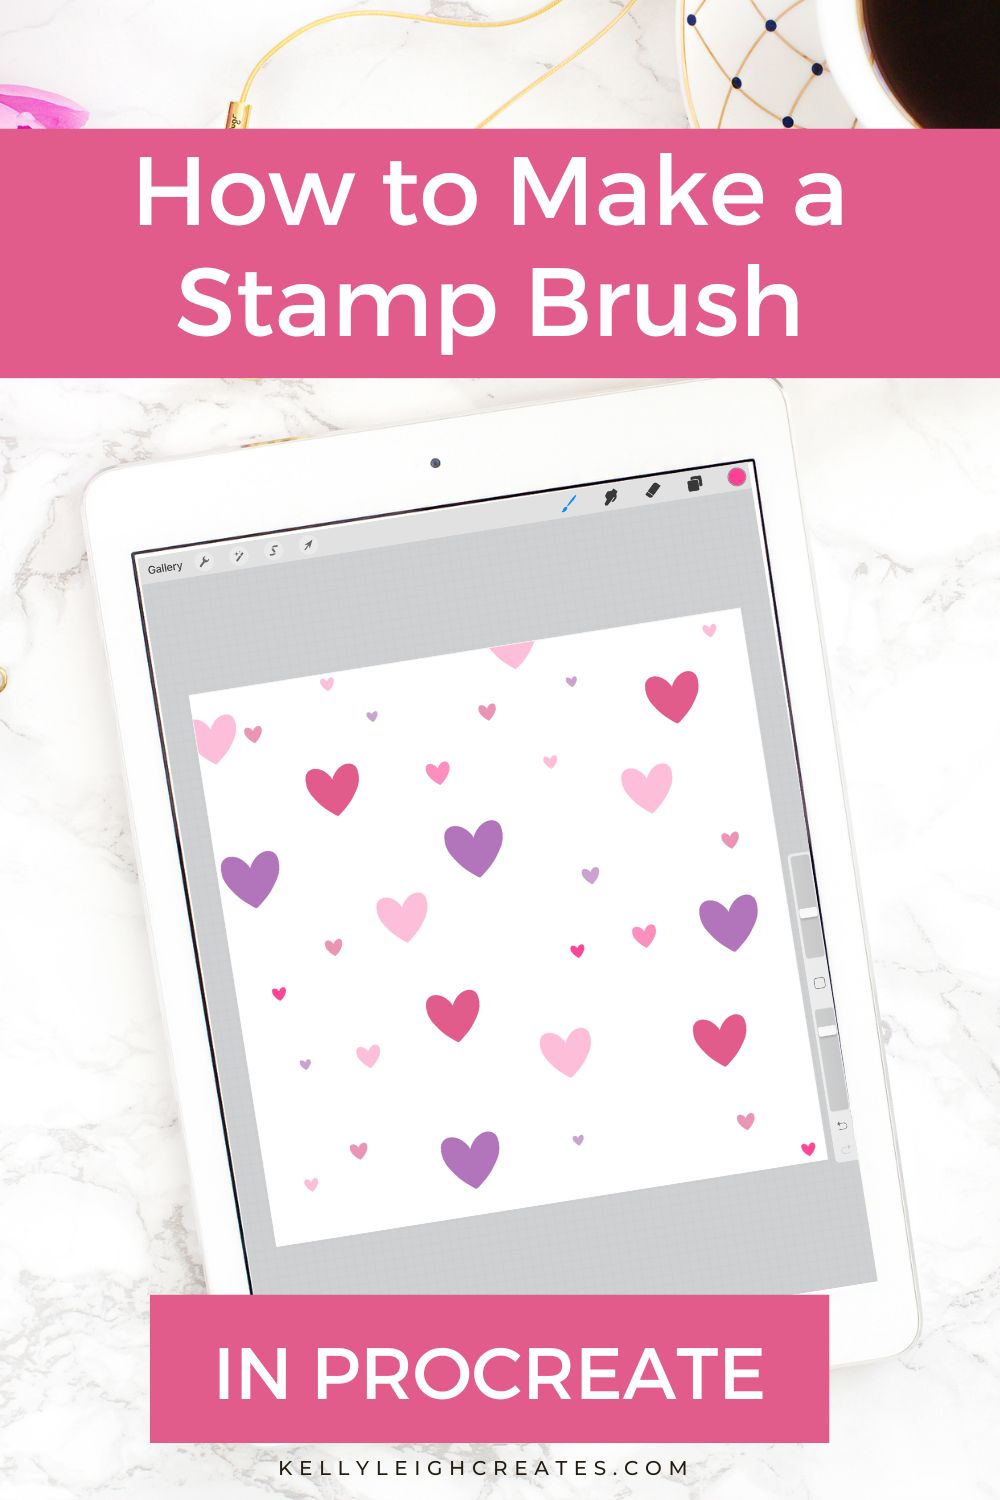
A stamp brush is a special type of brush that is used in the Procreate app. Regular brushes produce strokes. Stamp brushes produce a single element when the Apple Pencil is tapped onto the iPad screen. Examples of stamp brushes can be hearts, flowers, stars etc. You can also create a signature stamp or logo stamp in Procreate which is useful when adding watermarks to your designs.
HOW TO CREATE A STAMP BRUSH IN PROCREATE
Making a basic stamp brush is an easy process. However, sometimes it helps to see the process in action instead of just reading through the steps. I’ve included a video below this tutorial that walks you through the process. I list out the basic steps below the video with time stamps so you can easily navigate through the video to find the exact step that you need.

But first, here’s a written tutorial if you learn better that way:
- Create your canvas
Open Procreate and tap the “+” in the upper right corner. Create a new square canvas. You can choose your own custom size or just use the default square size that comes with Procreate.
- Add a black background
When making brushes, your designs need to be white on a black background. To change the background color, tap the layers panel, then tap on the Background layer. Choose black by tapping on the disc option and double tapping at the bottom of the color wheel to get true black.
- Use Symmetry Tool
I am using a heart brush for this tutorial so I am using the symmetry too. This is optional but a good idea to use if you want your designs to be perfectly symmetrical. Tap on the wrench icon and toggle on the Drawing Guide. Tap Edit Drawing Guide > Symmetry > Options >Vertical. Tap Done.
- Draw Your Stamp Shape
Using a white monoline brush (access in the Calligraphy brush set in the brush panel), draw a heart (or any other shape you would like). Because symmetry is turned on, you only need to draw one side.
- Copy Your Shape
When you have your shape the way you want it, select the layer in the layers panel and tap Copy. You can also swipe down with three fingers and select Copy All to copy the canvas. Note that in the video below, I show an alternate way to copy/save your shape.
- Create Your Stamp Brush
Open the brush library and tap the “+” to create a new brush. This opens the Brush Studio. Tap Shape >Shape Source > Import > Paste. Your heart shape should now be pasted into the canvas. Tap done.
- Refine Your Stamp Brush
Tap Stroke Path and set the spacing to max under stroke properties
Tap Apple Pencil and slide the opacity slider to none
Tap Properties and toggle on Use Stamp Preview
Adjust the Maximum and Minimum size sliders under Brush Behavior to set a minimum and maximum size for your stamp brush.
Tap Done - Test Your Brush!
Go back to the canvas that you used to create your brush and add a new layer. Select your stamp brush and test it out! If you want to make edits to your brush, simply tap n the brush in the brush library to get back to the Brush Studio for edits.
- Name Your New Brush
Don’t forget to name your new creation! In the Brush Studio, tap About This Brush and name it.
- 1:45 – SET UP YOUR SQUARE CANVAS
- 2:10 – CREATE BLACK BACKGROUND
- 3:00 – TURN ON THE DRAWING GUIDE/SYMMETRY TOOL
- 5:10 – DRAW SHAPE
- 6:45 – CREATE NEW BRUSH SET & SET UP DEFAULT BRUSH
- 8:10 – IMPORT HEART SHAPE
- 9:04 – ADJUST STAMP PROPERTIES TO CREATE FINAL BRUSH
- 11:20 ADJUST BRUSH PREVIEW SIZE
- 11:50 – NAME YOUR BRUSH

HOW DO YOU INSTALL DOWNLOADED STAMP BRUSHES IN PROCREATE?
Procreate does not come with any default stamp brushes so you have to install them into Procreate if you want to use them. Many designers offer stamp brushes for free. You can also find Procreate stamp brushes on sites like Creative Market. Installing stamp brushes into Procreate is the same process as installing regular brushes. I have a detailed tutorial on how to install brushes into Procreate here.
MORE PROCREATE TUTORIALS
- How to Create Color Palettes in Procreate
- How to Organize Procreate Files with Stacks
- How to Use Masks in Procreate
- Two Ways to Overlay Lettering onto Photos using Procreate
- How to Draw 70s Style Lettering in Procreate
- How to Create SVG Files using Procreate
- How to Draw 3D Lettering in Procreate
- How to Create Blended Backgrounds in Procreate
- How to Install Brushes into Procreate
- How to Create Rainbow Lettering in Procreate
- How to Create Watercolor Brush Lettering in Procreate
LOVE IT? PIN IT!
Your tutorial on how to make a stamp brush is great. It is so easy to follow and exactly what I was looking for. Thank you for creating such clear and simple instructions.