
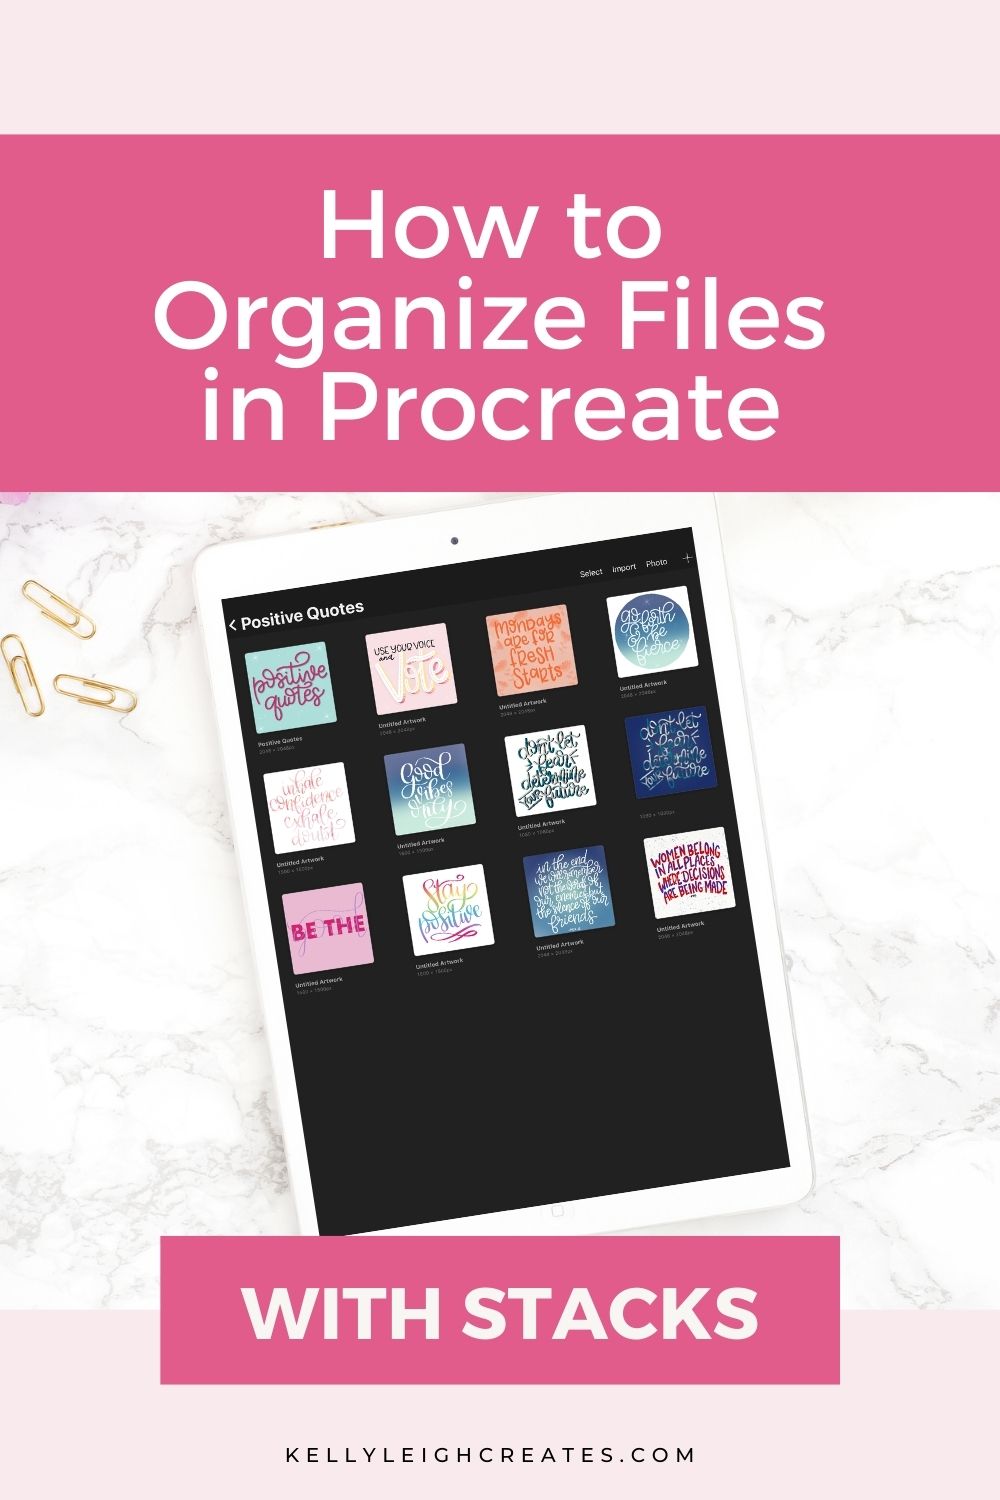
How to Organize Files in Procreate with Stacks
Keep your Procreate gallery view uncluttered. Learn how to organize files in Procreate with stacks and ditch the digital clutter.
Procreate is my go-to software for creating digital designs. But as any creator knows, once you start creating a LOT of things, stuff just gets jumbled and disorganized. If your Procreate gallery is a hot mess, there is an easy way to clean it up and organize it! Read on to learn how to organize files in Procreate with stacks.
HOW TO ORGANIZE FILES IN PROCREATE
If you’ve been using Procreate for a while, you’ll notice that the artwork in your gallery view will become very cluttered very quickly. If you don’t have a proper way to organize files in Procreate, you’ll end up scrolling and scrolling to find the design that you need. Luckily, there is a solution to stop all the scrolling and organize your Procreate gallery view once and for all. And you do it with a feature called Stacks.
WHAT IS A STACK IN PROCREATE?
Think of a stack as a folder in Procreate. A stack is a container where you store your artwork files in Procreate, similar to a folder on your computer. When you create a stack, you can place all your similar files into that stack to organize them.
HOW DO YOU CREATE A STACK IN PROCREATE?
To create a stack, tap and hold one piece of artwork and drag it on top of another piece of artwork. This creates a stack. If you want to add more files to that stack, simply tap and drag the files onto the top of the stack. You’ll know that items are contained in a stack because they will be labeled as “stack” by default.
A second way to create a stack is to tap “select” in the gallery view. Then tap all the icons you want to place into a stack and tap “stack”. The selected artwork is now a stack.
HOW TO NAME STACKS IN PROCREATE
Once you have created a stack, you’ll want to rename it because if you don’t, you’ll have a bunch of files with the name “stack” in your gallery view and that’s just not helpful at all. To rename a stack, tap on the word “stack”. A window will open allowing you to edit the name of the stack. Once you are done renaming the stack, tap “done”.
HOW TO UNSTACK FILES IN PROCREATE
So you’ve created a stack but what if you accidentally drag a piece of artwork into a stack by mistake? Or maybe you just want to rearrange items and remove them from a stack. Unstacking artwork in Procreate is easy. Open the stack by tapping on it. Then tap and hold the artwork you want to remove from the stack and drag it to the upper left corner of the screen, on top of the stack name. The gallery view will then open and you can drop the file into your gallery view.
HOW TO ADD COVERS TO STACKS
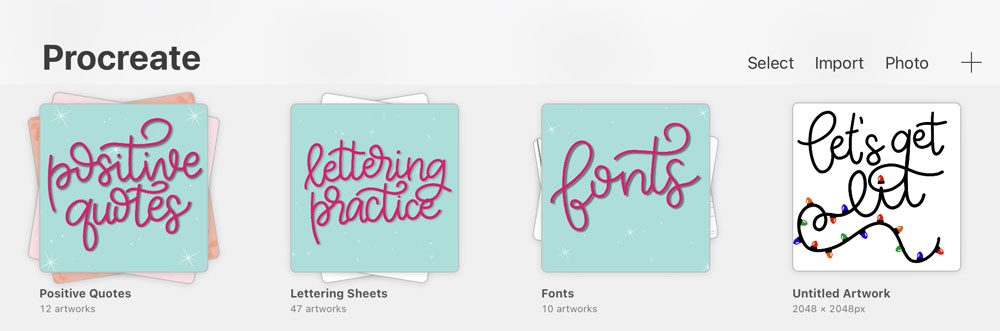
Adding covers to stacks keeps them visually organized and allows you to locate what you need quickly. You don’t want a bunch of random stacks in your gallery view without knowing what is in the stack. This defeats the purpose of the stack. To add a thumbnail cover to a stack, simply create a new design for the cover and add it to the stack in the same way that is listed above. Make sure that your cover design is in the first image in the stack. This way, it will show up as a cover. You can see in the image below that I created covers for my fonts, lettering practice sheets and positive quote stacks.
WHERE CAN I STORE MY PROCREATE FILES?
If you want to make sure that your Procreate files are safe and backed up, you’ll need to store them with a cloud-based service such as Google Drive or Dropbox. In the gallery view, tap “select” and tap on the files you want to back up. Next, tap “share” and choose the type of file. In this case, we want to back up the actual Procreate files, so we’ll choose “Procreate”. Then simply tap the icon corresponding to the place where you want to save the files (i.e Google Drive or DropBox). In addition to backing up your files, you’ll also want to be sure to backup your Procreate brushes.
You can also download your Procreate files to your computer. Follow the steps above but choose “Airdrop” instead of Google Drive or DropBox. This will send the files directly to your Mac. Since Airdrop is not available for a PC, you have to email the files to yourself and then save them to a PC.
I hope you’ve found this tutorial helpful for organizing Procreate. Make sure to save it by pinning it.
Subscribe to my YouTube Channel for more Procreate video tutorials
MORE PROCREATE TUTORIALS
- How to Create Color Palettes in Procreate
- Two Ways to Overlay Lettering onto Photos using Procreate
- How to Draw 70s Style Lettering in Procreate
- How to Create SVG Files using Procreate
- How to Draw 3D Lettering in Procreate
- How to Create Blended Backgrounds in Procreate
- How to Install Brushes into Procreate
- How to Create Rainbow Lettering in Procreate
- How to Create Watercolor Brush Lettering in Procreate