
How to Use Silhouette Studio: Everything You Need to Know
Learn how to use Silhouette Studio. This post will step you through everything you need to know about the software so you can start making beautiful projects.
This post has been a looong time in the making. I’ve gathered up all the Silhouette Studio tutorials that I’ve done and compiled them into one big post to bring you everything you need to know about how to use Silhouette Studio. I’ve got tons of posts about how to make individual projects on the blog but today I’m not focusing on the individual projects. I’m laying out all the techy knowledge that you need to work with the software. Because let’s be honest…the tech is usually the hardest part. It’s where most frustration lies and its tech questions that come up over and over.
My goal is to give you the skills you need to master the Silhouette Studio software. Ready? I know you are so let’s dive in.
GETTING STARTED
Getting started is always the hardest part. So for the love of all things holy…please take your Silhouette out of the box and plug it in. It’s not scary and will not bite. I can’t tell you how many times I’ve heard people say that their machines are still in the box years after they get them. OPEN THE BOX. Then, read this post on getting started with your Silhouette Cameo. It will give you a good overview of the machine and a good foundation before you dive into the tech side of everything.
THE SILHOUETTE SOFTWARE
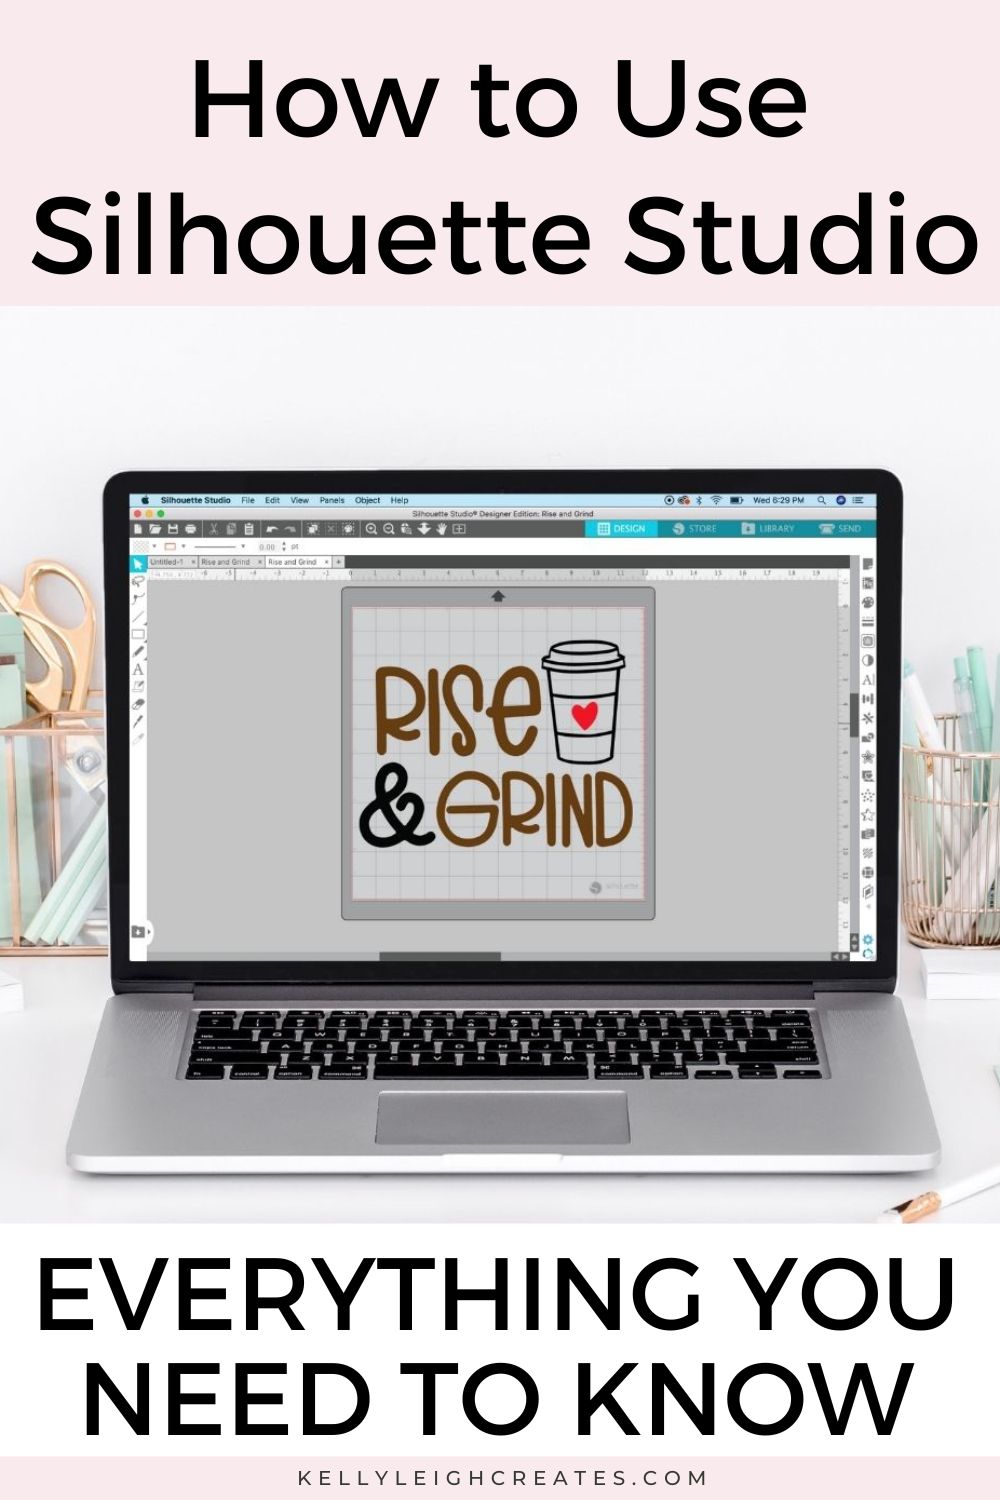
HOW TO INSTALL SILHOUETTE STUDIO
Silhouette Studio is the software that you need to use a Silhouette machine. You can find the Silhouette Studio software at the Silhouette America website. It comes in three different versions: Basic, Designer, and Business. Download the version that you want and then you can upgrade to a higher version if needed. One of the pros of using Silhouette over Cricut is that it is not web-based. Since the software is downloaded onto your computer, you can use it even if you don’t have an internet connection
THE DIFFERENT VERSIONS OF SILHOUETTE STUDIO
BASIC EDITION
The free version of Silhouette Studio is called the Basic Edition. The Basic Edition is free but you are limited in what you can do with it. The biggest limitation of the Basic Edition (in my opinion) is that you cannot open SVG files with the Basic Edition. This is why I upgraded to the Designer Edition.
DESIGNER EDITION
The Designer Edition is one step above Basic and it is a paid upgrade. With the Designer Edition, you can open/import SVG files into Silhouette Studio.
A big limitation to Designer Edition is that you can’t save a file as SVG. You can only save it as a Studio file which then cannot be shared with Cricut users or sold. So if you upload an SVG and modify it, the only way you can save it as an SVG is if you have a Silhouette Studio version higher than Designer. That’s where the Business Edition comes in.
DESIGNER EDITION PLUS
The Designer Edition Plus version has advanced rhinestone features, embroidery file capabilities, Flexishapes, Puzzle Generator, Advanced Warp, and the ability to import Ai and EPS files.
BUSINESS EDITION
The Business Edition is the only form of software that lets you save your work as SVG files. If you want to create your files from scratch in Silhouette Studio and save them as SVG files, you’ll need to upgrade to the Business Edition.
HOW TO IMPORT SVG FILES
Before we talk about importing SVG files, I want to give you some basic info on what an SVG file is and what it is used for. SVG stands for scalable vector graphic. You may hear the term SVG used interchangeably with cut file. An SVG is scalable, meaning you can scale it up super big and it won’t lose resolution because it is in vector format and not raster. For comparison, JPEGs are raster files (made of pixels) which is why they get blurry when you enlarge them too much. Here is an overview post on the basics of SVG files and how to use them.
Importing SVG files is a simple process. It’s just like opening a file on your computer. This post will walk you through how to import SVGs into Silhouette Studio. I have lots of free SVG files available in my resource library. You can view them all here and access the resource library by signing up for my emails. I also have SVG files for sale in my shop. If you are interested in creating your own SVG file inside Silhouette Studio, this tutorial will show you how to create a basic file.
HOW TO CONVERT JPEG OR PNG TO SVG
What if your file is not in SVG format but you still want to cut it out? Are you out of luck? Nope! This post will show you how to convert a JPEG or PNG to a cut file. You’re welcome!
HOW TO TRACE BY COLOR
If you have a PNG or JPEG with more than one color, then you’ll need to separate the colors before you can cut it out. This post will walk you through how to trace by color. And after you get those colors separated, this is an easy way to cut by color.
HOW TO SEPARATE AN SVG INTO LAYERS
When you open an SVG file in Silhouette Studio, you may notice that all the pieces are grouped together and you can click and drag it around the canvas together. This is not a bad thing. It keeps you from losing little pieces. However, you need to ungroup and separate the file into layers to be able to cut it out properly. This post gives you step-by-step instructions on how to separate an SVG into layers.
HOW TO USE FONTS IN SILHOUETTE STUDIO
Silhouette Studio allows you to use any font that you have installed on your computer. And yes, this includes fonts that have special characters like swashes. However, not every font on your computer is the best for cutting. Learn which types of fonts are the best to use in this post. This post will teach you everything you need to know about using fonts and editing text in Silhouette Studio.
My most popular video on YouTube is about how to curve text. Check out the post on how to curve text here. I’ve included the video in that post too if you are a visual learner.
Script fonts are super popular but there is an extra step that you have to do in the software in order for script fonts to cut correctly. You have to weld the letters together. I learned this one the hard way and piecing vinyl letters together because you forgot a step is no fun. Check out this tutorial all about the weld tool.
HOW TO USE THE OFFSET TOOL
The offset tool is great to use is you have a thin font that you want to make a bit thicker. It can also be used to place a border around an image when you are creating stickers. A third way that the offset tool can be used is to create a silhouette of your entire design so you can layer pieces on top. Learn all about how to use the offset tool here.
HOW TO USE PRINT & CUT
Print and cut may be my favorite feature in Silhouette because it allows you to make your own stickers and I kinda can’t get enough of stickers. Print & Cut uses both your printer and your Silhouette machine. There are a few extra steps that need to be set up in order for your file to print so here is a tutorial on how to use the print & cut feature.
I hope this post has given you a good overview of how to use the Silhouette Studio. I plan to link more tutorials to this post as I write them so be sure to check back every once in a while for more. If you found this post useful, please consider sharing it!