
How to Outline Lettering in Procreate
Learn how to outline lettering in Procreate without having to freehand around your lettering. This tutorial will show you the easy way!
You’ve just created a beautiful lettering piece but it feels like something is missing. You decide that your lettering needs an outline but when you try to freehand it, your outline turns out super wobbly and doesn’t look right at all. Sound familiar? I’ve been there and when this happened I I knew there had to be an easier way. A way to get a perfect outline that makes a stunning impact. Fortunately there is an easy way so today I’m going to show you how to outline your lettering in Procreate quickly and easily. No freehand needed.


Before I get into the details of this tutorial, here are some basic Procreate posts. If you are a beginner, these are the perfect place to start. If you’re not a beginner, they are a great refresher.
BASIC PROCREATE POSTS:
How to Use Procreate: An Intro
How to Hand Letter in Procreate
So you want to learn how to outline lettering in Procreate? Since we are working with lettering and not text, there is not an outline tool that we can use like there is when working with text. But that doesn’t mean that we are out of luck. But we’ll have to create our own outline around our lettering.
TOOLS YOU WILL NEED
- iPad Pro 12.9″
- Apple Pencil
- Procreate app
HOW TO OUTLINE LETTERING IN PROCREATE
Create Your Lettering
First, you need some lettering. It doesn’t matter what words you use but keep it simple when you are starting out. I’m using the word “outline”. My one suggestion is that you use a brush that has clean edges. I’m using a monoline brush. The outline that we will be making will have the same edge as the brush that you use for the lettering. The cleaner the edge, the sharper the outline will be. Write out your phrase and swipe left on the layer to duplicate the layer.

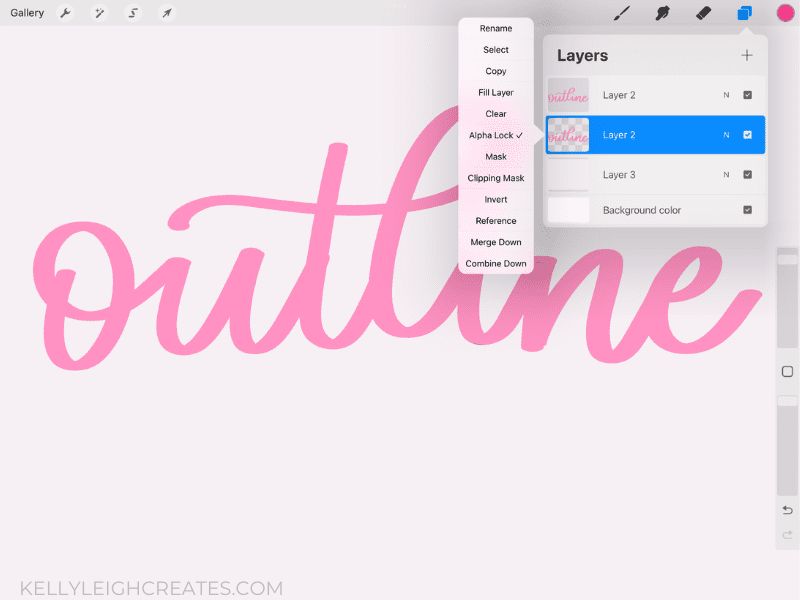
Fill Your Lettering
Choose the color that you want your outline to be. I suggest a darker color than your text. Tap on the bottom layer, tap on ALPHA LOCK and then tap FILL. This will fill the bottom layer with the outline color. Once your layer is filled with color, tap on the layer again and de-select alpha lock.
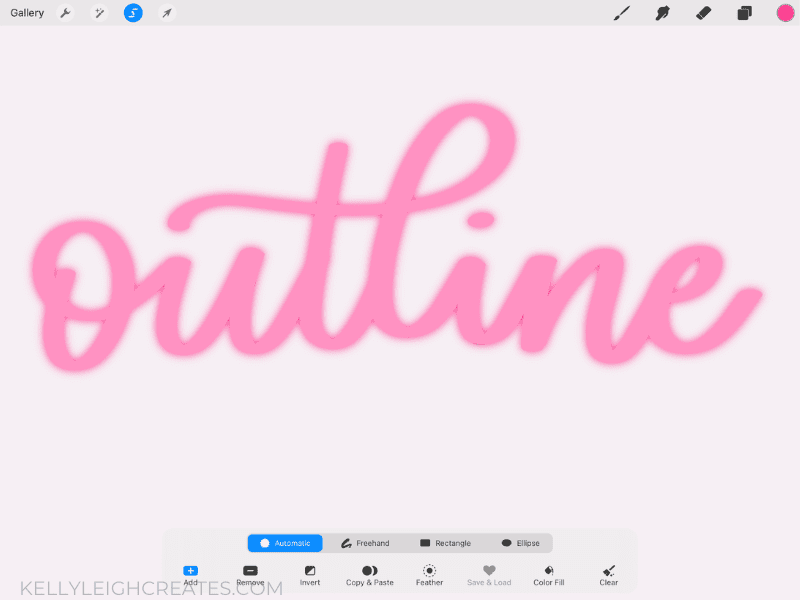
Create the Outline
Tap on the adjustment panel in the upper left and tap on GAUSSIAN BLUR.

Slide your Apple Pencil across the screen to the right to increase the amount of blur. If you want your outline to look like mine, I set the blur at 8%.

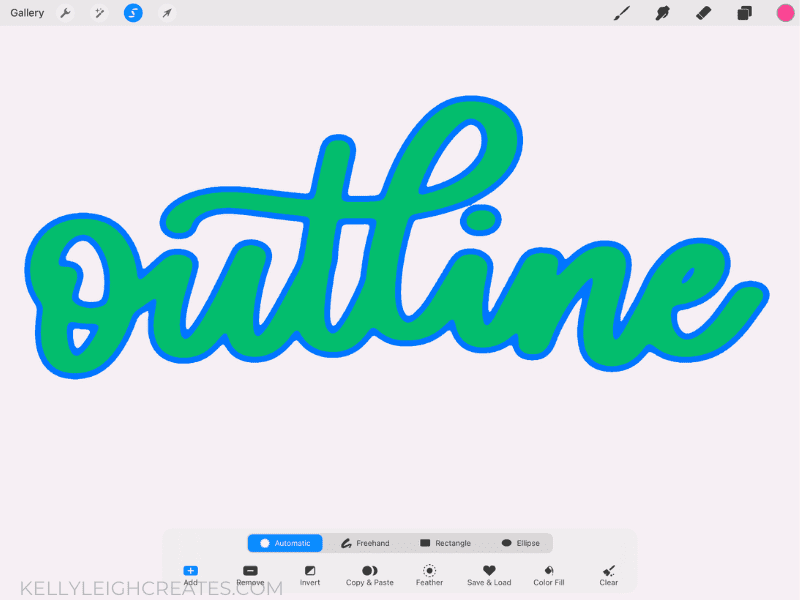
Tap on the SELECT tool in the upper left (or tap the gaussian blur layer in the layer panel and tap “Select”).Make sure “Automatic Selection” is turned on at the bottom of the screen
Tap on your lettering and slide the Apple Pencil to the right. An outline will appear around your lettering. Keep sliding your Apple Pencil to the right until the outline is as thick as you want it.
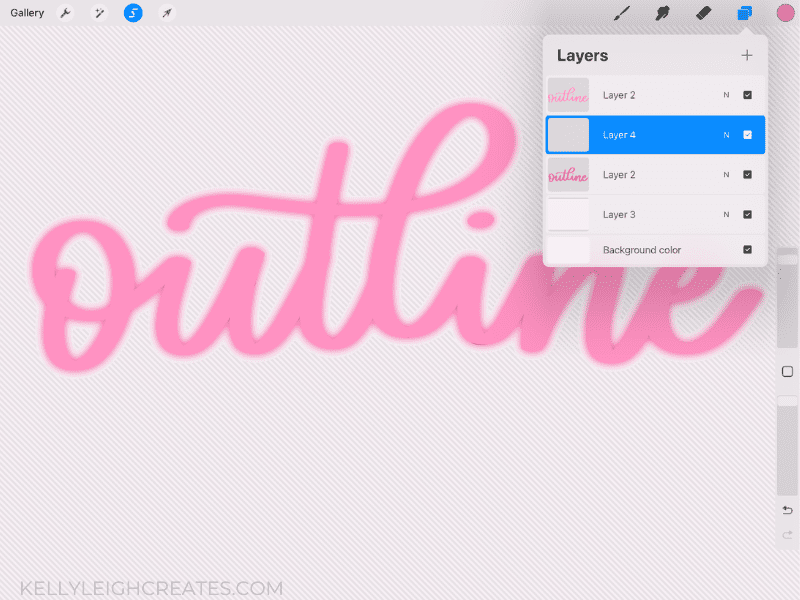
Fill the Outline
With your layer still selected, add a new layer and select the hard brush from the Airbrush set. On the new layer, color over your lettering a few times with the hard brush to fill in your outline.


MORE PROCREATE TUTORIALS
- How to Create Color Palettes in Procreate
- How to Make a Stamp Brush in Procreate
- How to Make a Brush in Procreate
- How to Use Masks in Procreate
- How to Draw 70s Style Lettering in Procreate
- How to Create SVG Files using Procreate
- How to Draw 3D Lettering in Procreate
- How to Create Blended Backgrounds in Procreate
- How to Install Brushes into Procreate
- How to Create Rainbow Lettering in Procreate
- Ultimate Guide to iPad Lettering

I keep trying this and for some reason when I do the auto selection of the Gaussian blur, it selects the whole background or just a spec of the letter. Any idea what I’m doing wrong or what setting is on/off that needs to be changed?
omg thank u, i’ve read multiple other tutorials and this is the first time i’ve done this successfully <3