DIY Personalized Skinny Tumbler
This DIY personalized skinny tumbler is an easy beginner DIY project using adhesive vinyl and an SVG file.
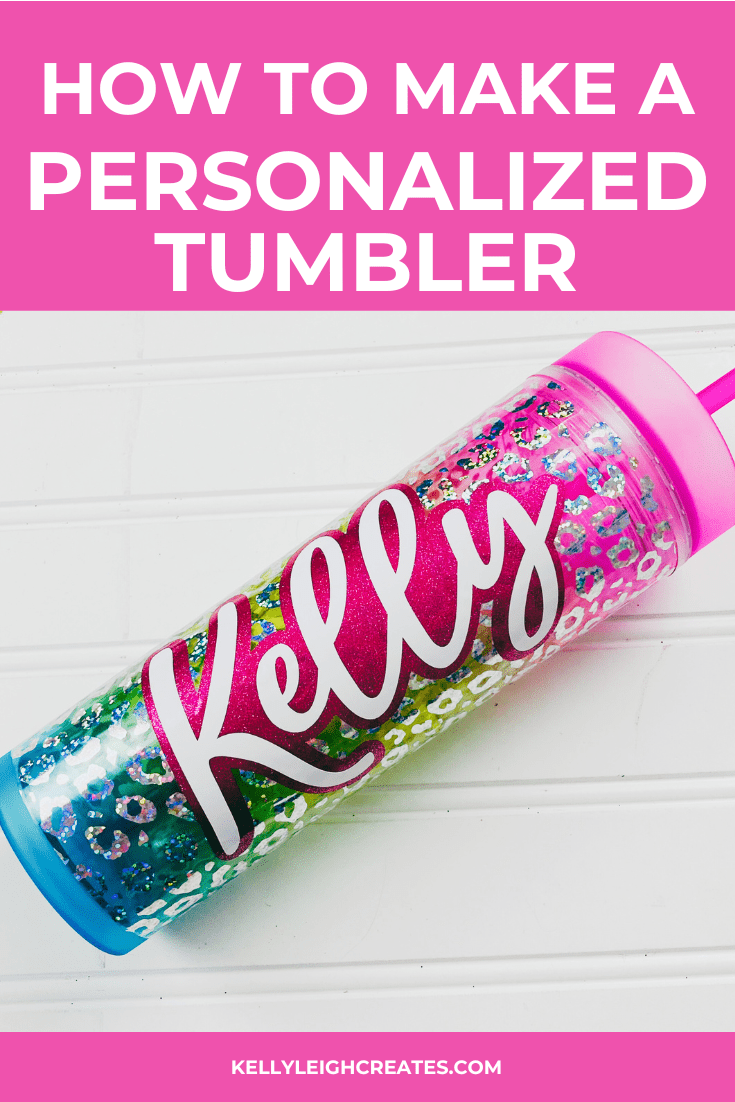
Skinny tumblers are super popular right now and customizing them is easy. There are so many different ways to customize a tumbler using adhesive vinyl or sublimation. Today I have a super easy personalized skinny tumbler tutorial using fun adhesive vinyl. This tumbler would make a perfect gift for a teen. It makes a great (affordable) stocking stuffer or birthday gift. For an extra special touch, you can fill it with things like gift cards to a favorite coffee shop. So, grab your supplies, and let’s dive into this fun project.

BASIC SVG & SILHOUETTE STUDIO POSTS
- How to Use Silhouette Cameo 4: A Guide to Getting Started
- How to Use SVG files: Tips, Tricks & Ideas
- How to Import SVG Files Into Silhouette Studio
- How to Cut By Color in Silhouette Studio
- How to Weed Vinyl
- The Easiest Way to Layer Vinyl Perfectly Each Time

PERSONALIZED SKINNY TUMBLER SUPPLIES
- Frosted rainbow tumbler (this one is similar)
- Clear leopard print adhesive vinyl
- Silhouette Cameo or Cricut
- Cutting mat – Silhouette / Cricut
- Permanent adhesive vinyl (Oracal 651)
- Transfer tape
- Scraper tool
- Weeding hook
HOW TO MAKE A PERSONALIZED SKINNY TUMBLER
- Measure and cut your leopard print vinyl so that it wraps around the entire tumbler.
- Using the hinge method, apply the vinyl to the tumbler
- Using your Silhouette Studio or Cricut Design Space software, type out the name that you want to use and size it so it fits onto the tumbler.
- Create an offset around the name to make the background
- Cut out the name in white permanent adhesive vinyl and the background in pink glitter vinyl
- After your designs are done cutting, weed away the excess vinyl.
- Layer the two files on top of one another using this easy layering technique.
MORE SILHOUETTE AND CRICUT CHRISTMAS PROJECTS
- Easy Silhouette and Cricut Christmas Projects
- DIY Christmas Banner
- Christmas Countdown
- DIY Christmas Gift Box
- Wooden Round Christmas Sign
- How to Make a Santa Sack
- DIY Personalized Socks with Funny Sayings
- DIY Matching Family Christmas Pajamas
- Snow Globe Shaker Card
- DIY Makeup Bag Teen Gift Idea
- Christmas Gift Tags with Silhouette Sketch Pens
- DIY Christmas Wrapping Paper
- Buffalo Check Christmas Ornaments
- Christmas Tea Towels
- DIY Holiday Serving Tray
- Jingle All the Way Shadow Box

SVG FILE FAQs
How do I open these files in my Silhouette software?
Save the file to your computer. If it is a zip file, unzip it. Open your Silhouette software and select FILE>OPEN and navigate to where you saved the file. You can also import the file(s) to your Silhouette library by clicking FILE>LIBRARY>IMPORT TO LIBRARY and navigating to where you saved the file.
Can I open SVG files in the Silhouette Basic Edition?
No. You must have Silhouette Designer Edition or higher to open SVG files. If you have Silhouette Basic Edition, you can use PNG files and convert the PNG to a cut file.
Can this file be used with a Cricut?
Yes. Any SVG file can be used in Cricut Design Space
LOVE IT? PIN IT